A Visit to South Africa’s Eastern Cape Province
On what was my second trip to South Africa’s eastern Cape Province in two years, I learnt more about the area and what makes it special. There are several good reasons to consider the Eastern Cape for a safari trip:
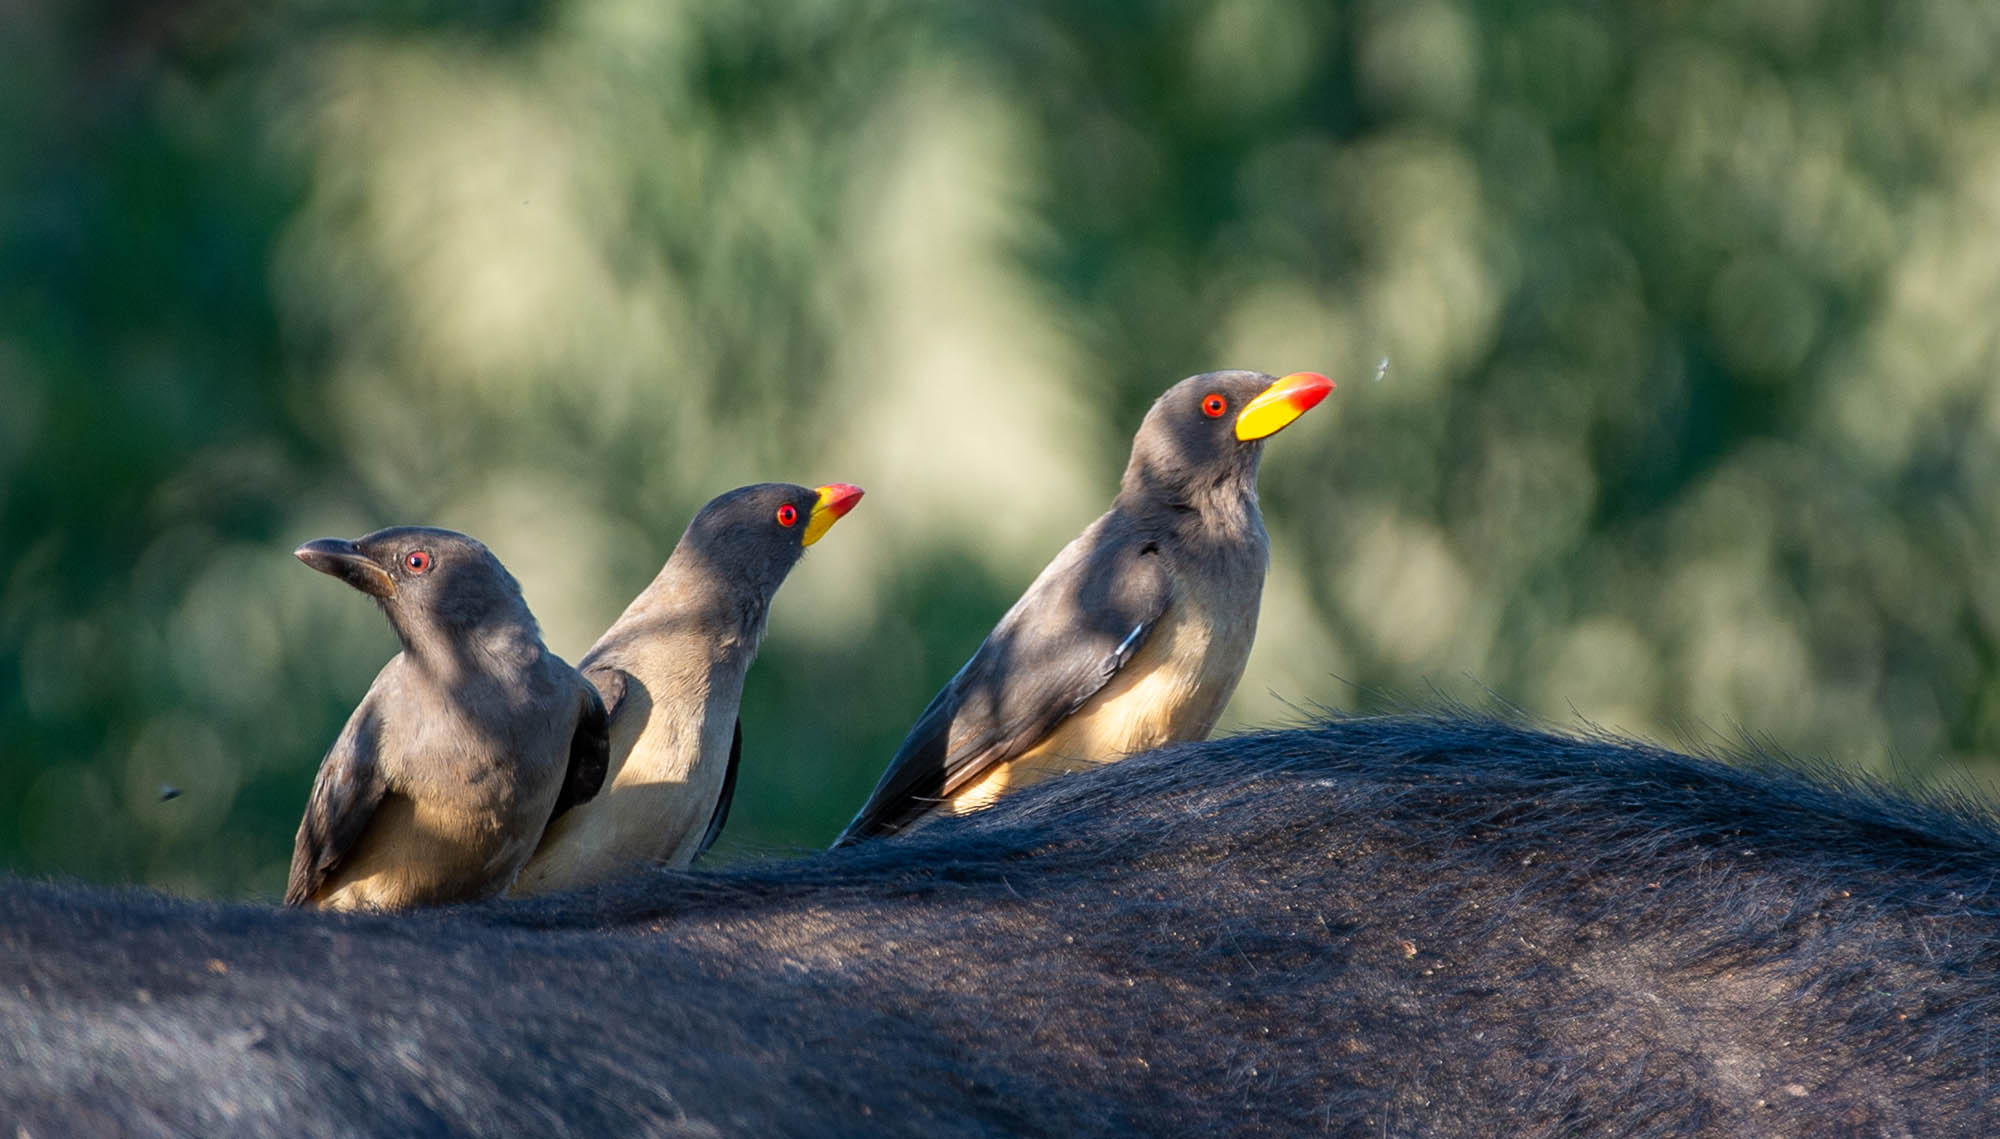
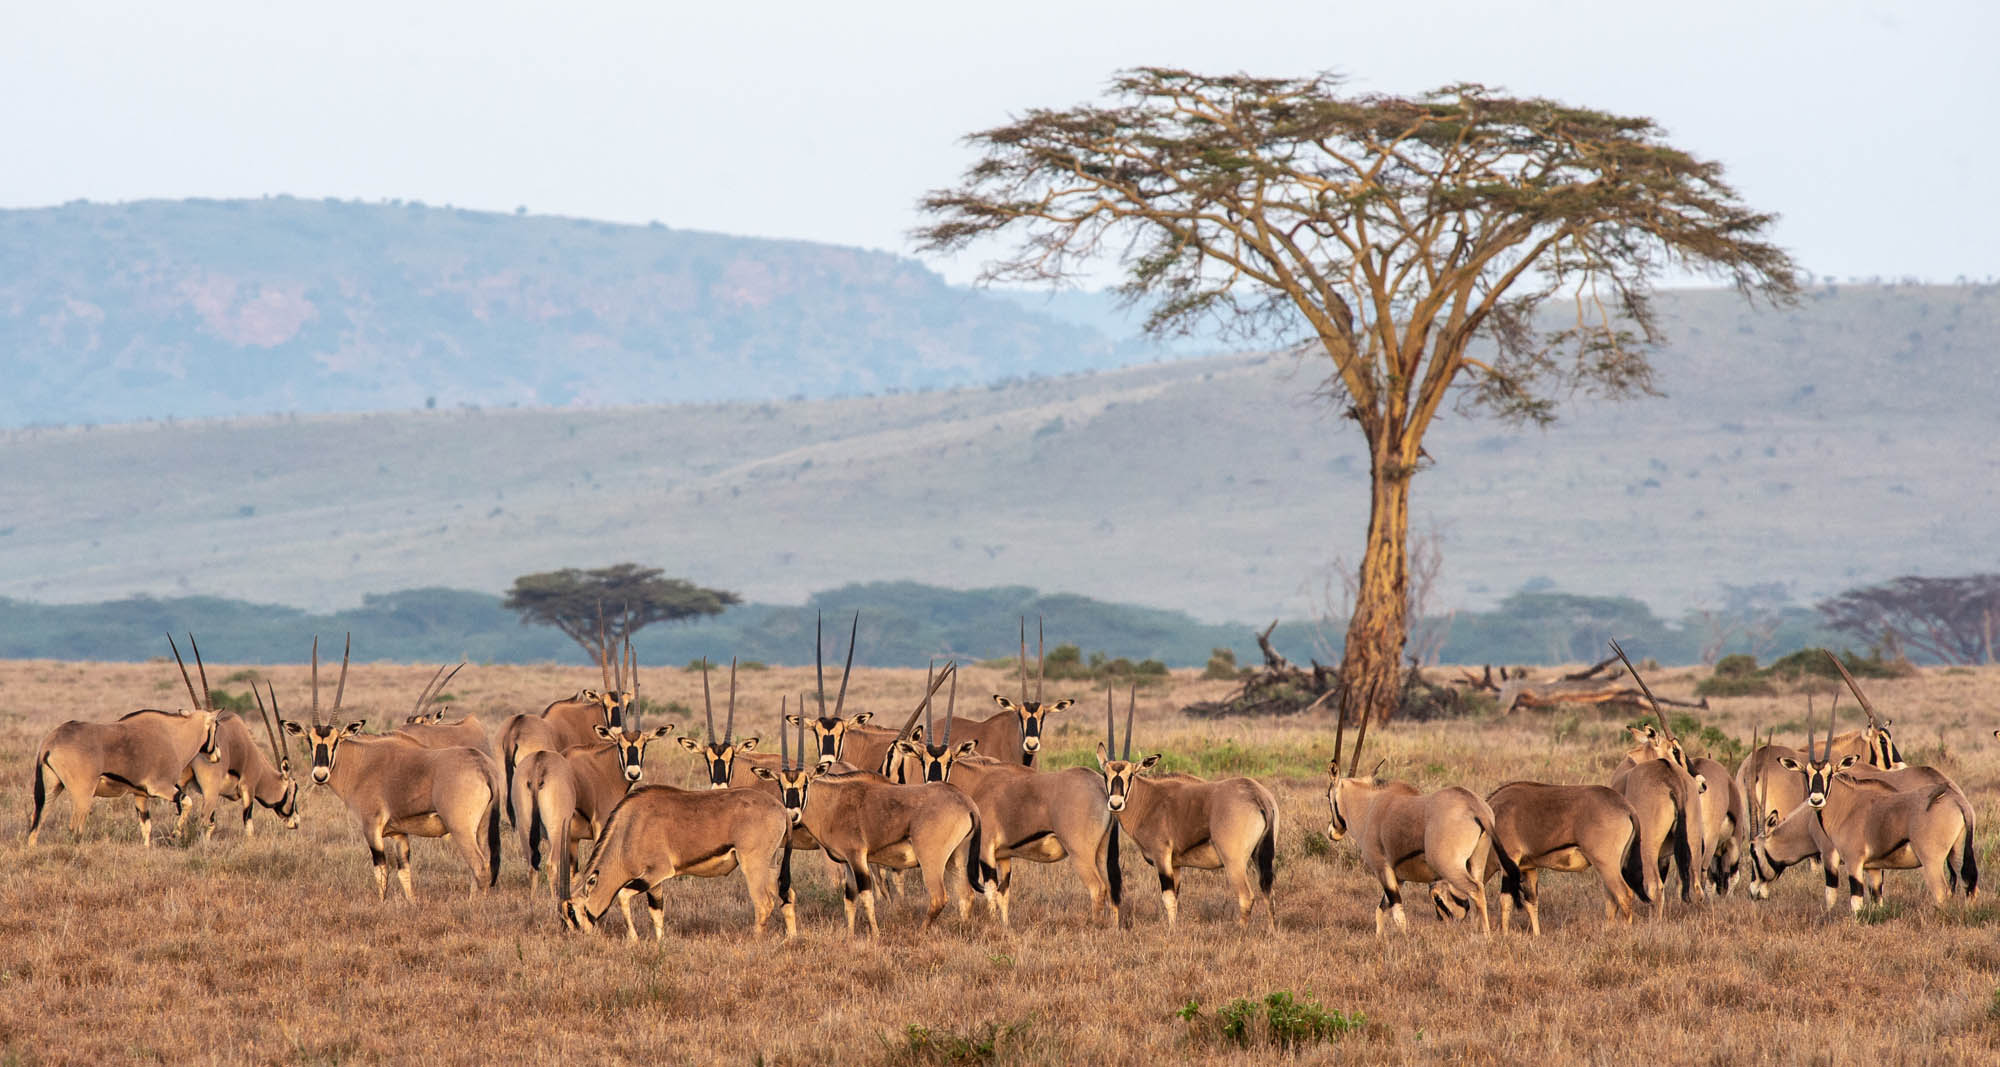
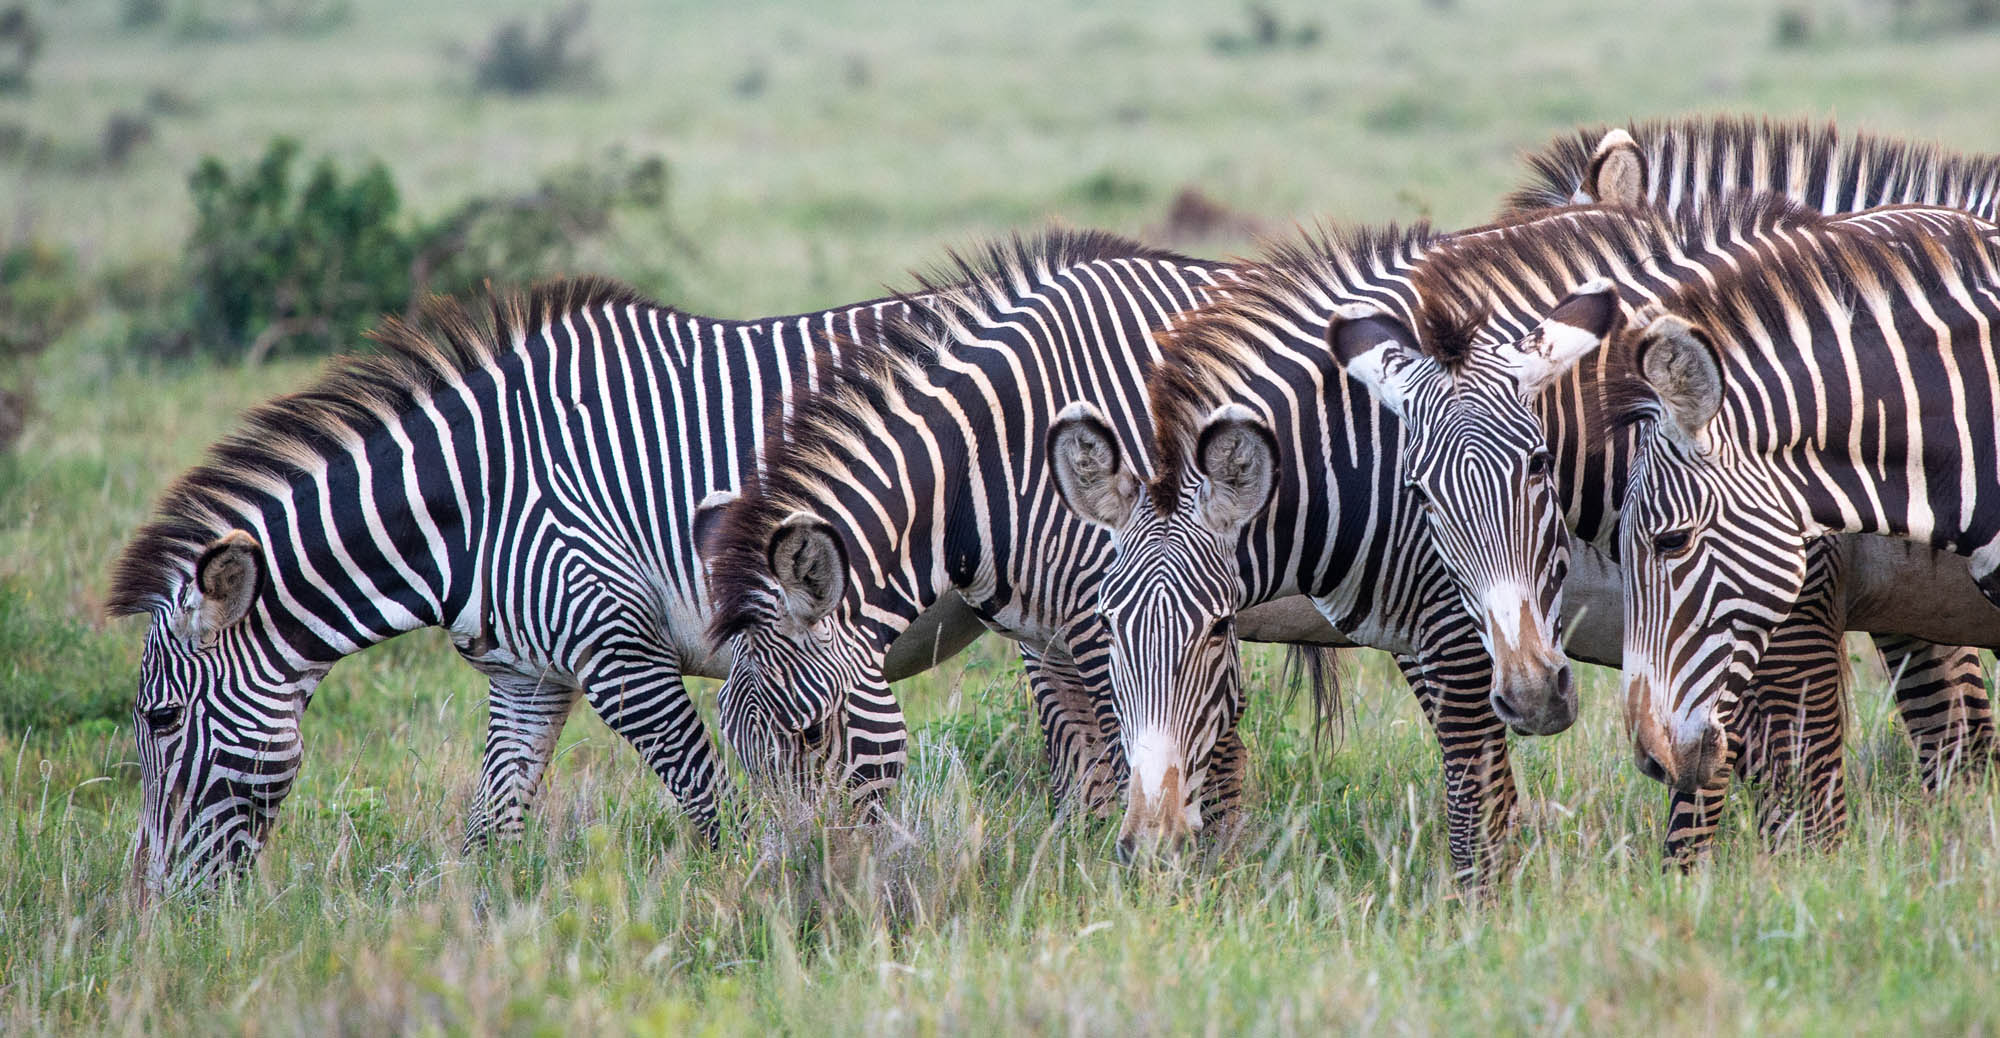
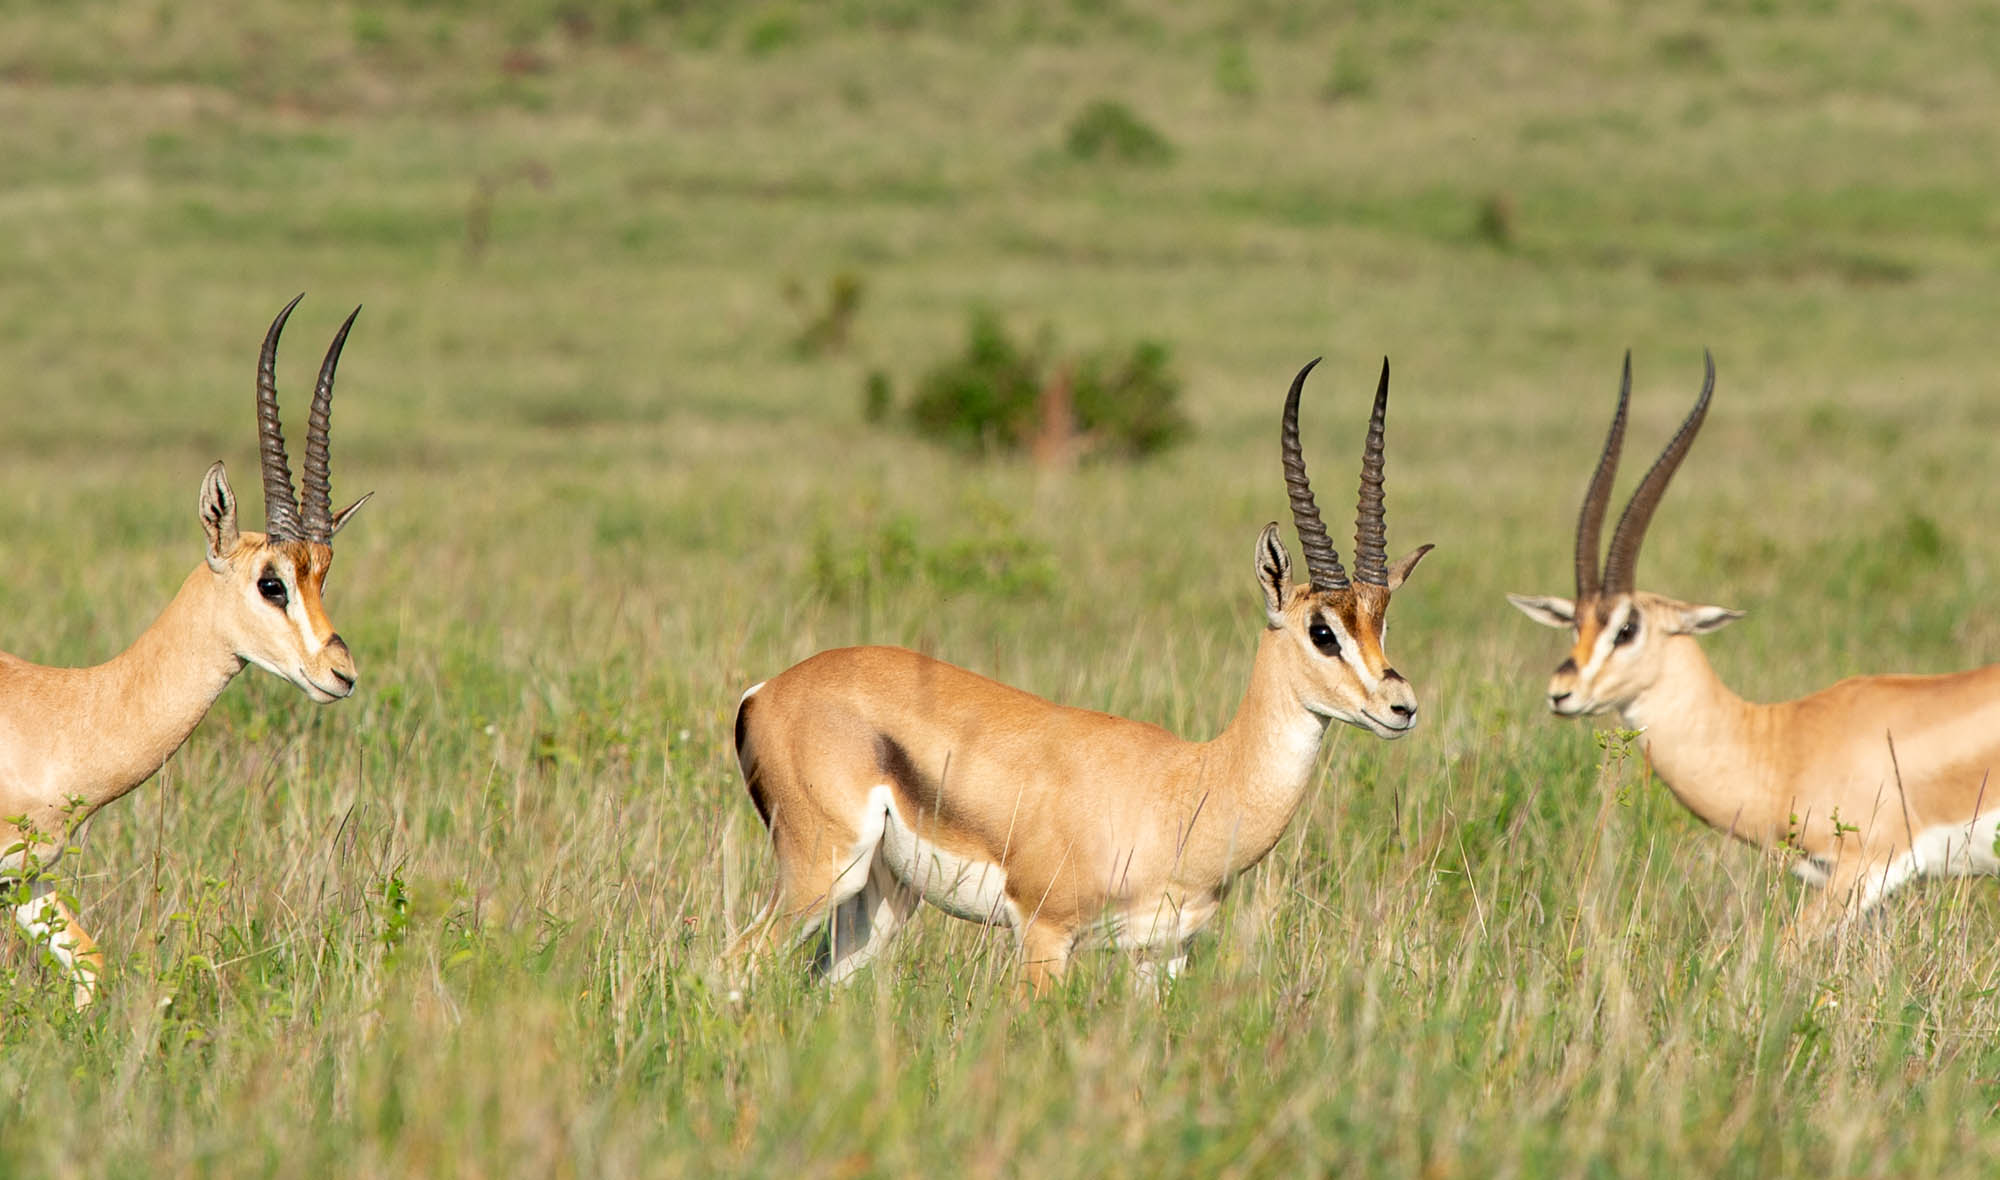
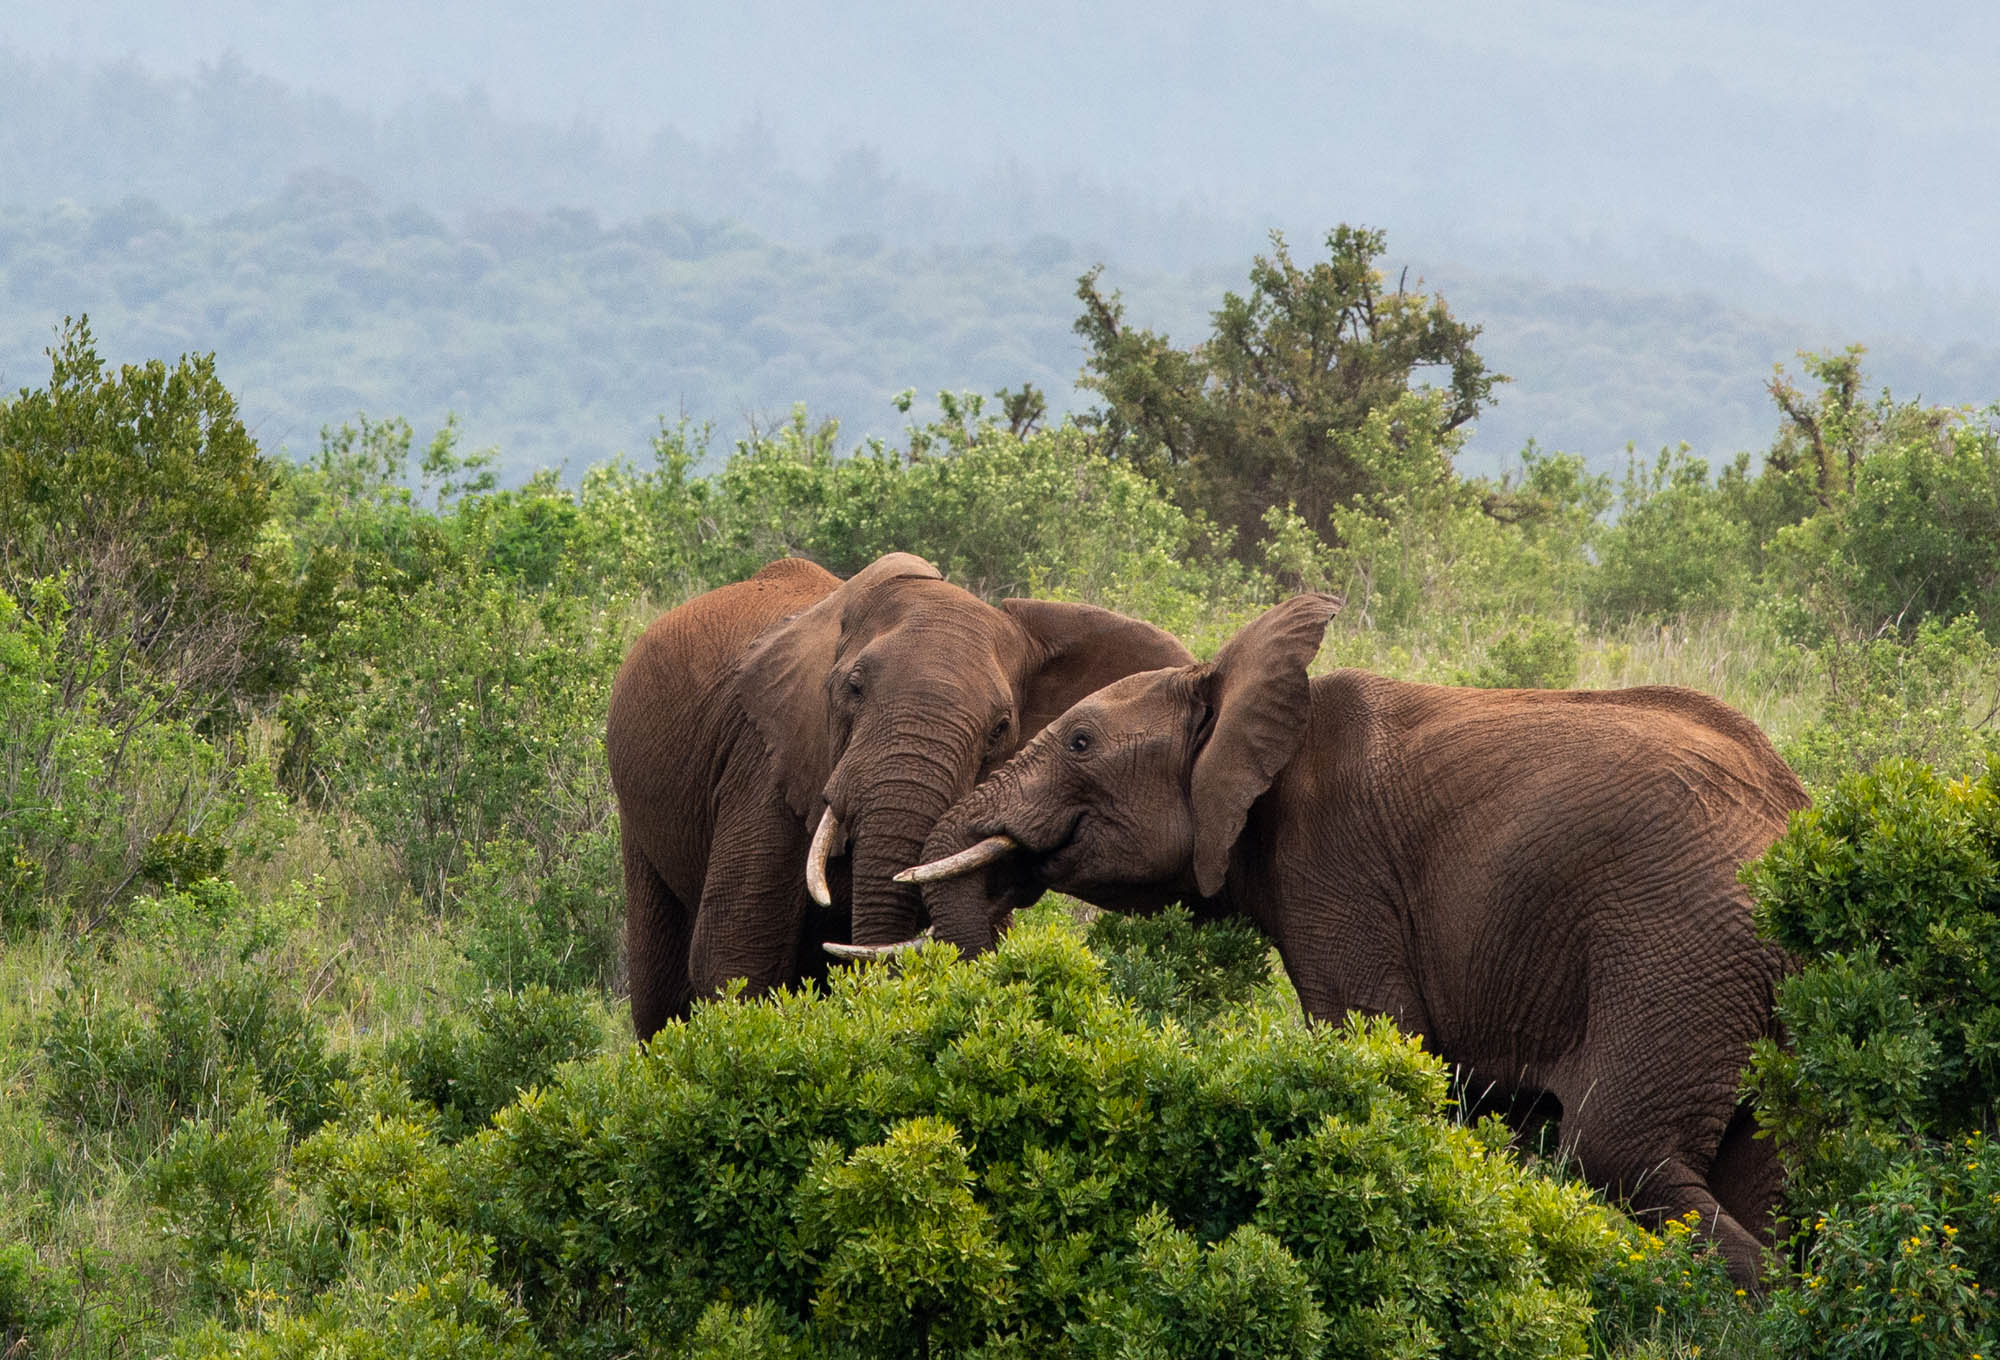
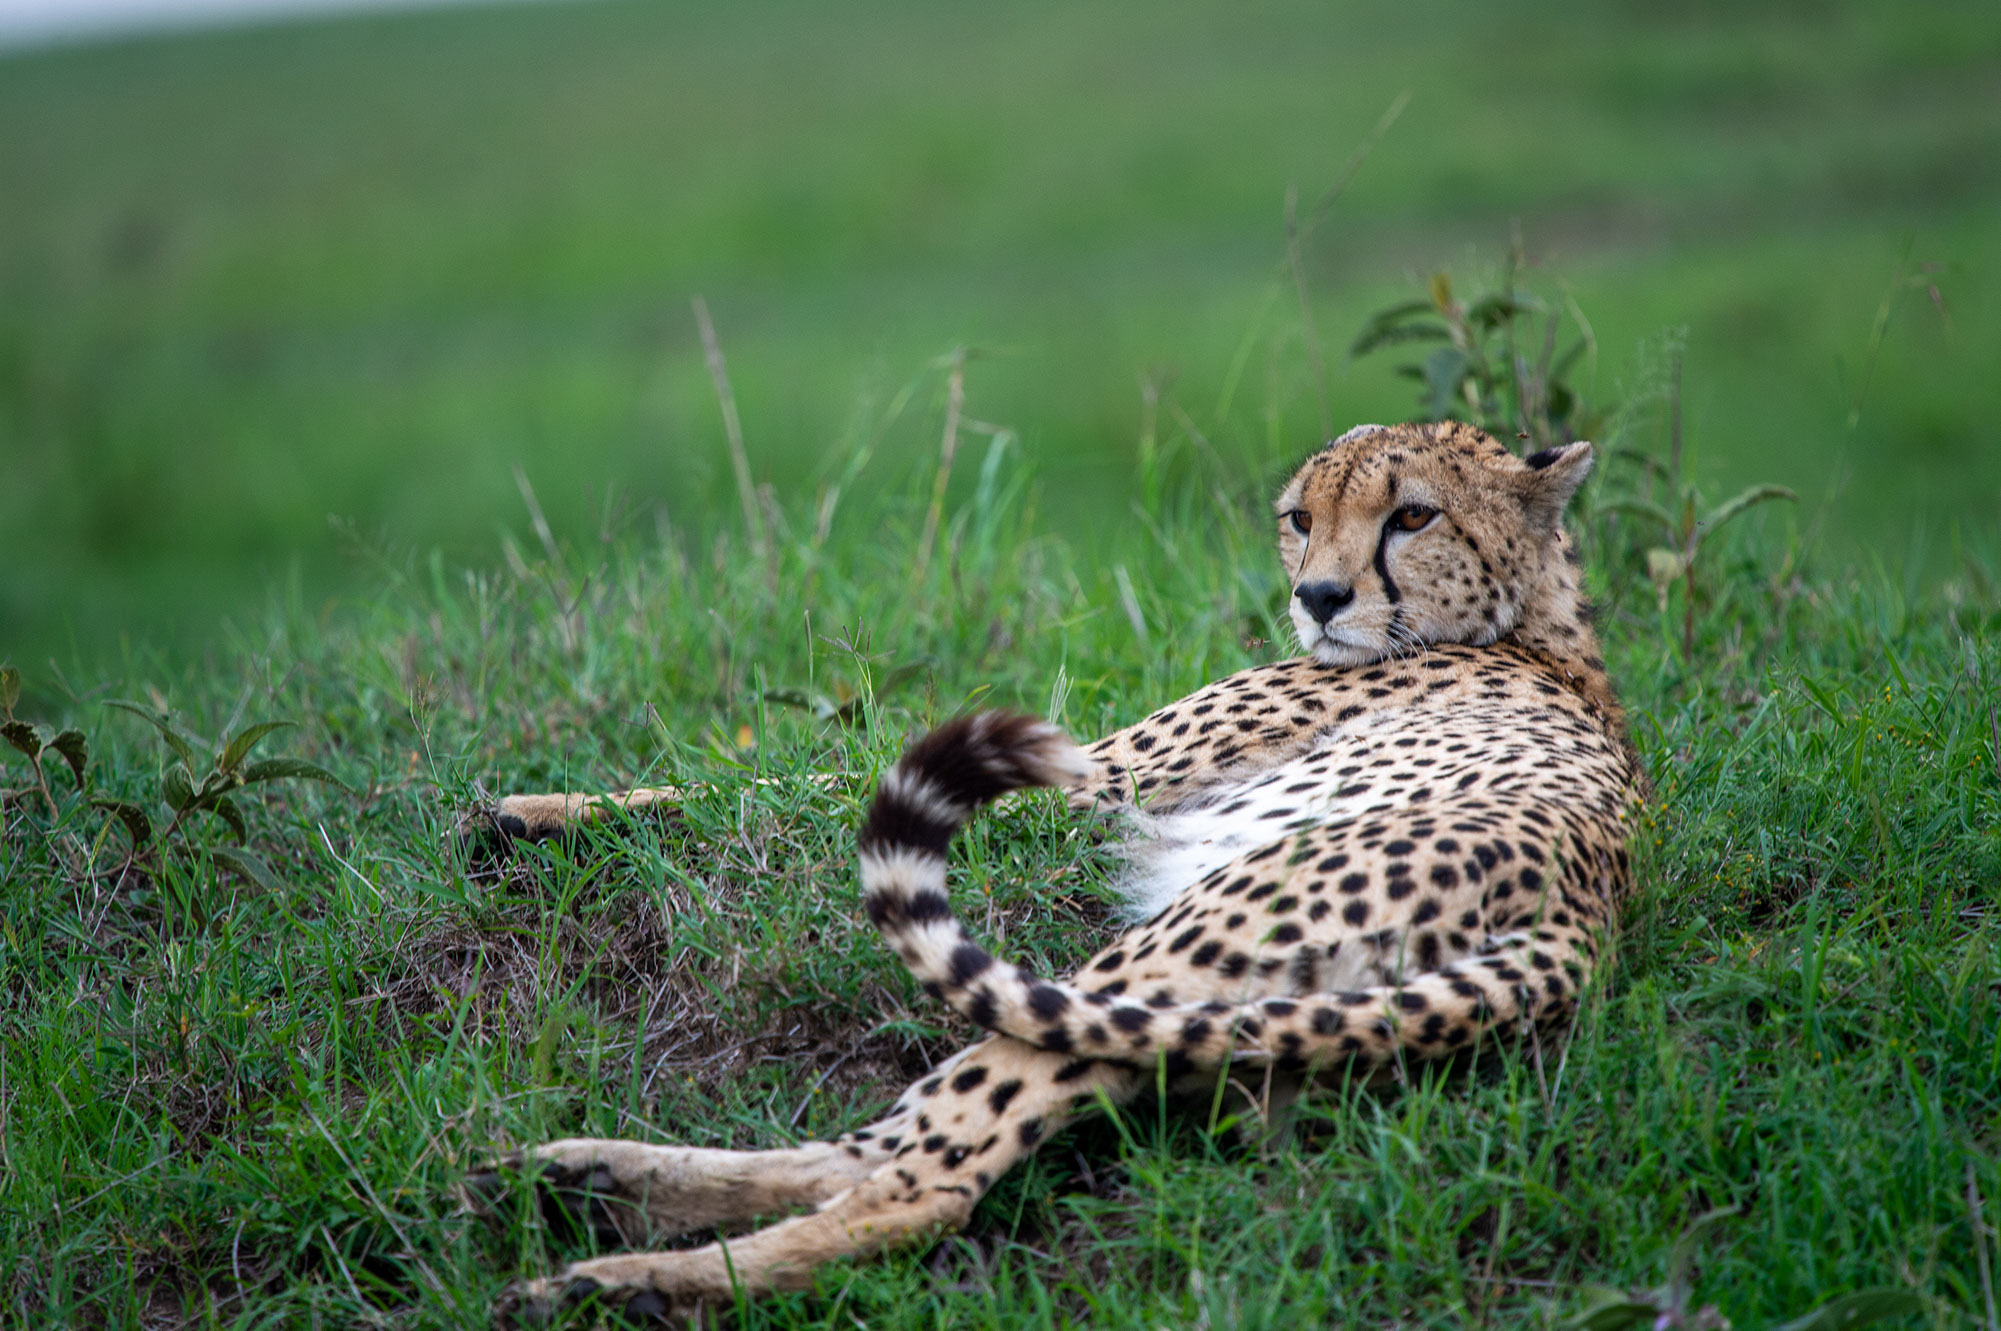
- It has lots of animals and birds and more diversity than anywhere else in South Africa. Readily seen animals include elephants, buffaloes, rhinos, lions, giraffes, zebras, kudus, impala and even cheetah, springbok, eland and gemsbok in some reserves like Shamwari.
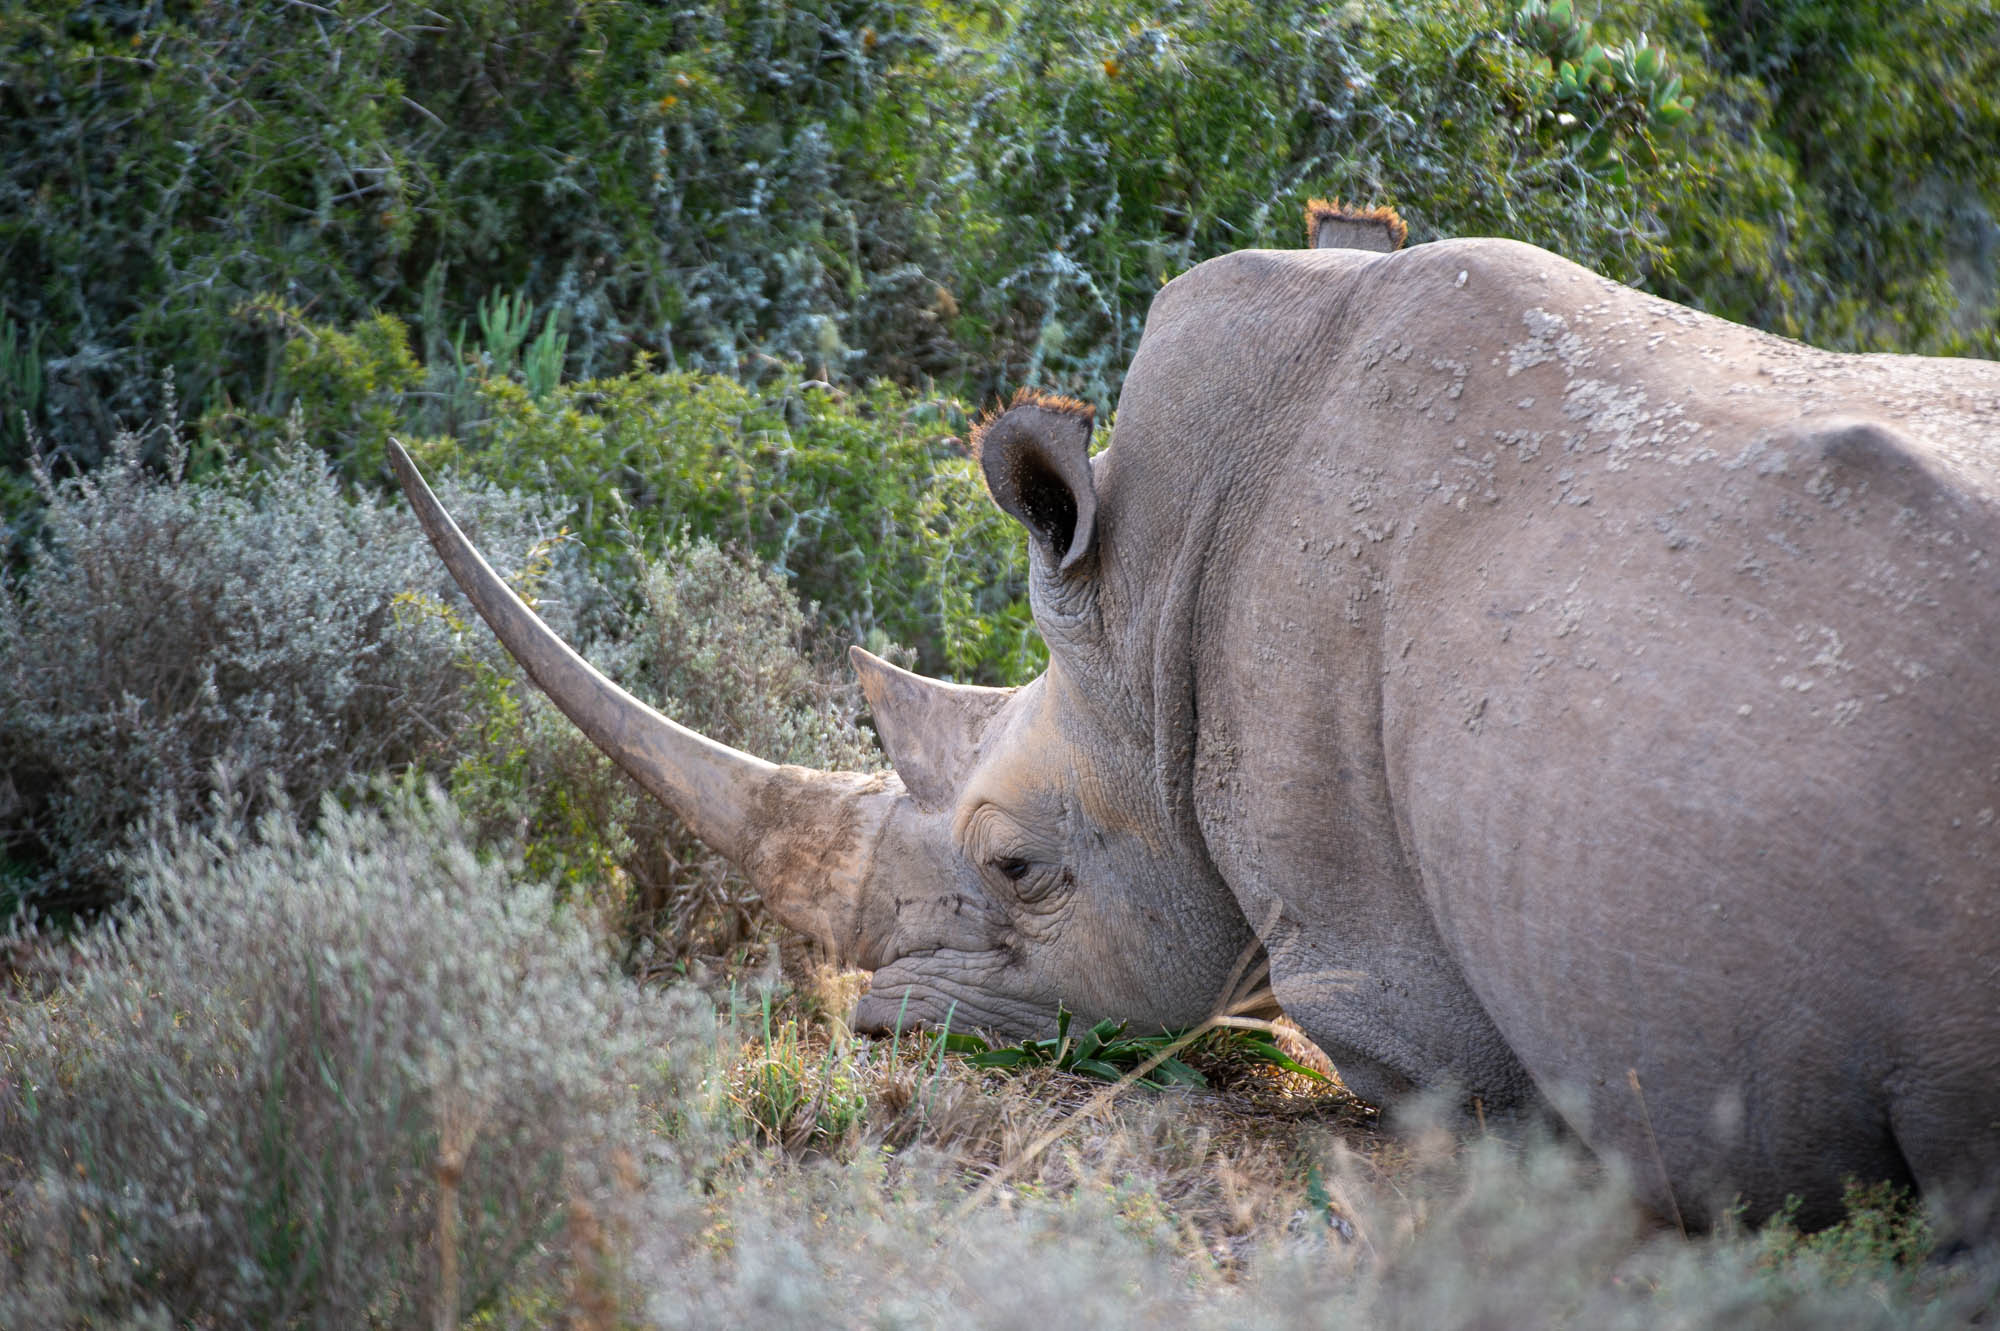
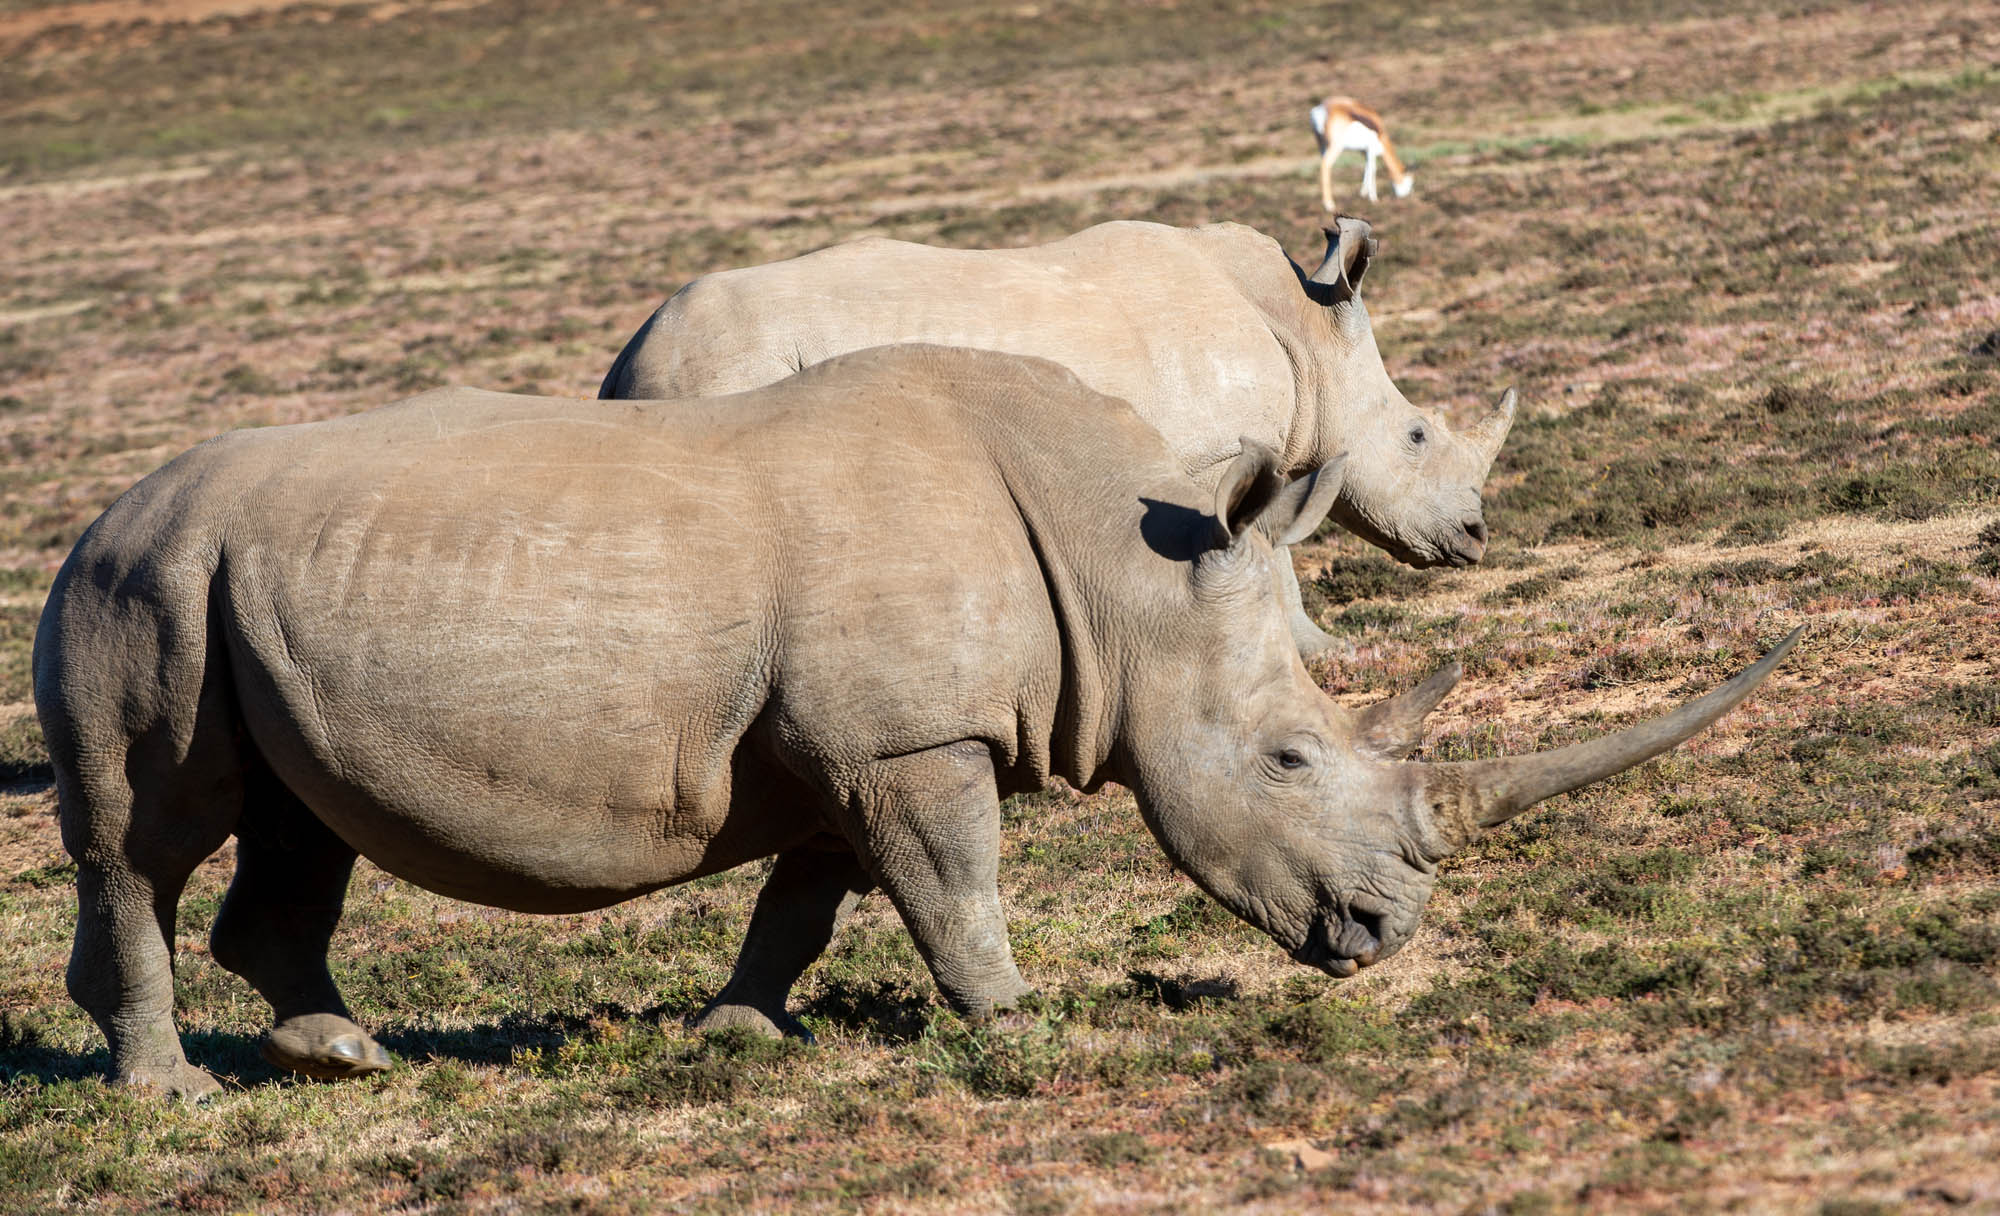
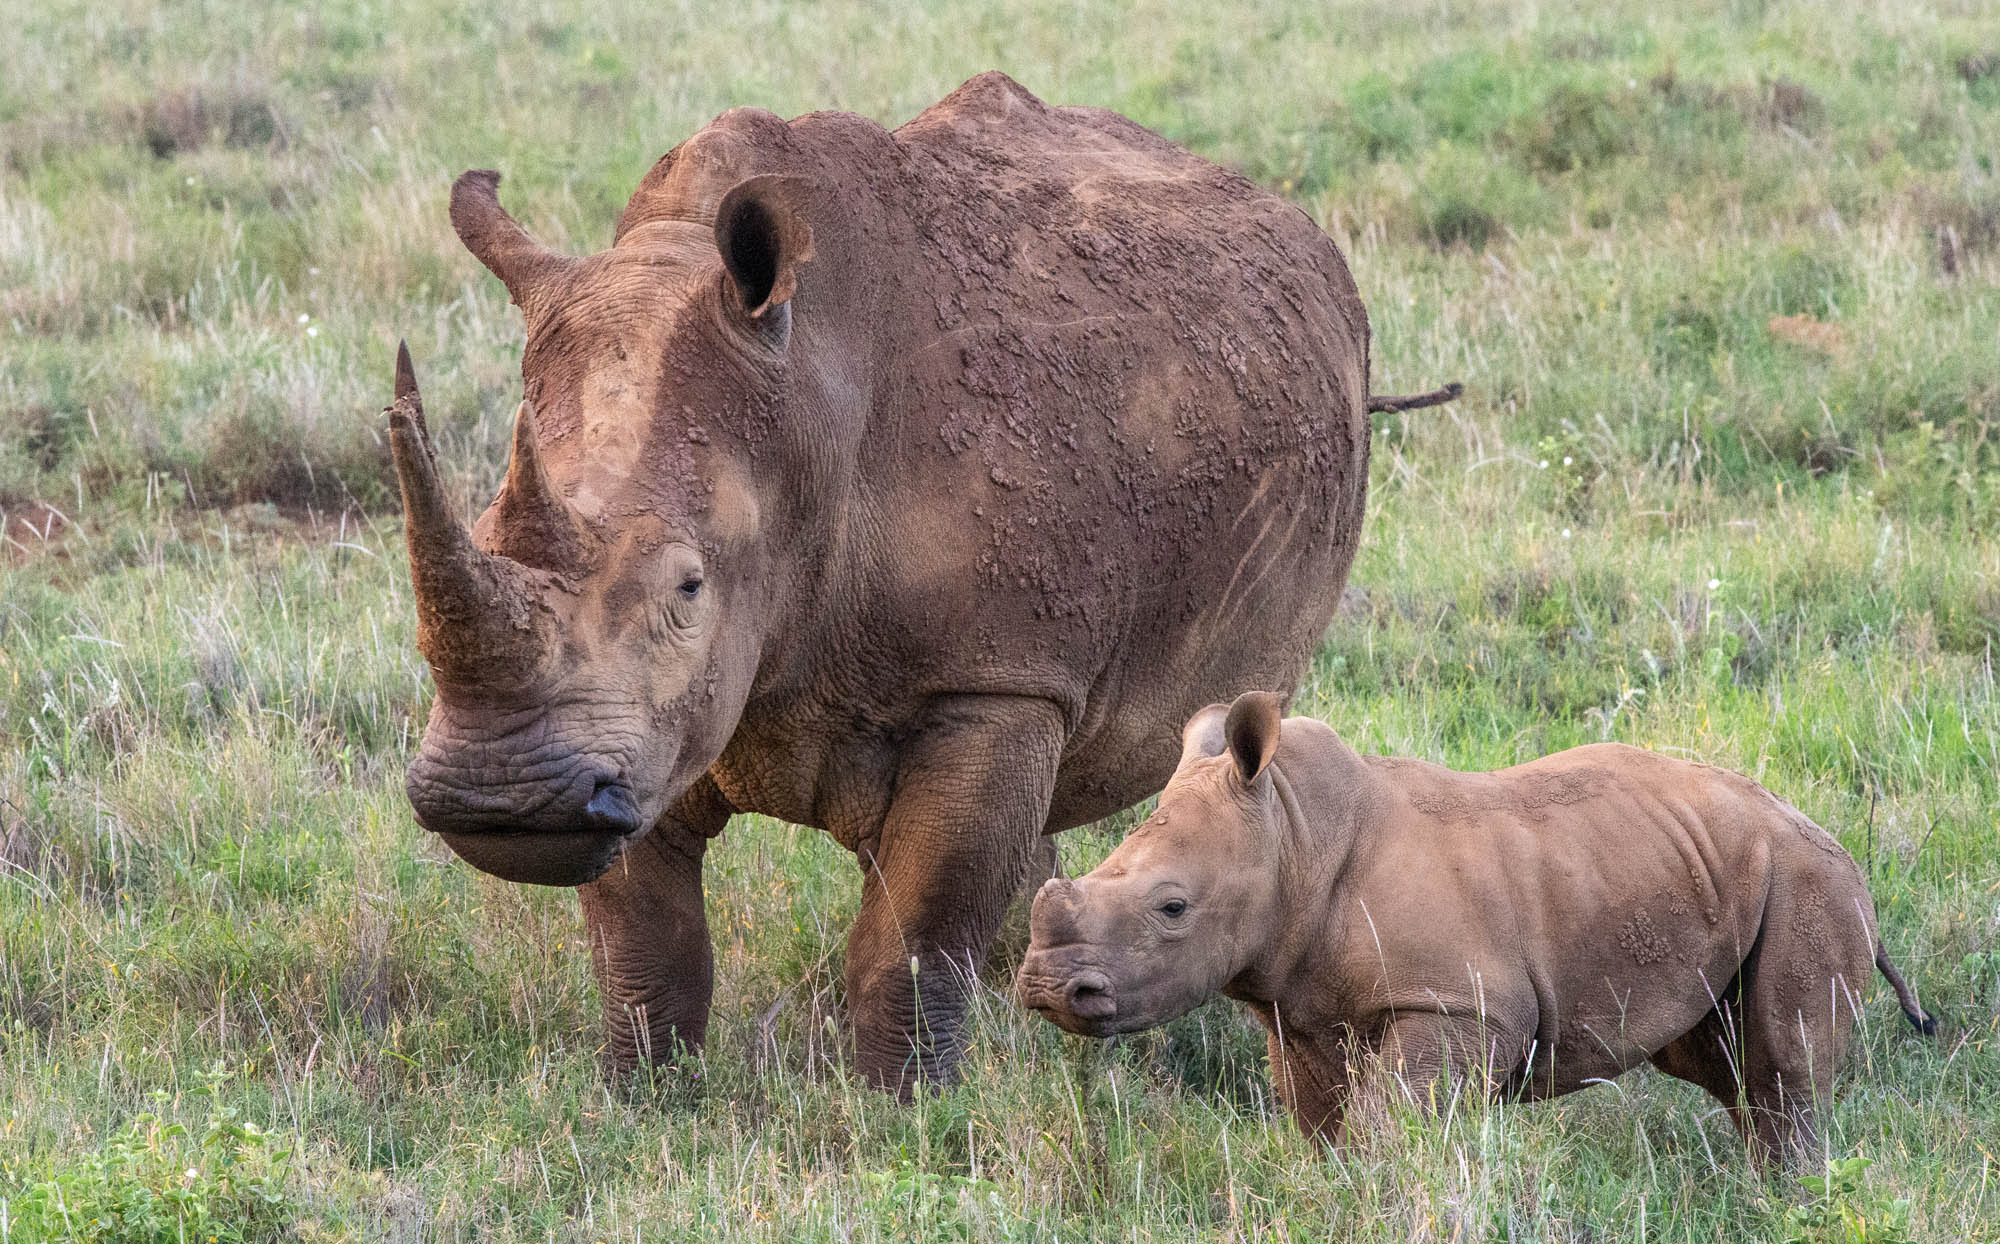
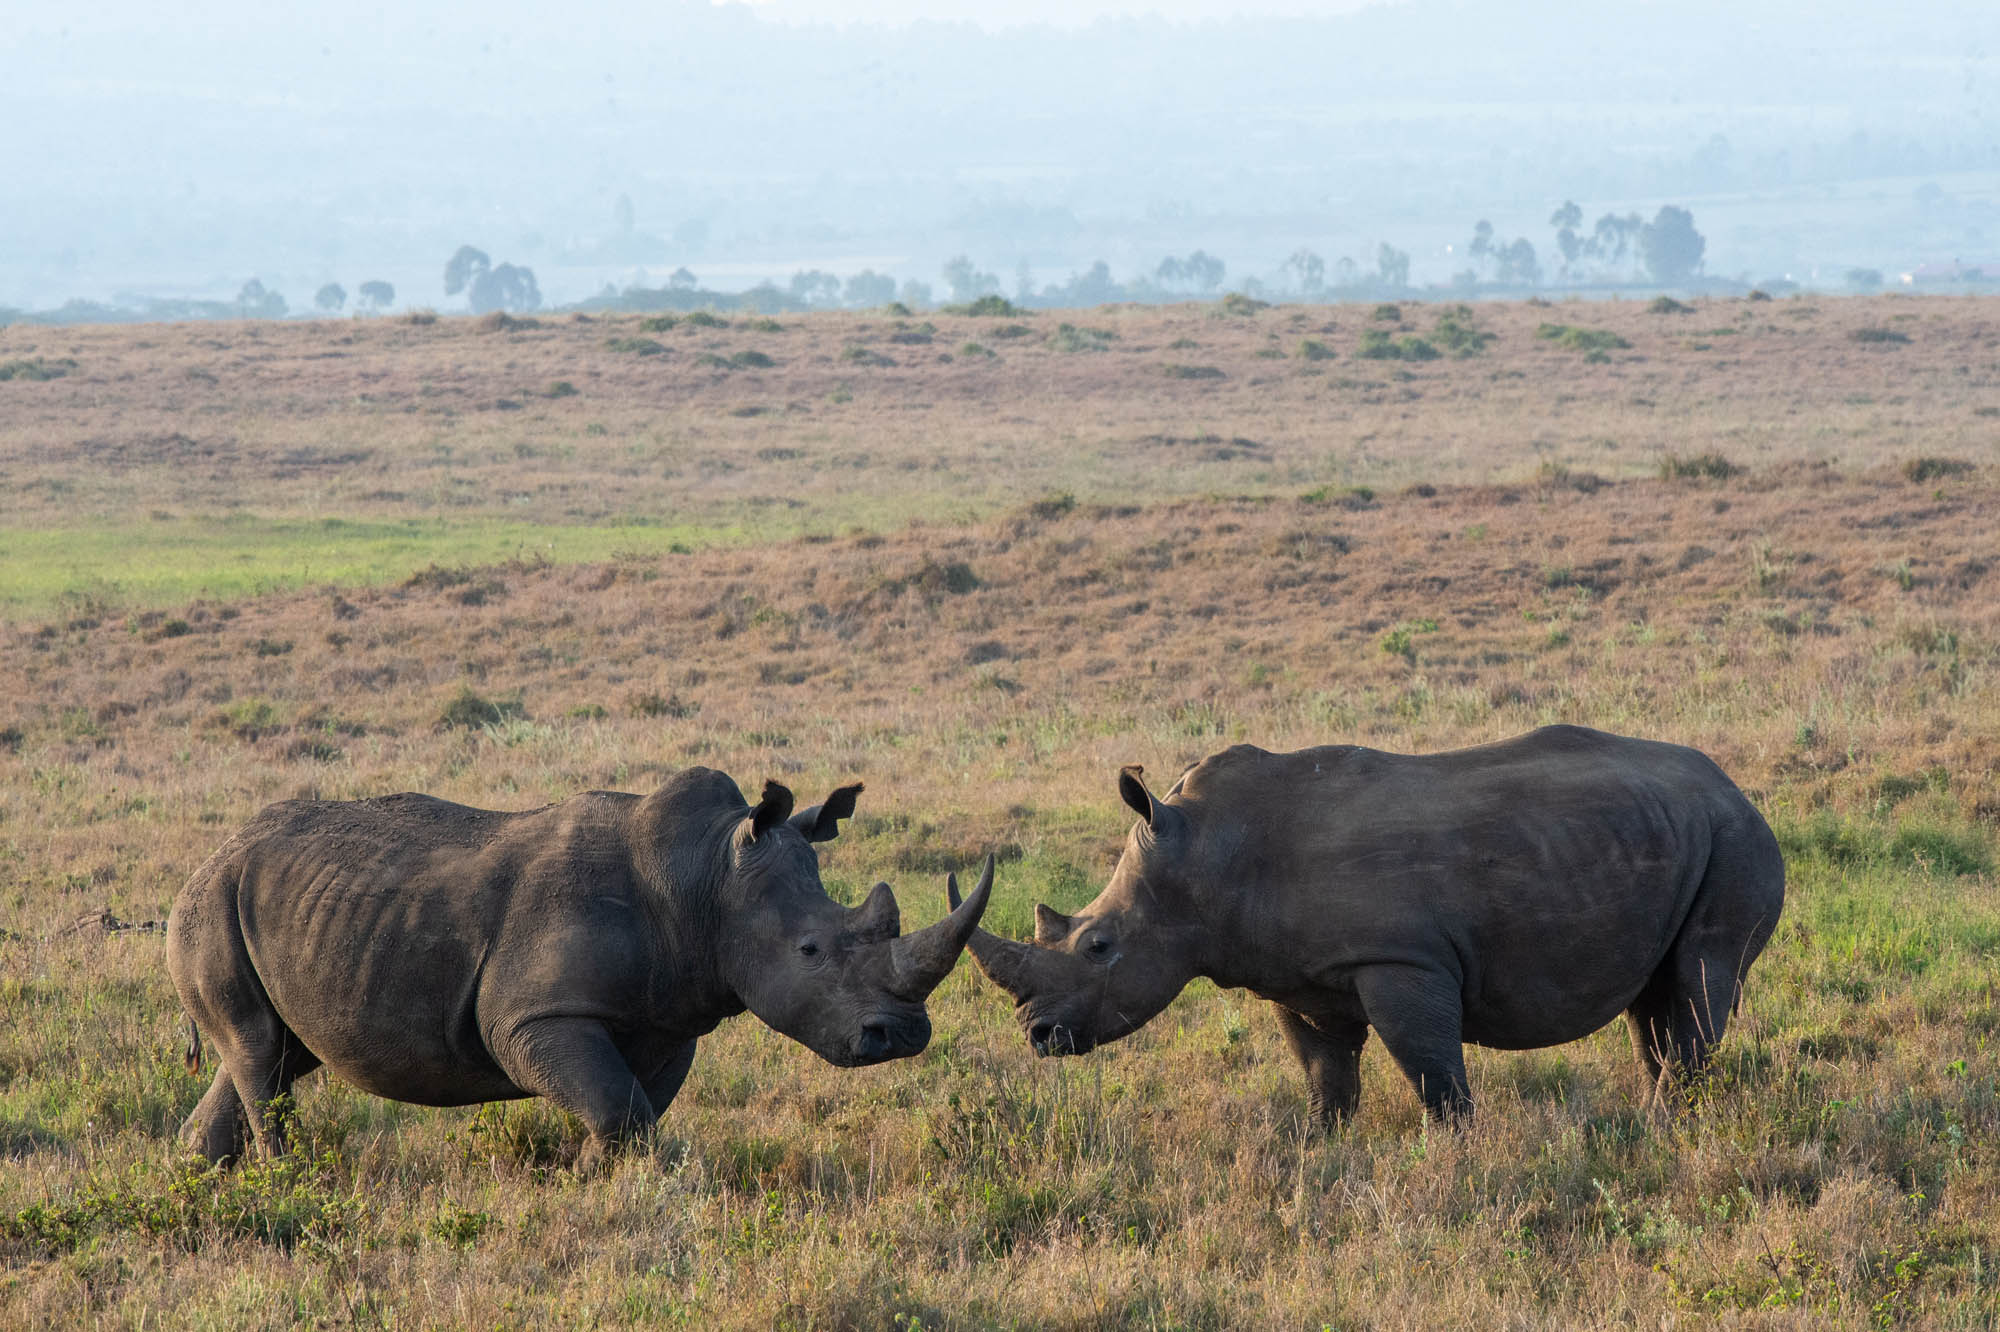
- The eastern Cape is one of the best places in South Africa to see both black and white rhinos.
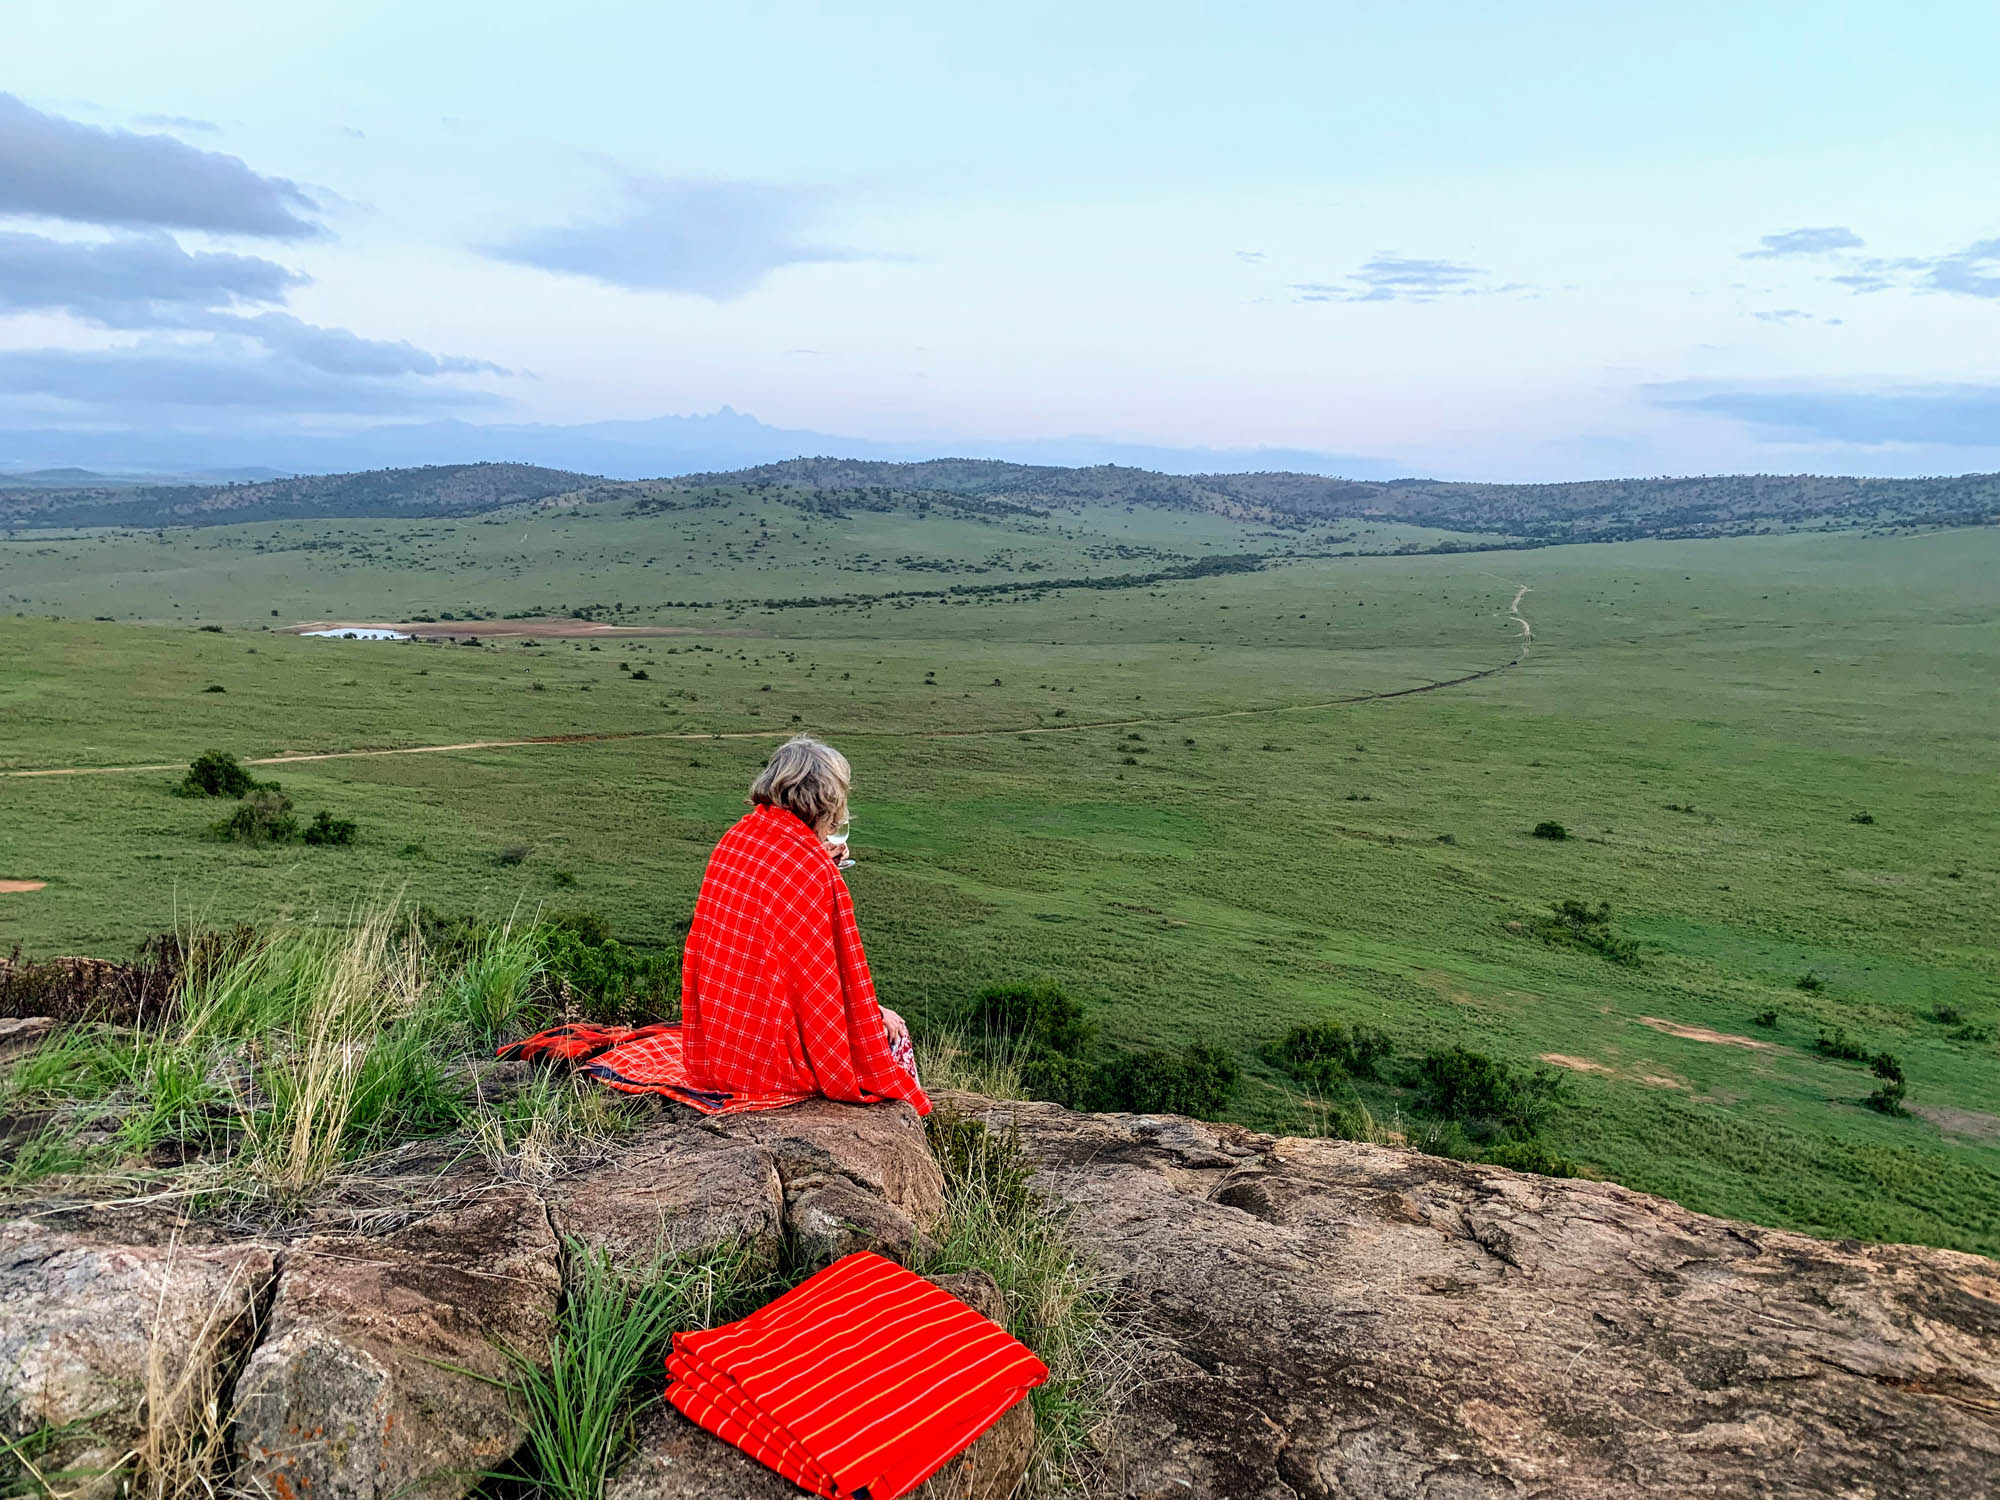
- The scenery is spectacular, with sometimes amazing views of hills, valleys and ravines. The vegetation ranges from Karoo scrubland to dense montane forest, Cape fynbos, dense thickets, and areas of open savannah and grasslands.
- The entire area is malaria-free which makes it ideal for families with children, pregnant women and for anybody who does not want to take antimalarial drugs.
- The eastern Cape reserves are easy to get to, just over an hour from either Johannesburg or Cape Town, by air. Also within drivable distance from Cape Town, along the Garden Route.
- Compared with destinations like Botswana and the private reserves along the Kruger National Park, the Eastern Cape reserves offer considerably better value for money, particularly in the cooler winter months from May through August and September.
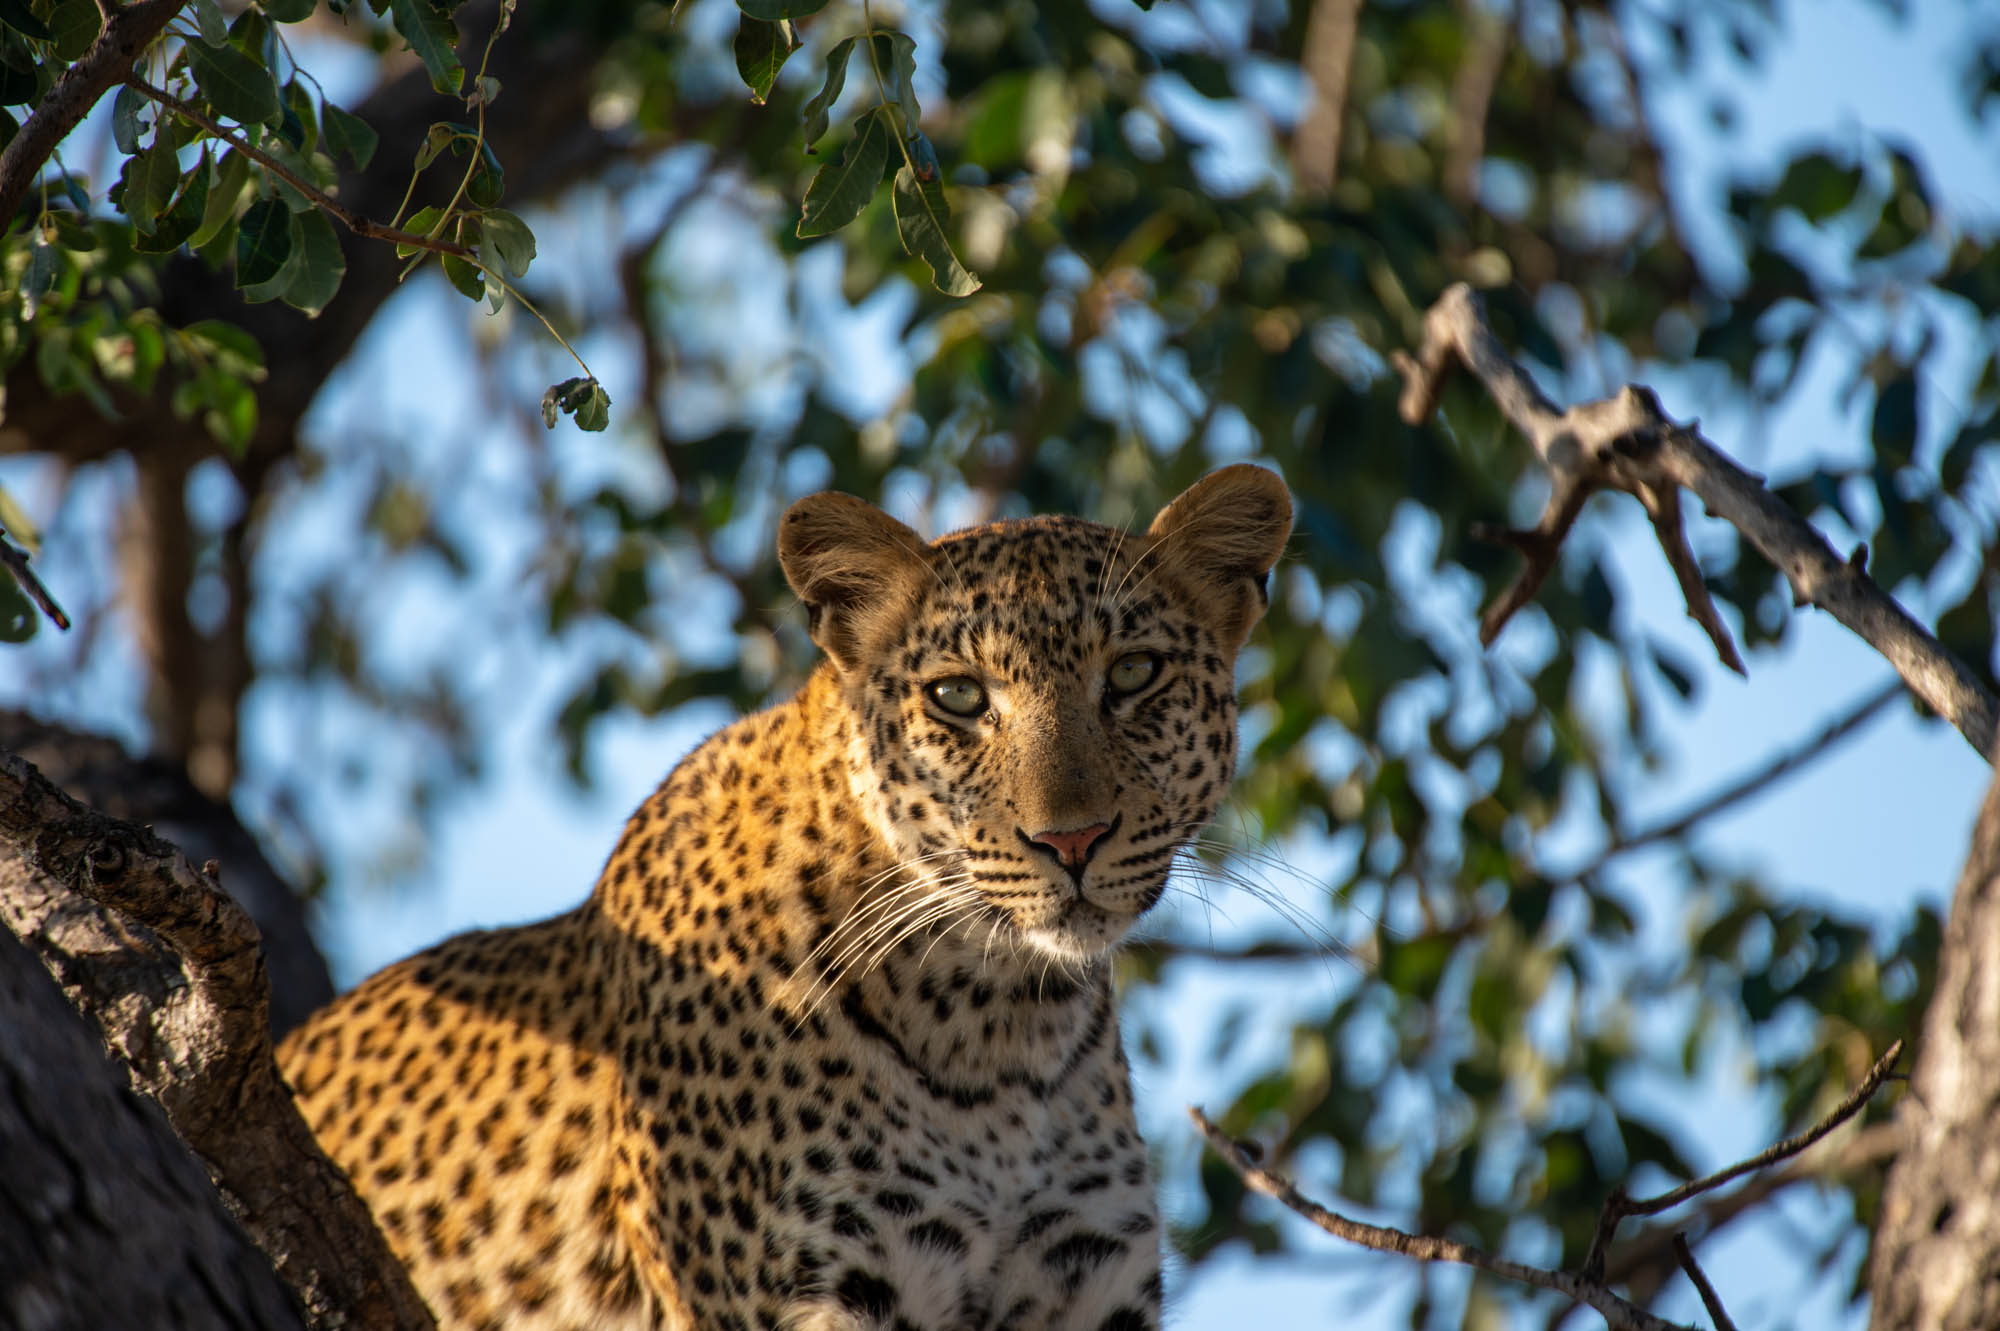
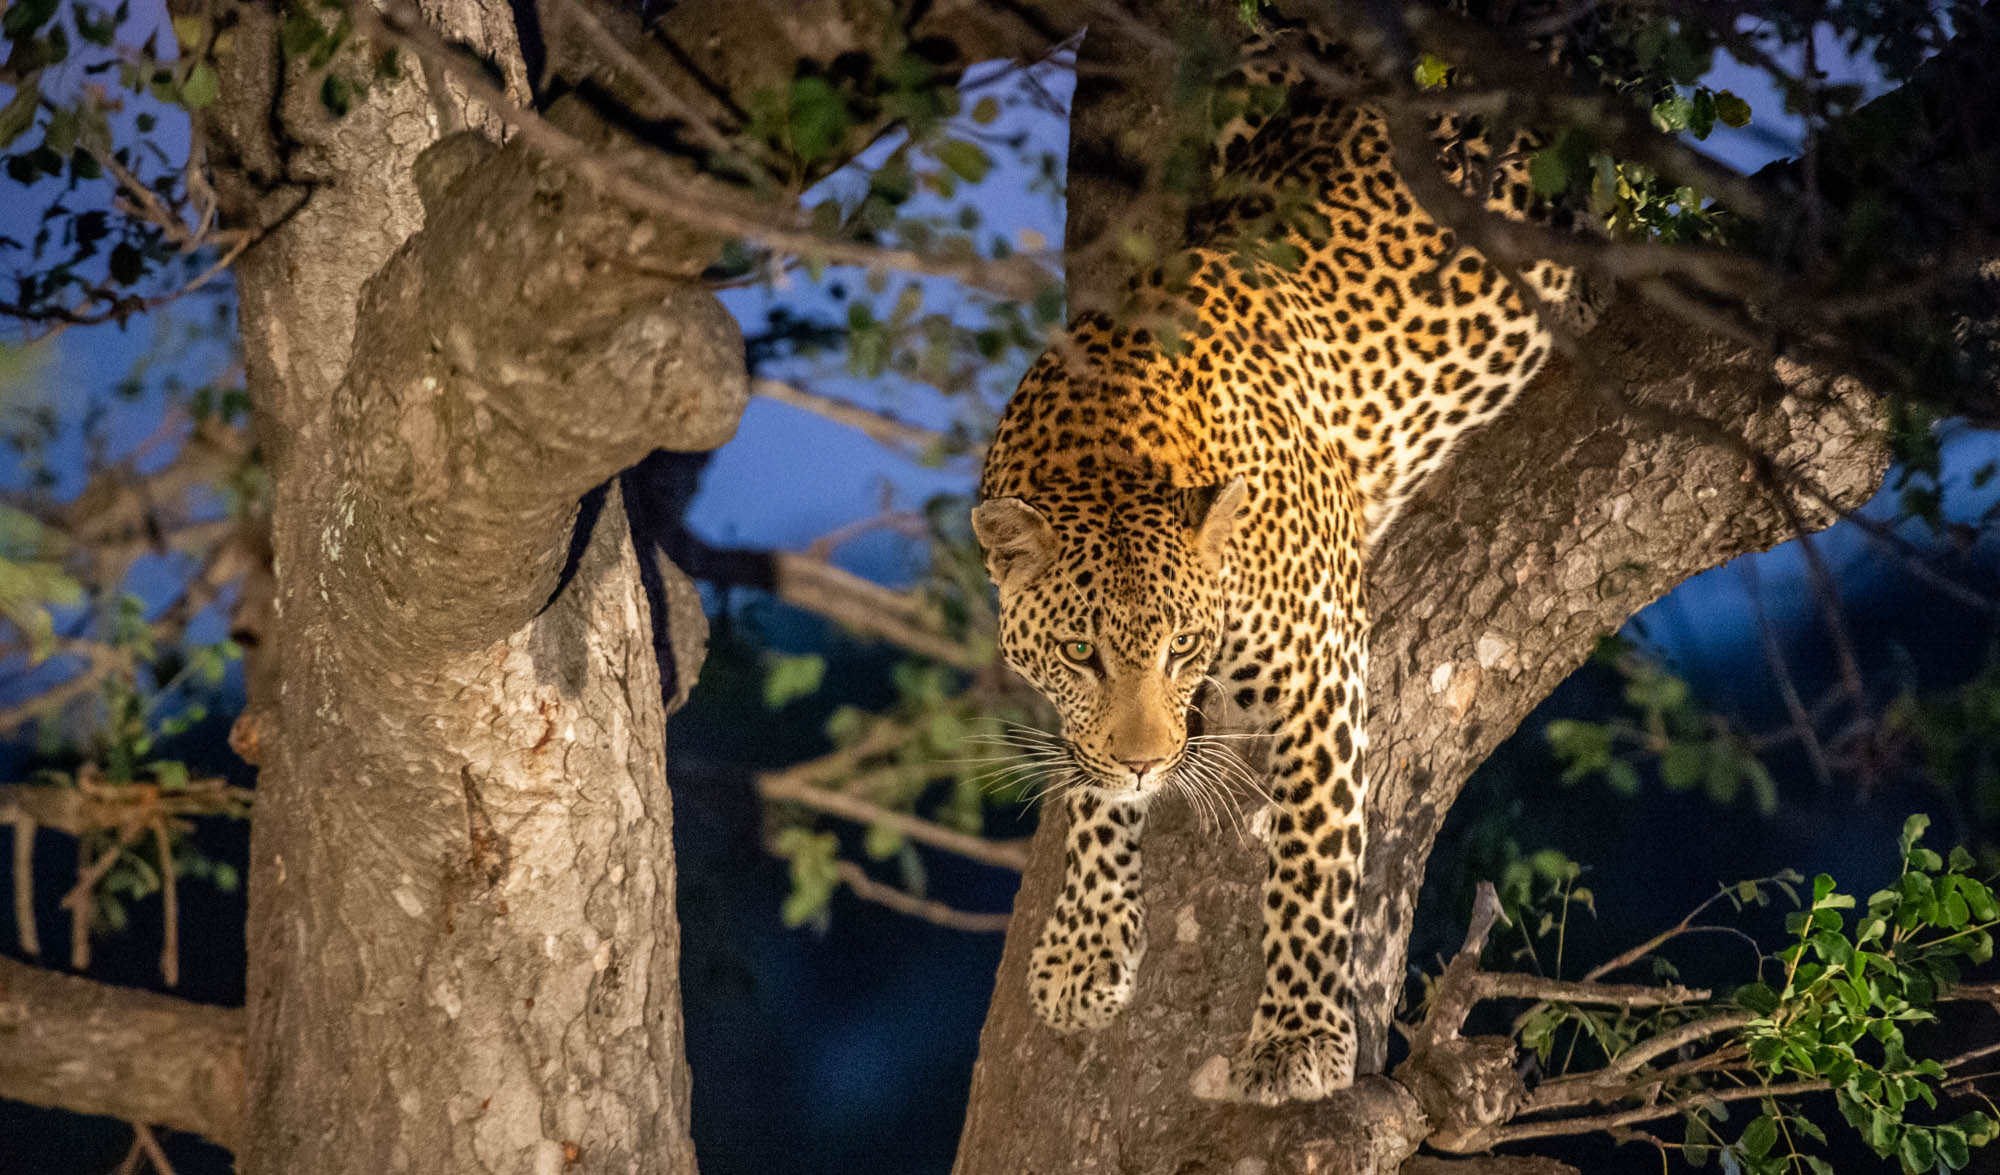
- The area is quite unlike anything you’d see in Botswana, Zimbabwe, Namibia or the ‘bushveld’ region of South Africa, notably the Kruger Park. It is mostly undulating, often with patches of thick bush which provide cover for animals such as leopard and black rhino.
RIVERBEND LODGE
My first stop on the Eastern Cape educational trip was Riverbend Lodge which we had used several times in the past – always with good results – for the Addo Elephant Park area. Riverbend Lodge is just outside the main Addo National Park, but the lodge has direct access – a few kilometers away – to its own private area of the park. The accommodation, dining (fantastic!) and general hospitality and guiding at Riverbend were impeccable. With its special focus on the needs of families with young children, Riverbend is an ideal family safari spot. Be sure to spend no less than three nights here as some of the mammals like the rhinos can be tricky to see, because of the thick vegetation. In fact this is true of most of the eastern Cape reserves. If you spend as many as 4 nights in a camp you will see ‘everything’ and have a fun and relaxing time in the process.
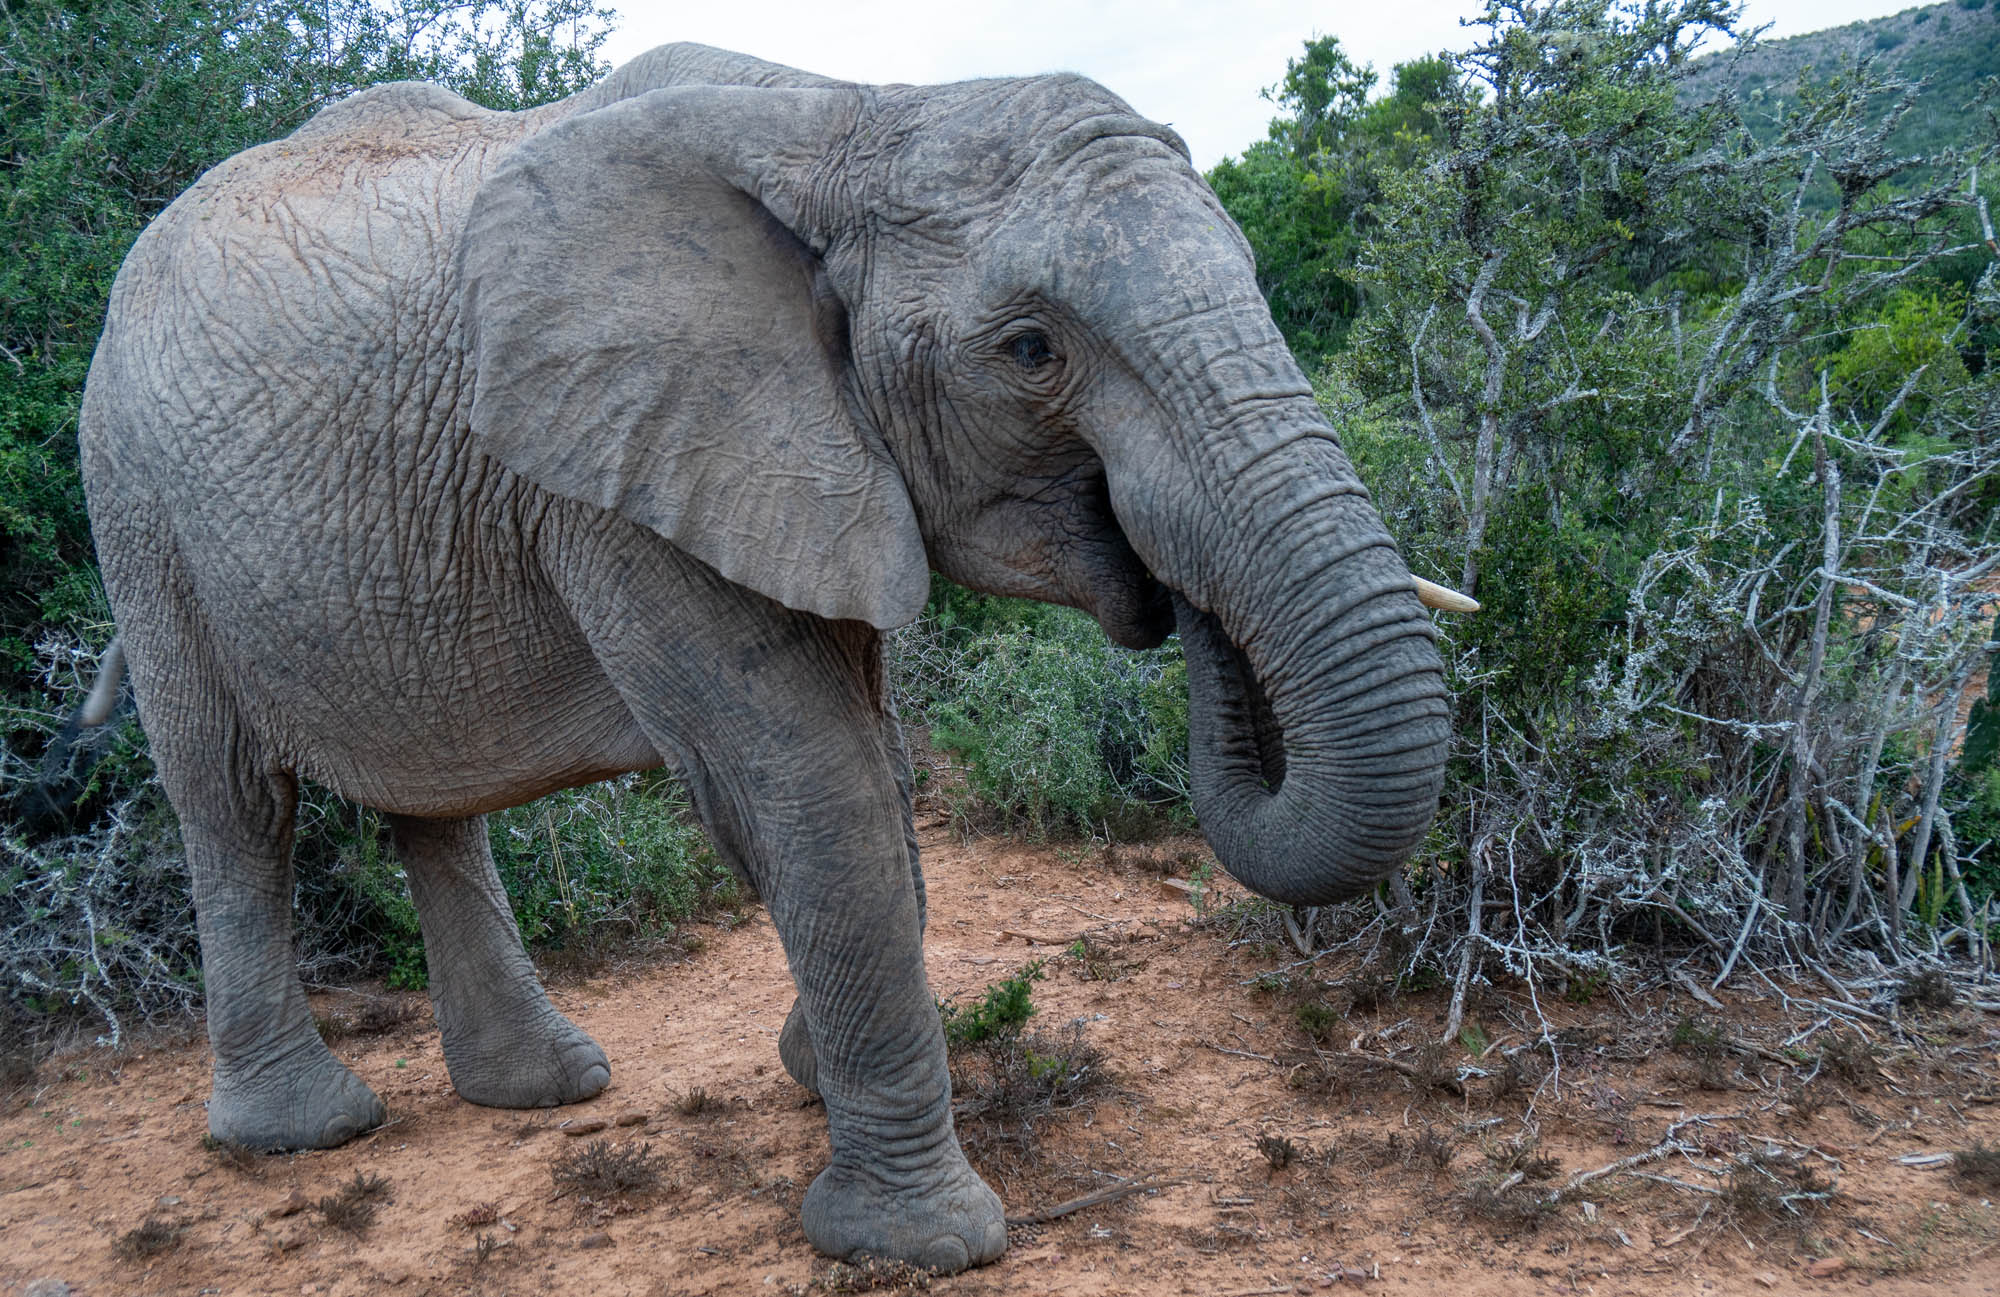
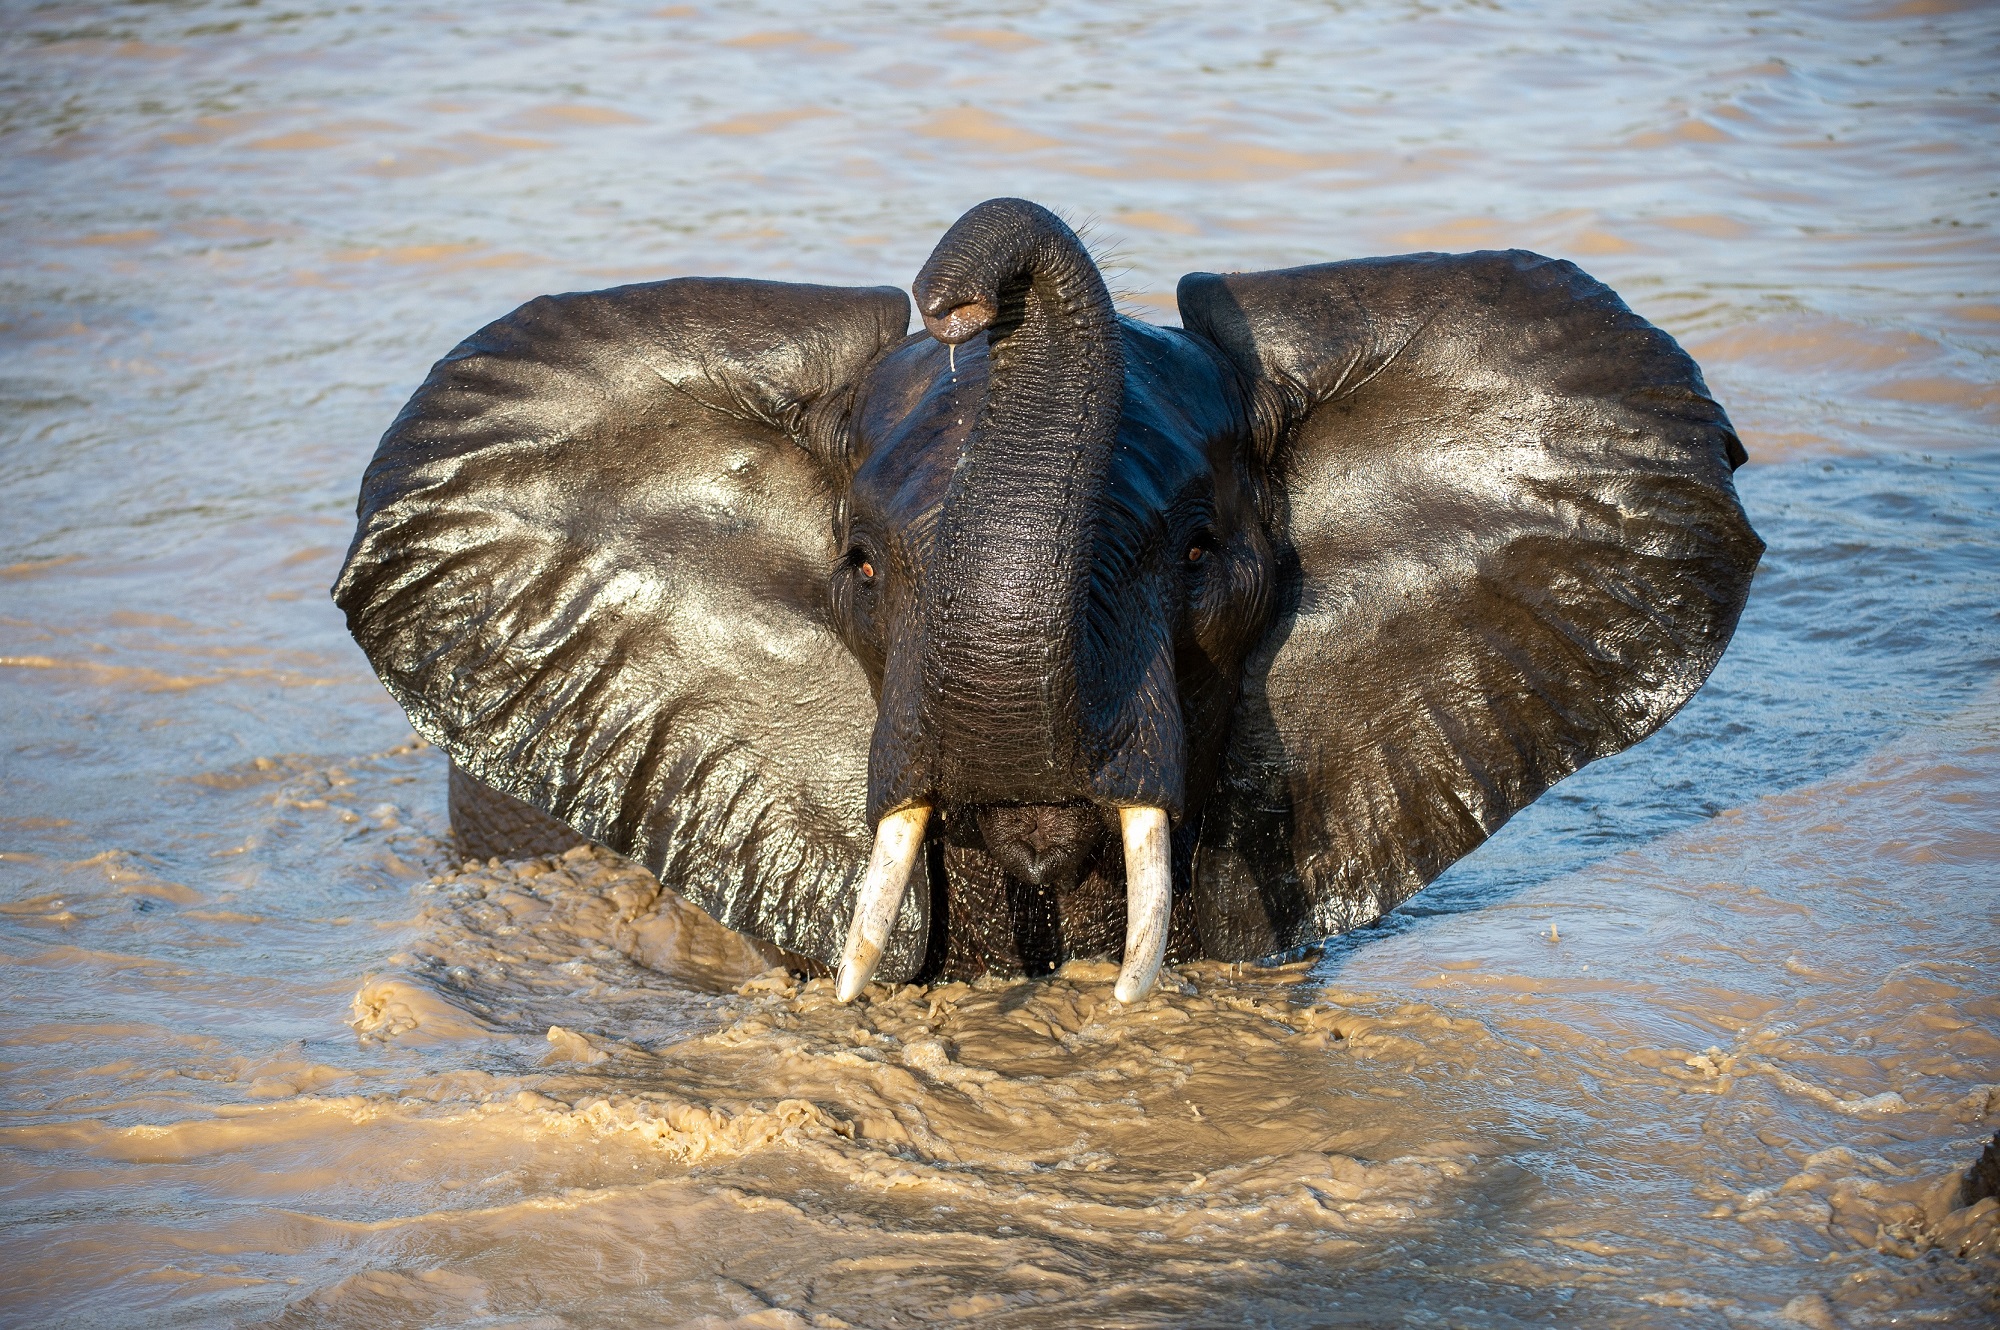
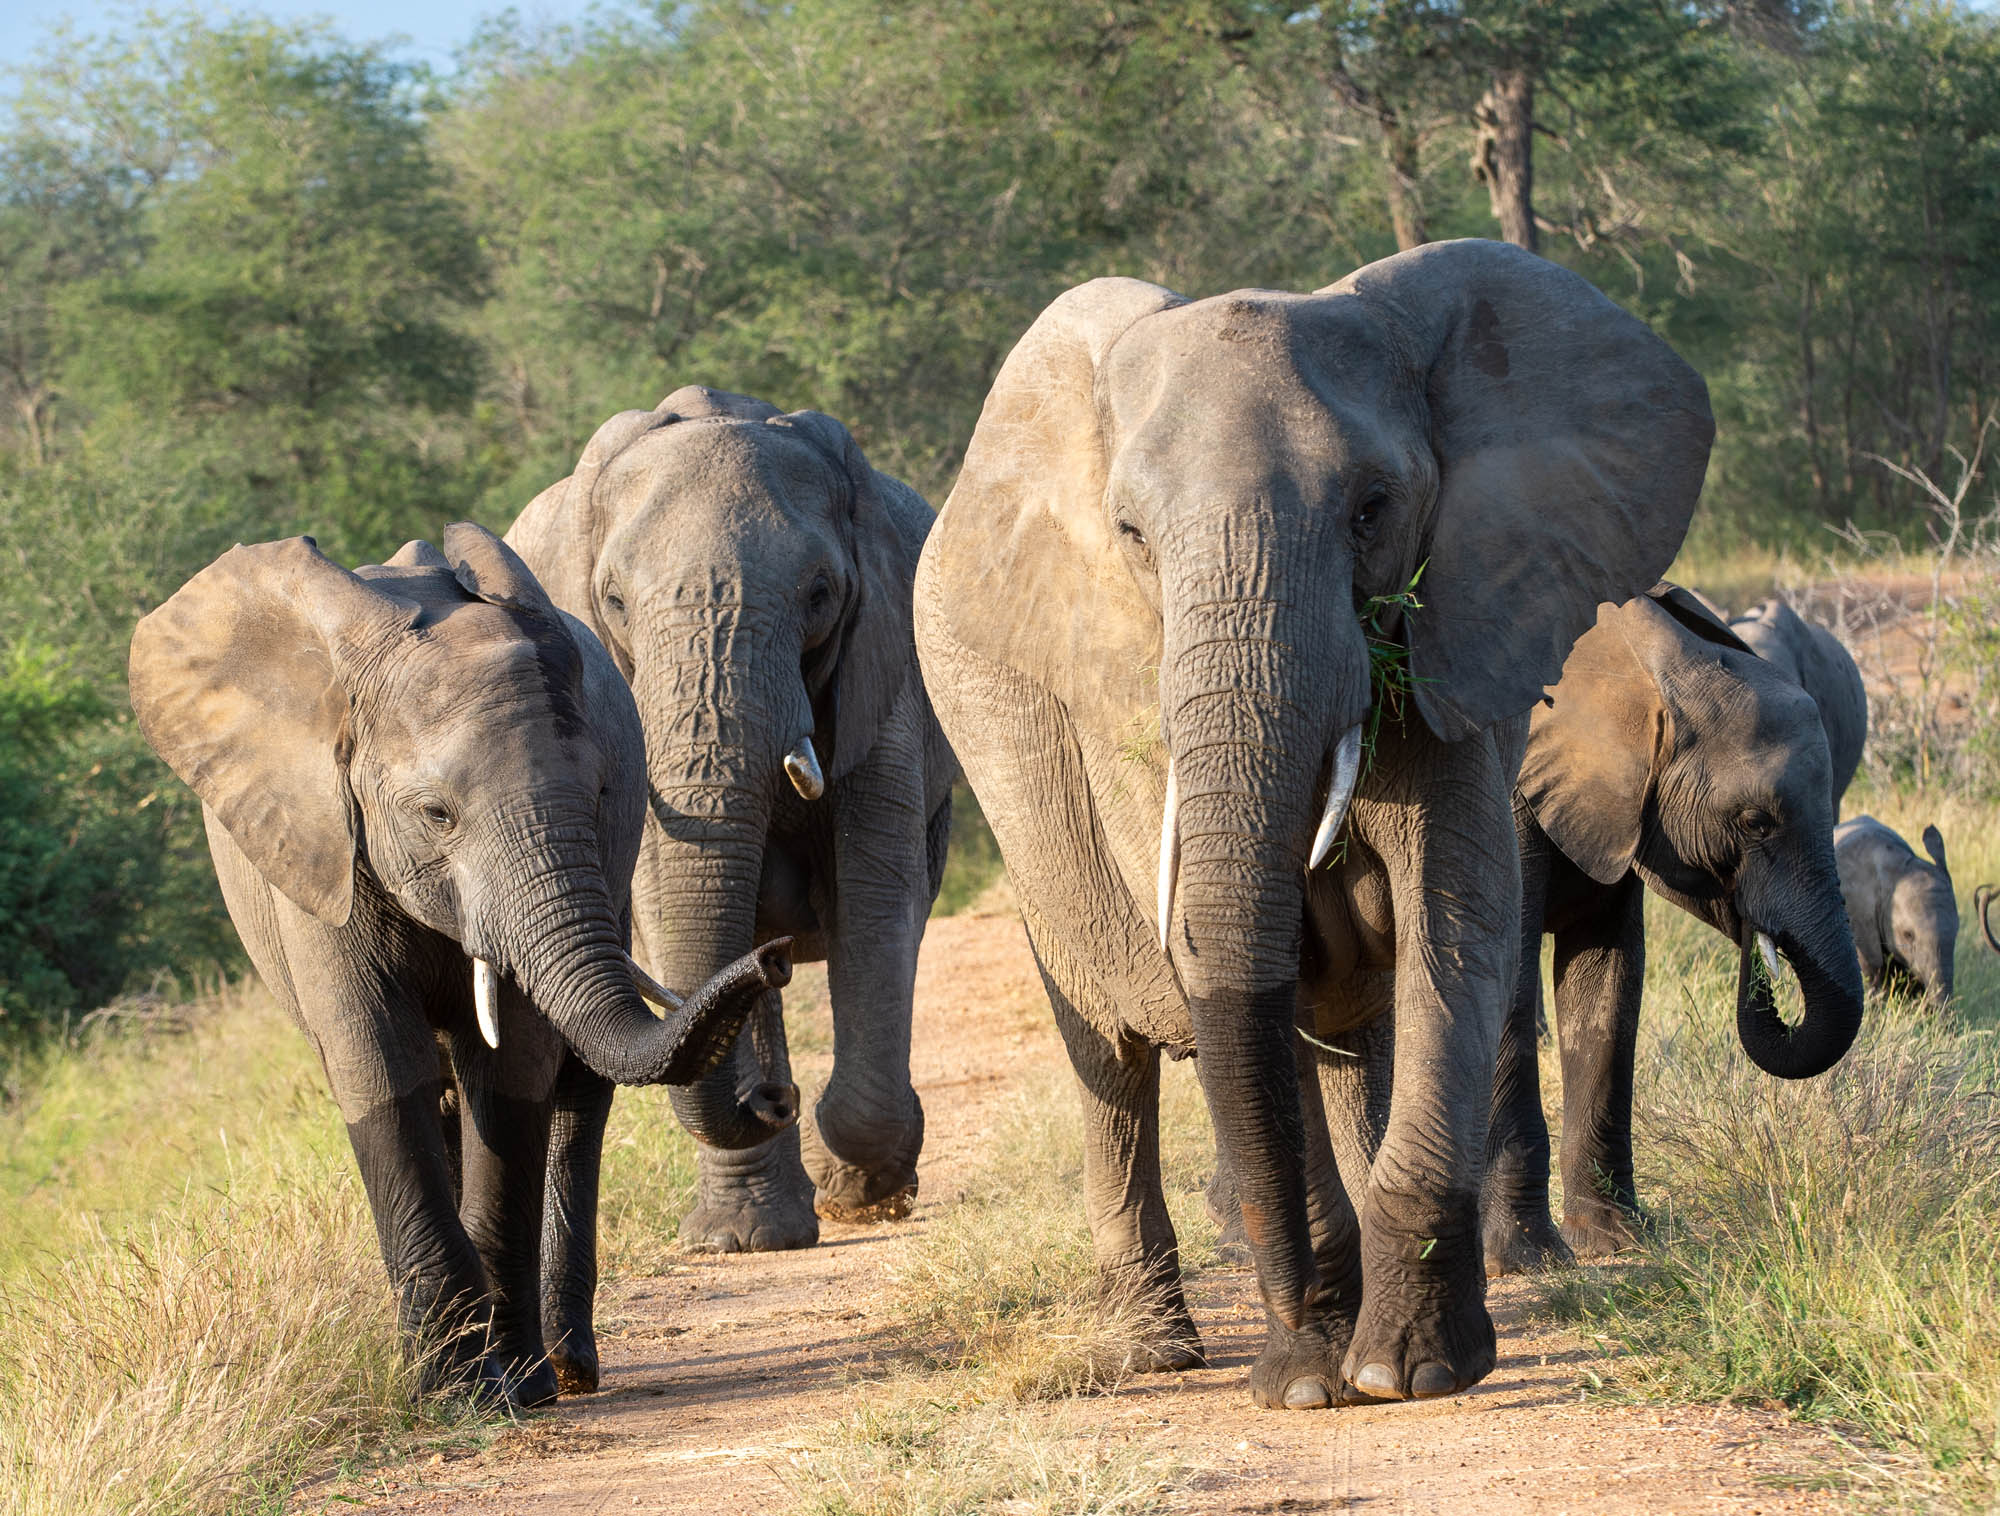
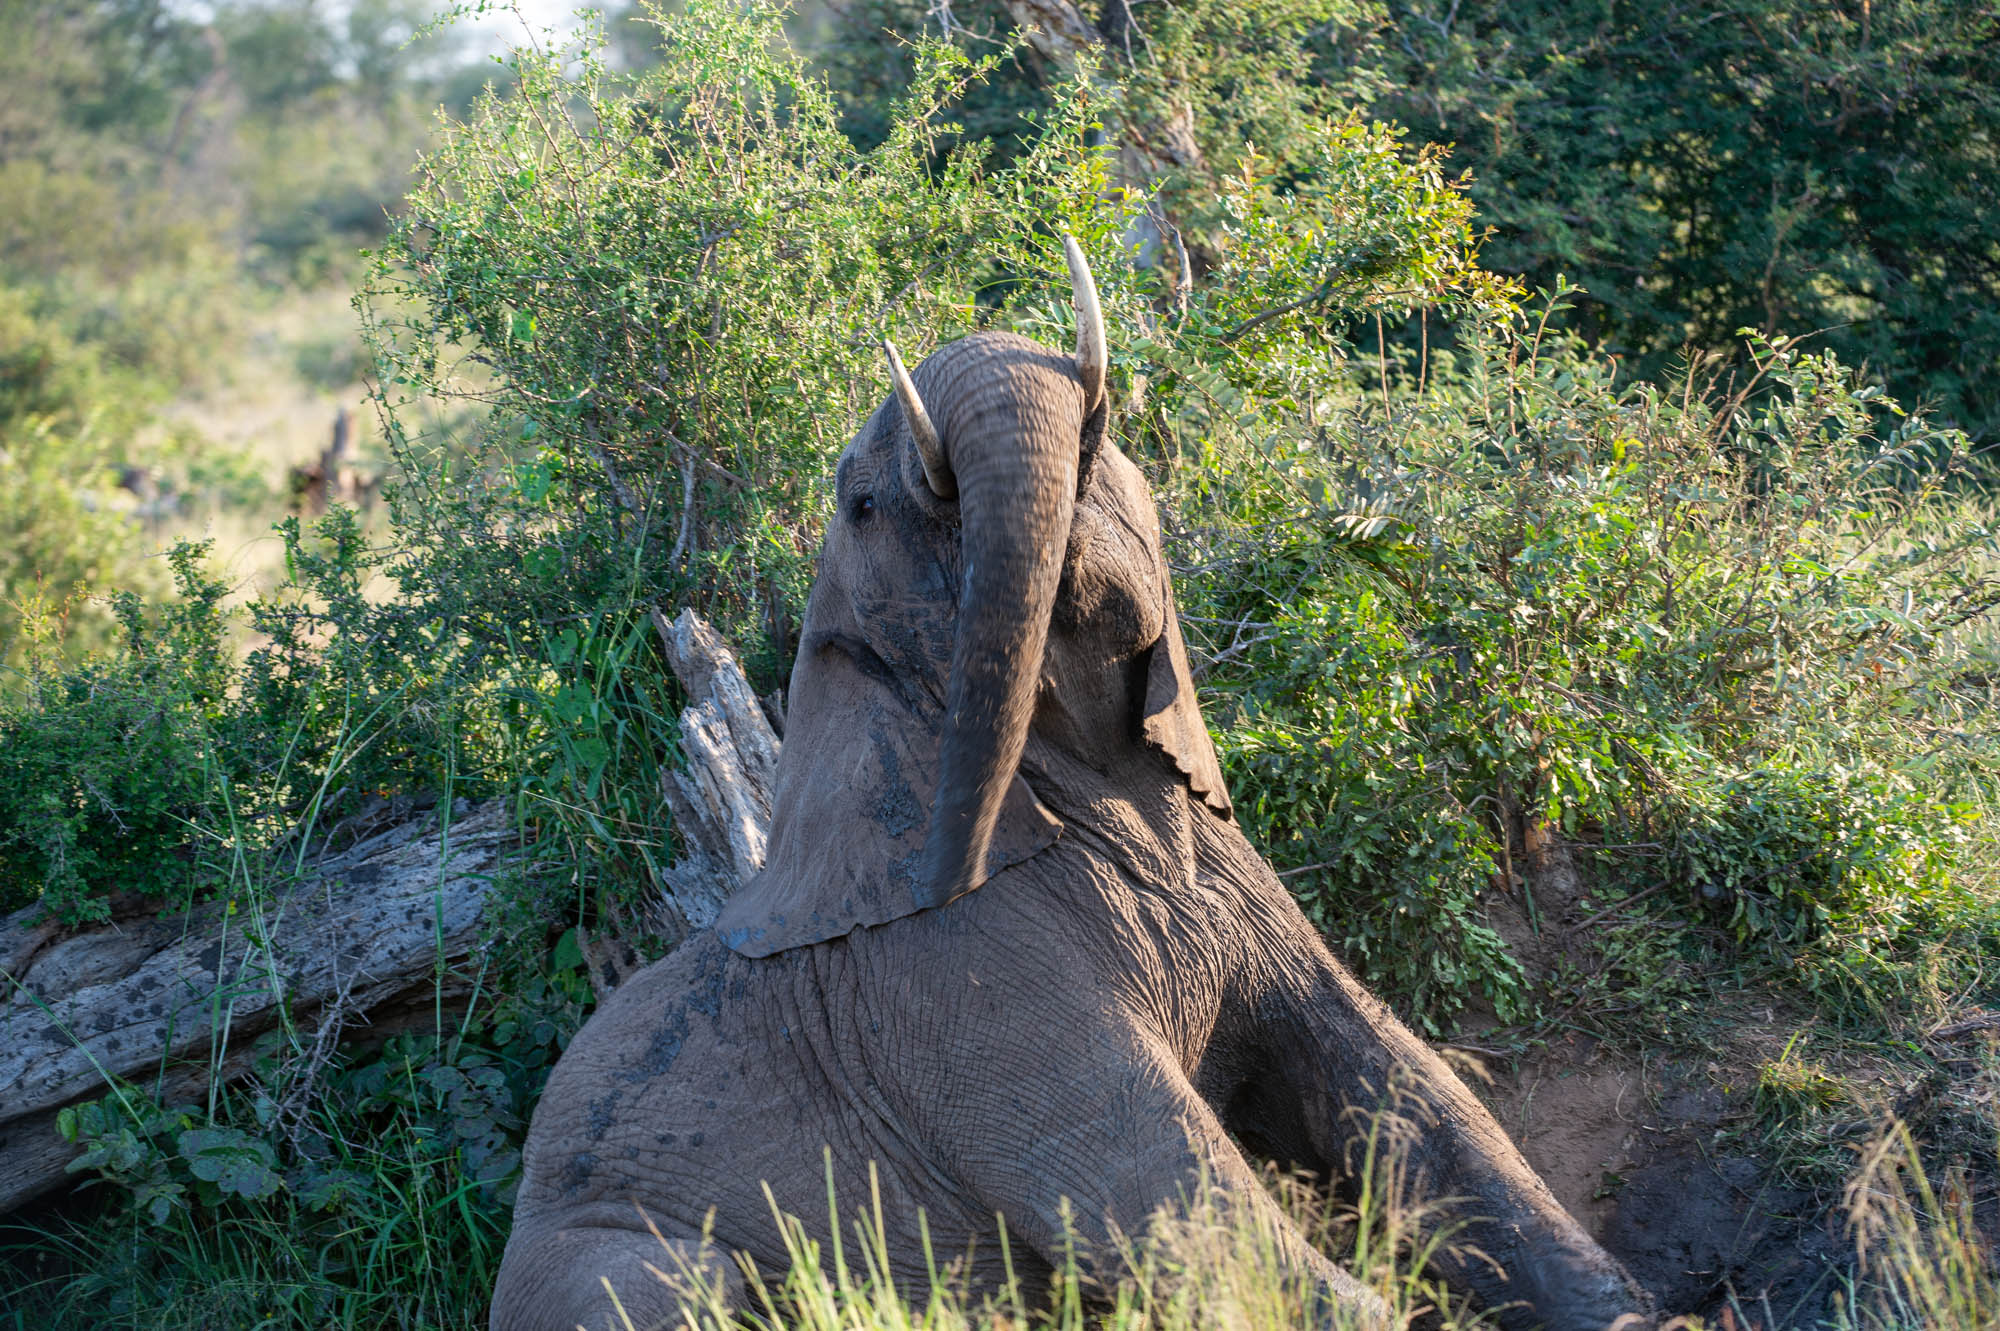
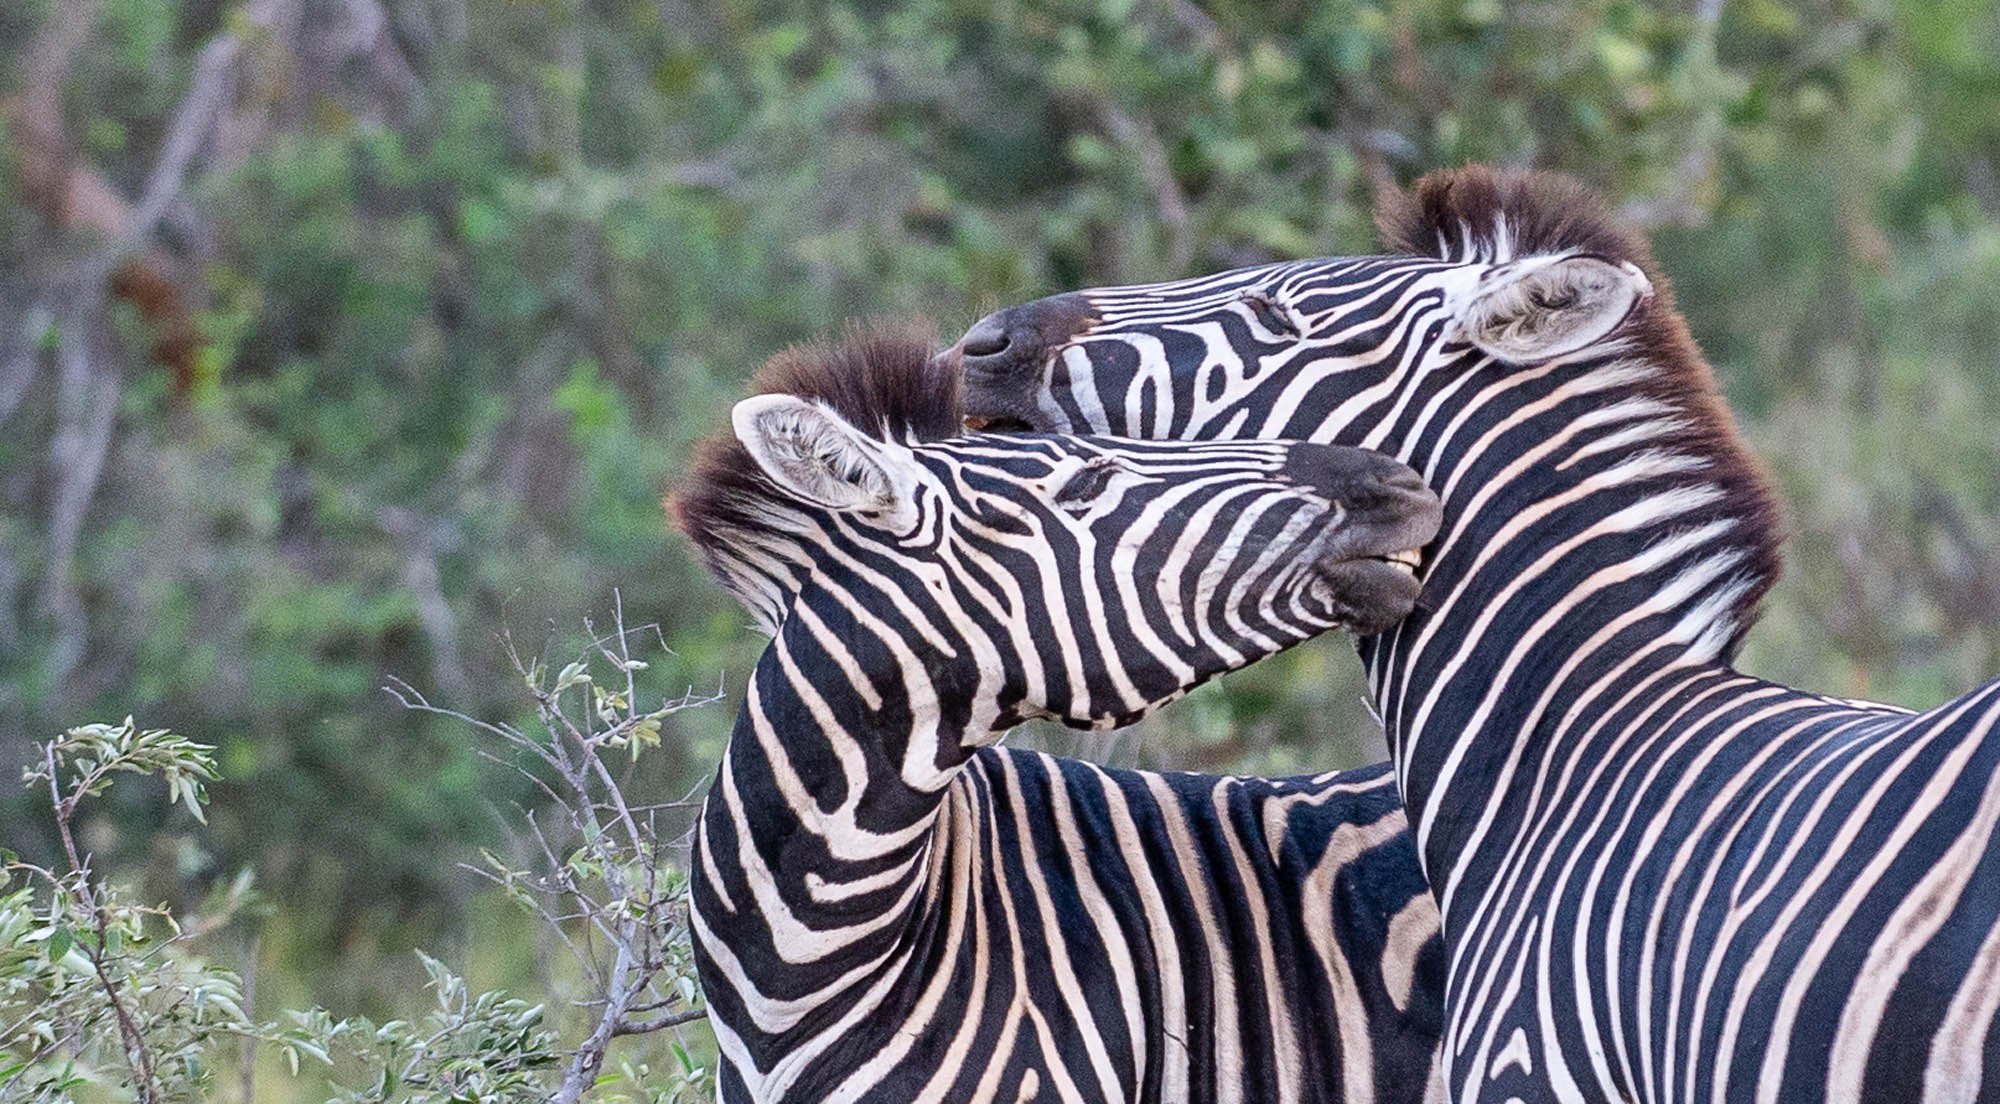
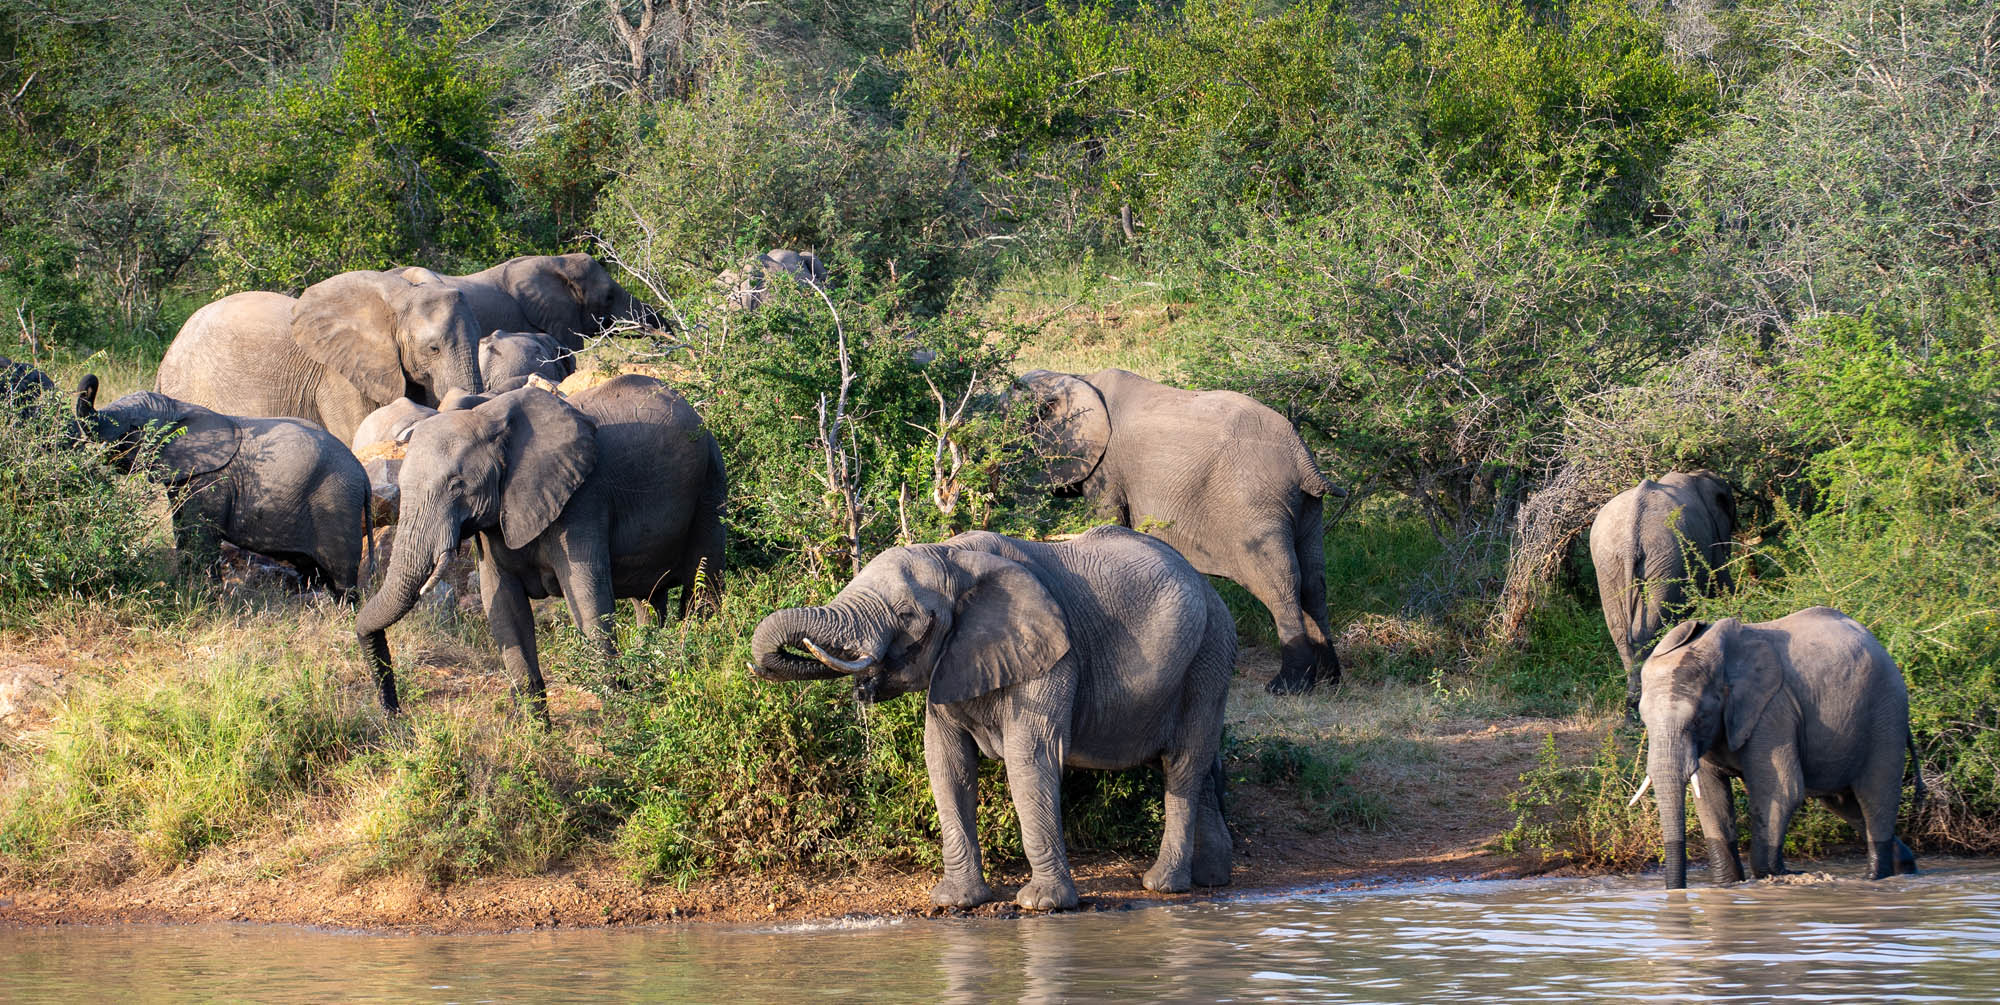
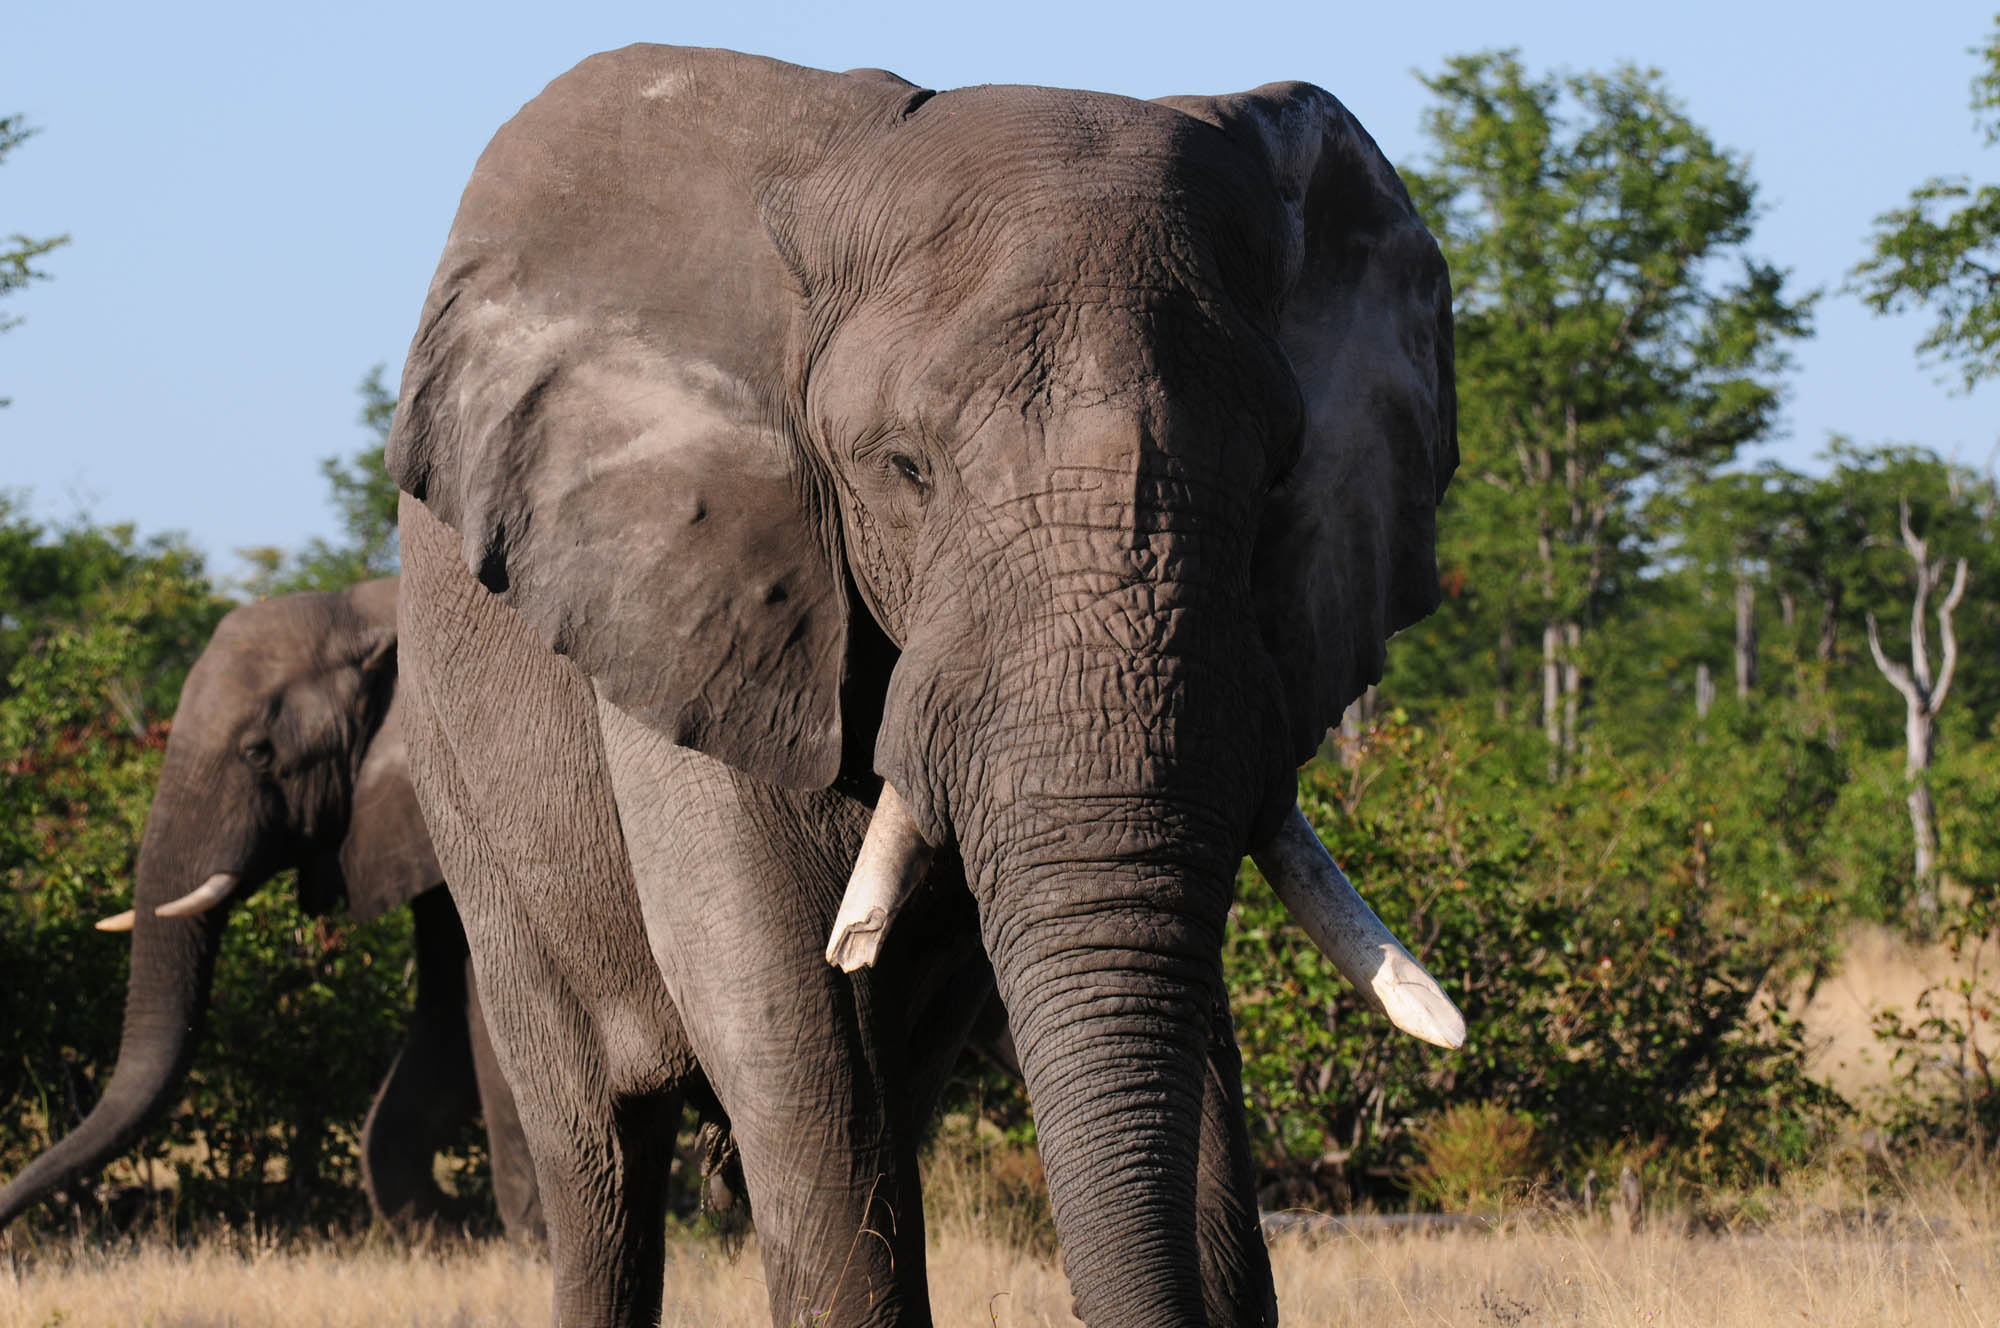
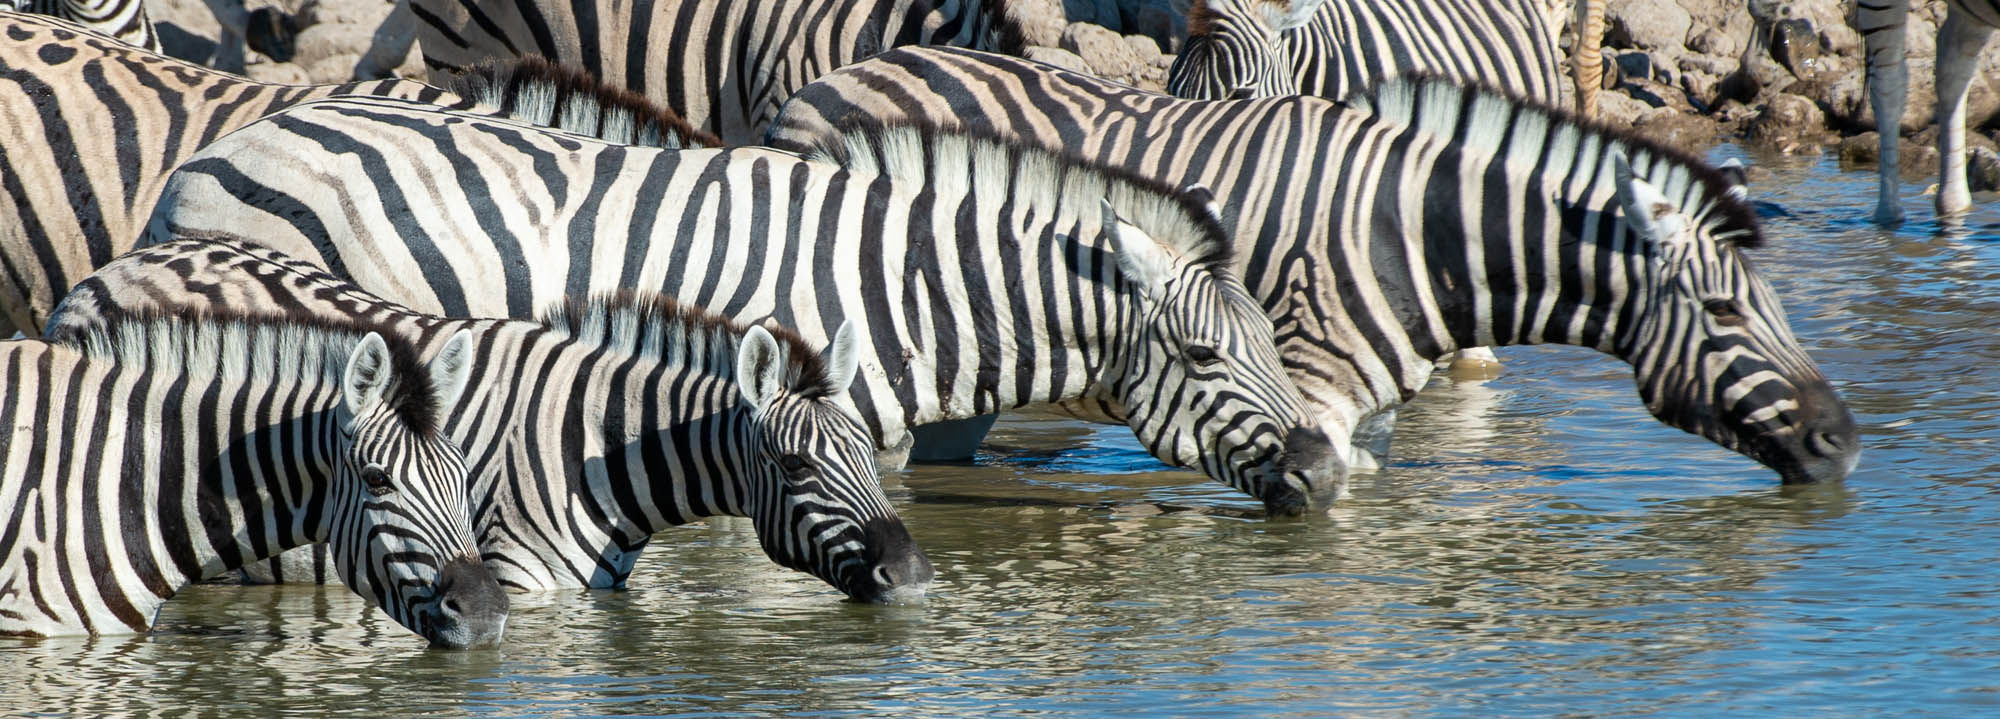
The water hole close to the lodge can be surprisingly good and while I did not happen to see any rhino there during my stay, it does happen. More often than not, there are elephants coming around to drink, and we also saw some zebras and warthogs take their turn.
KARIEGA
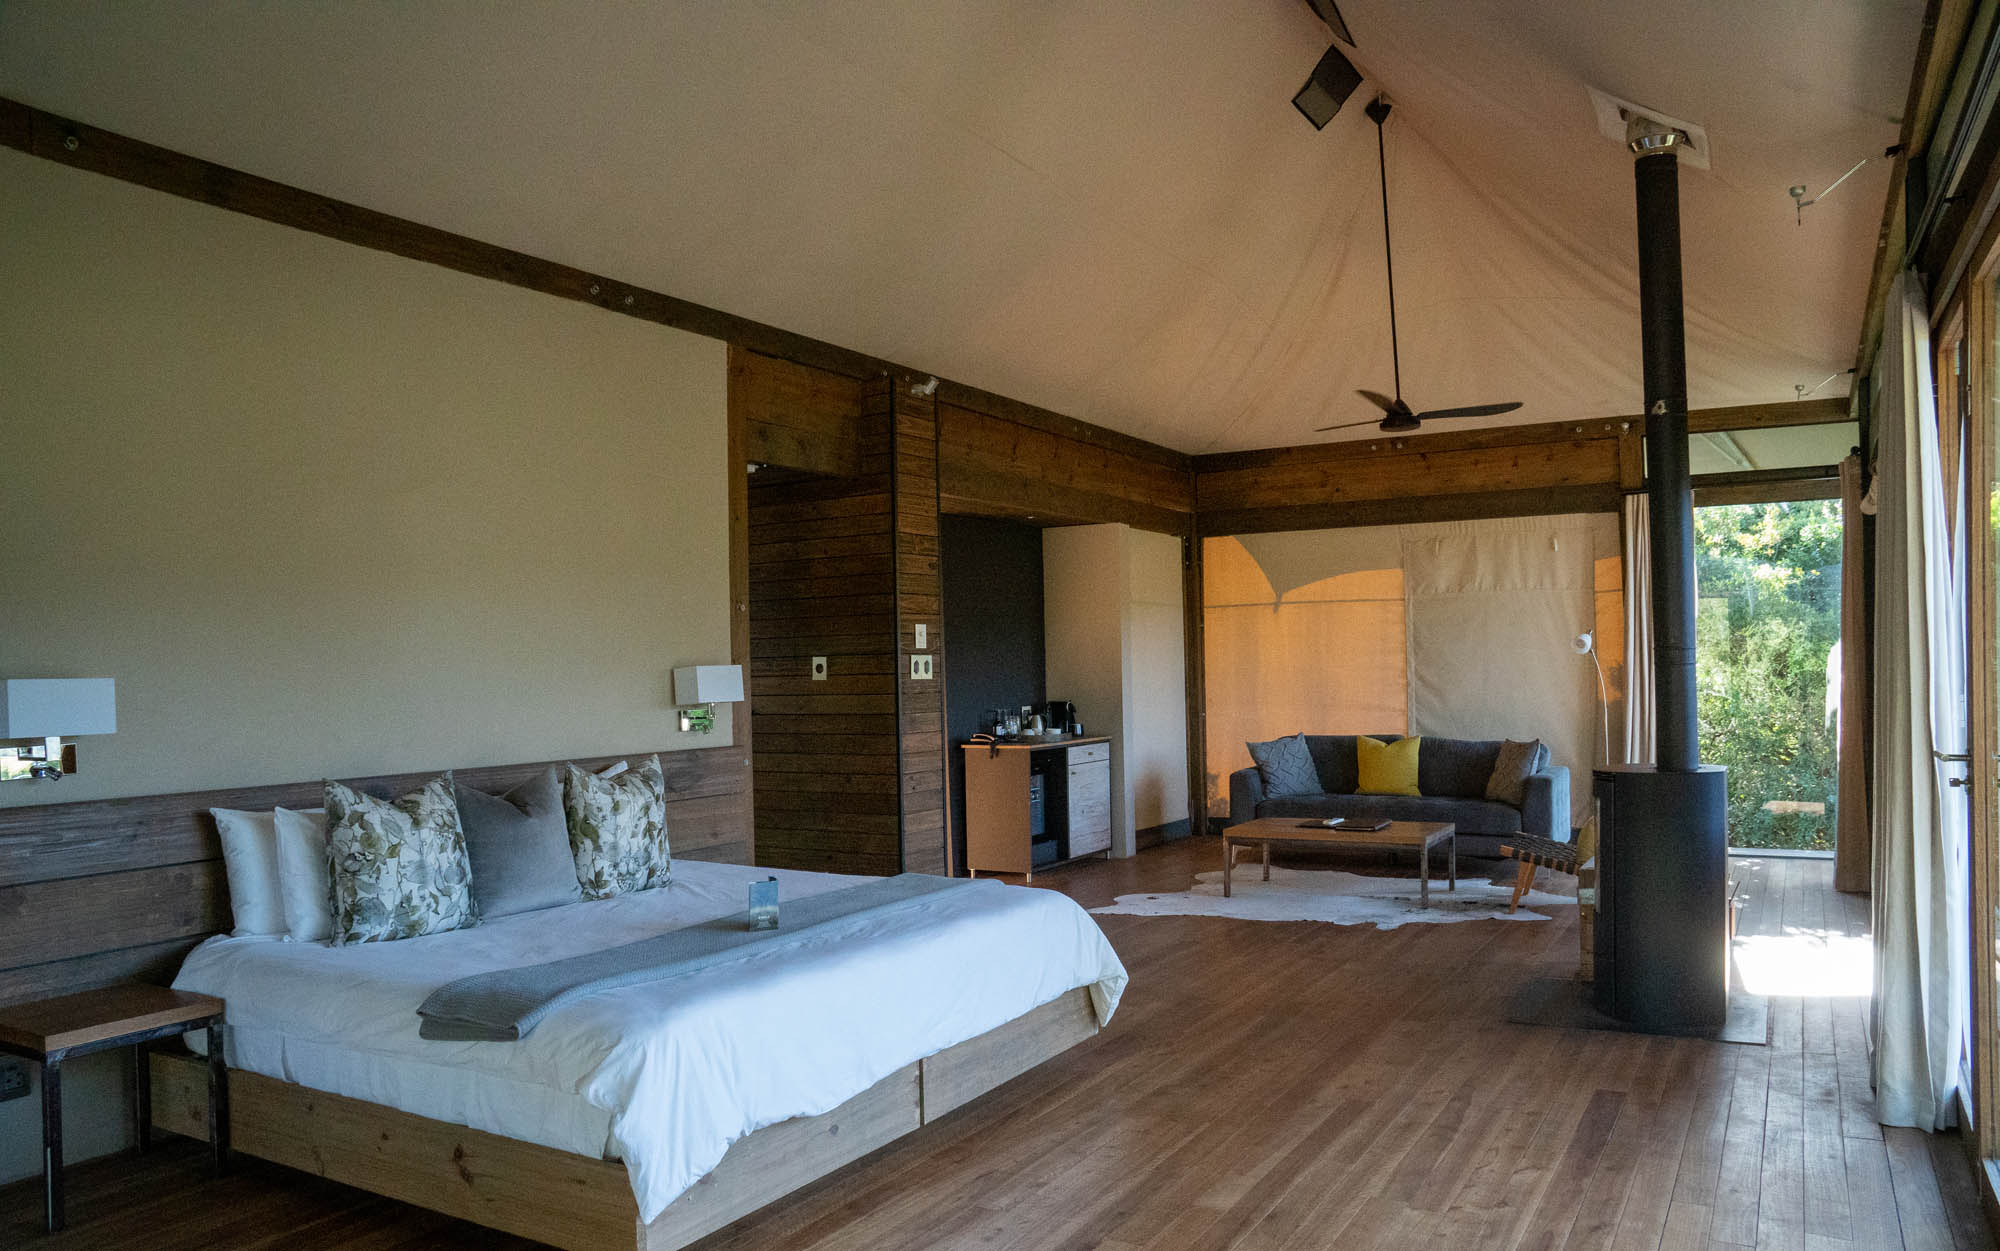
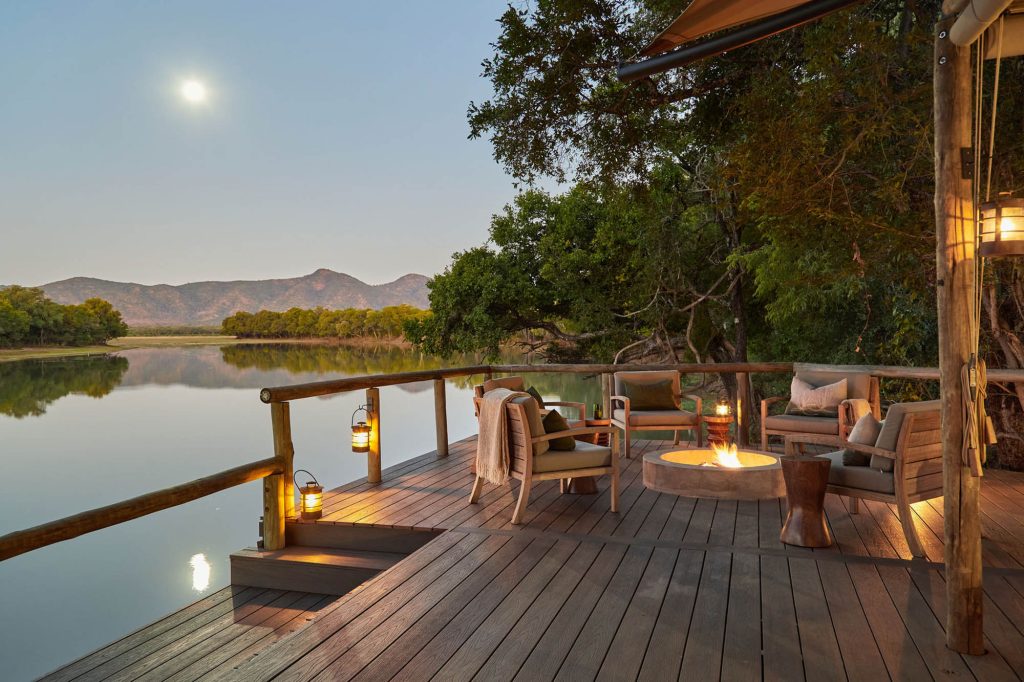
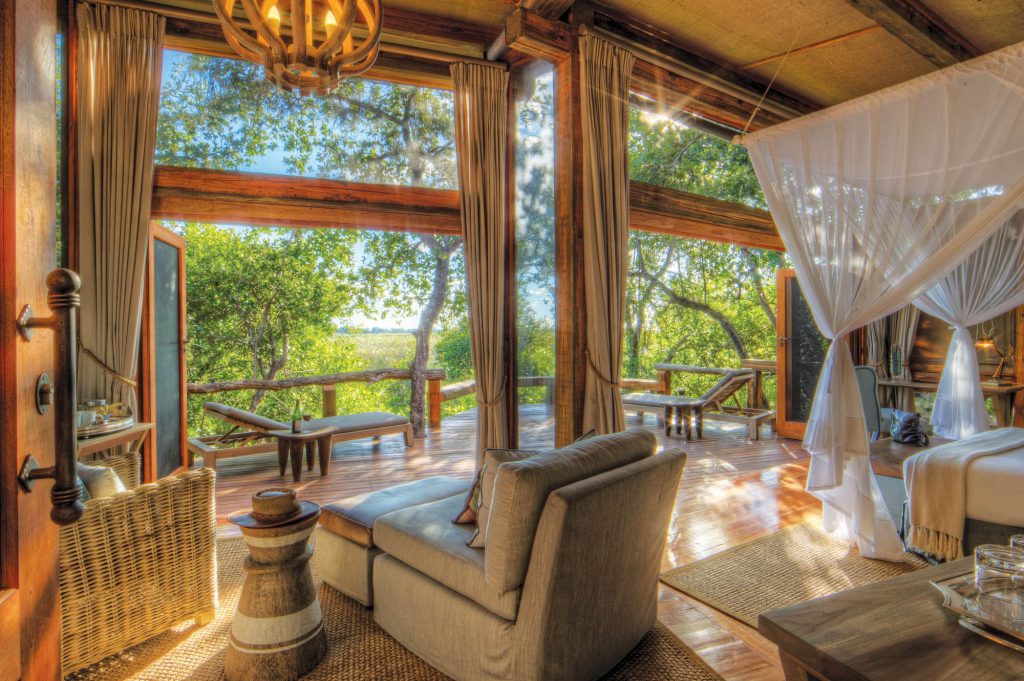
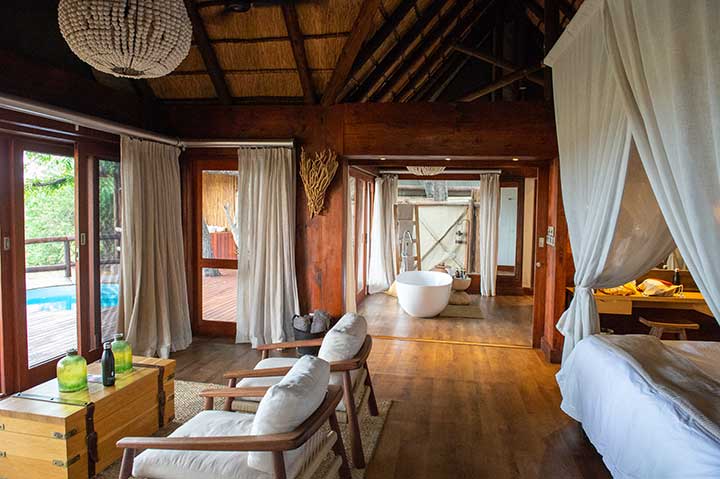
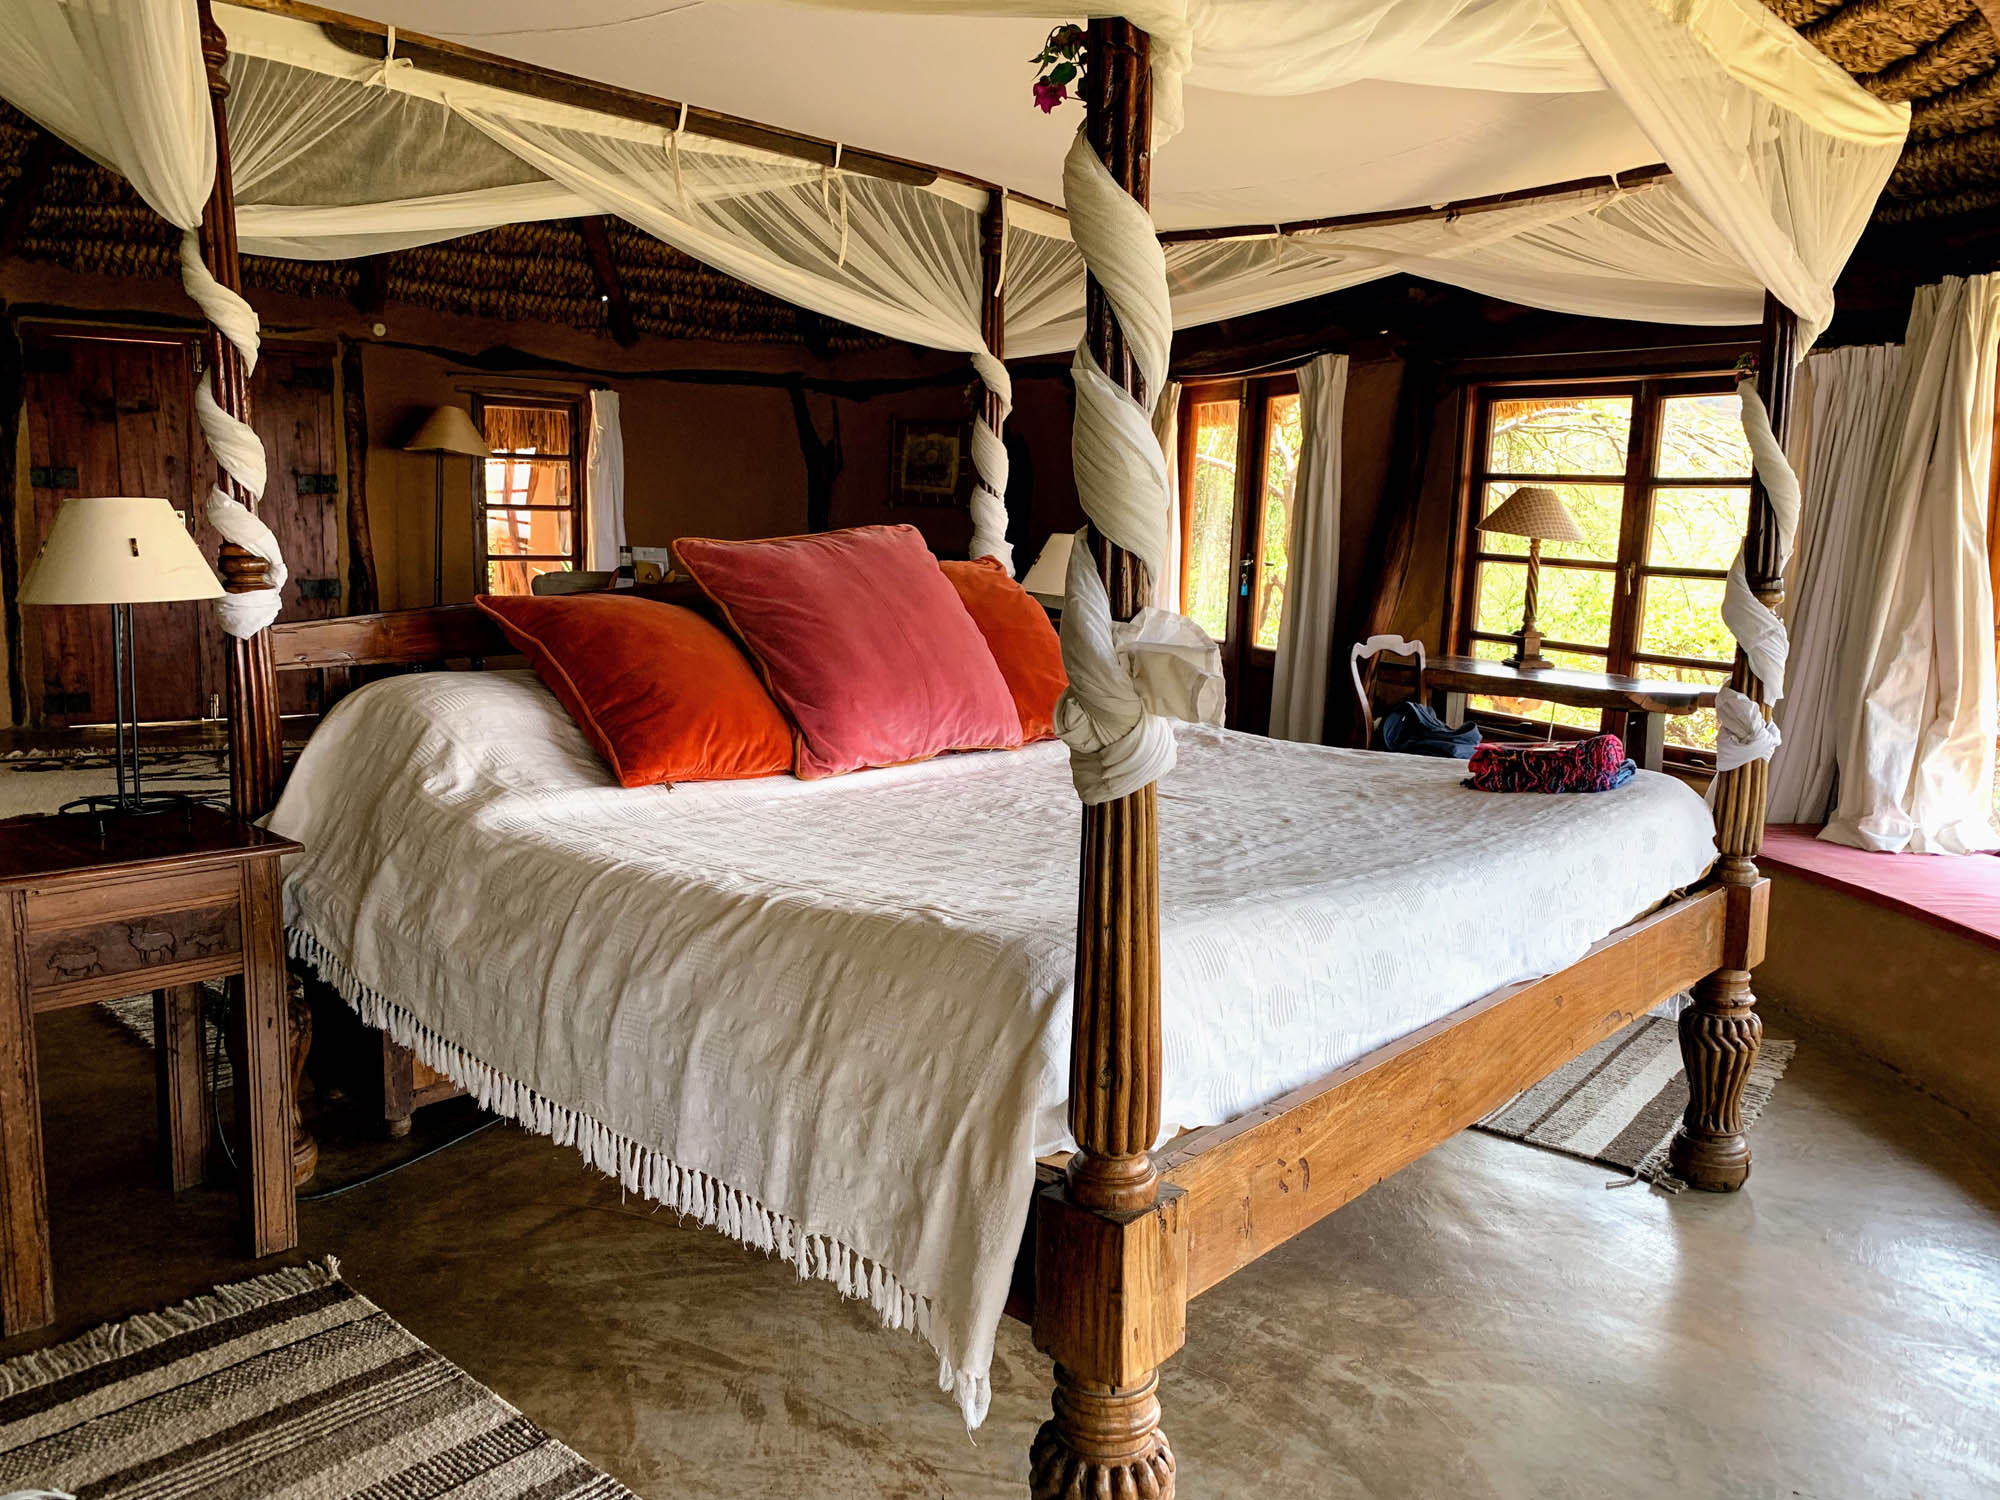
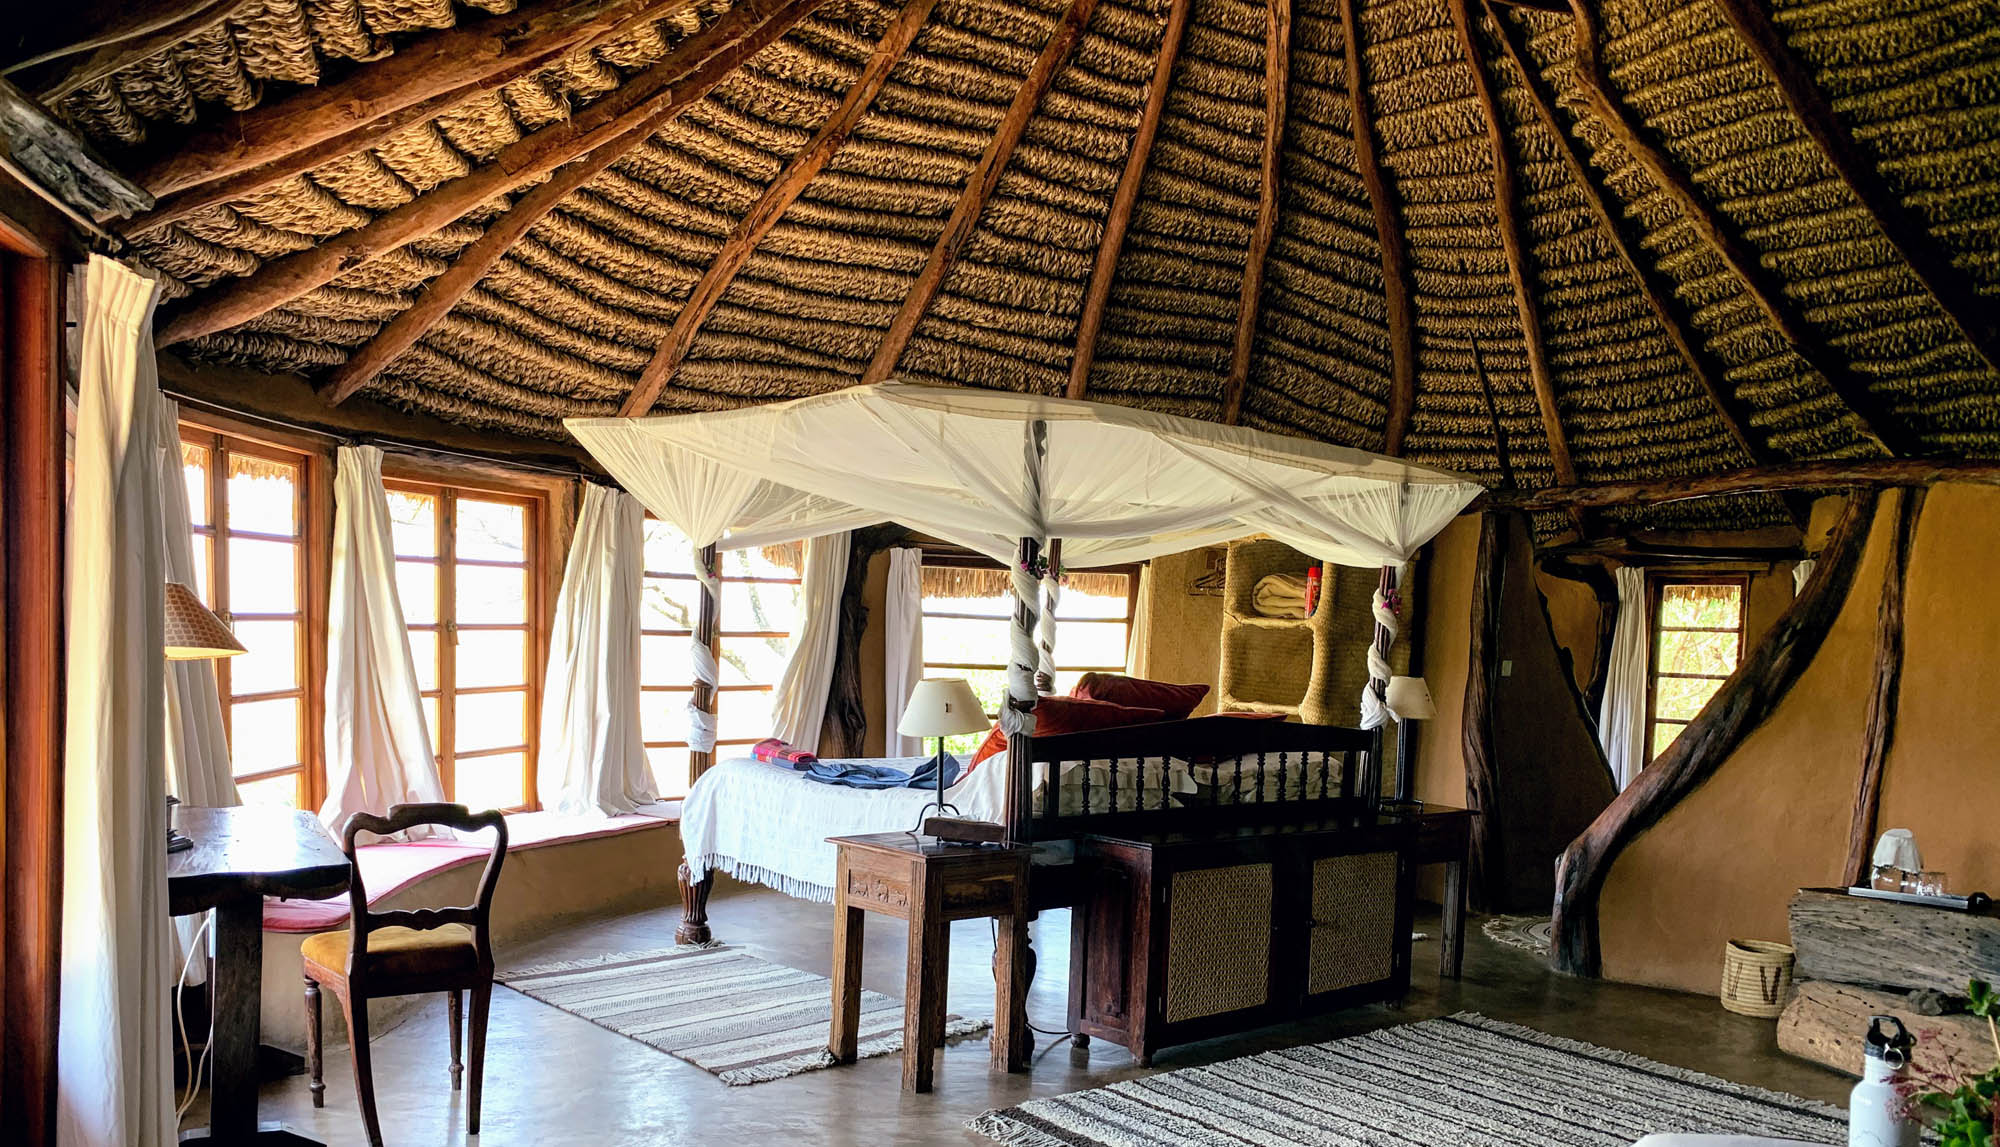
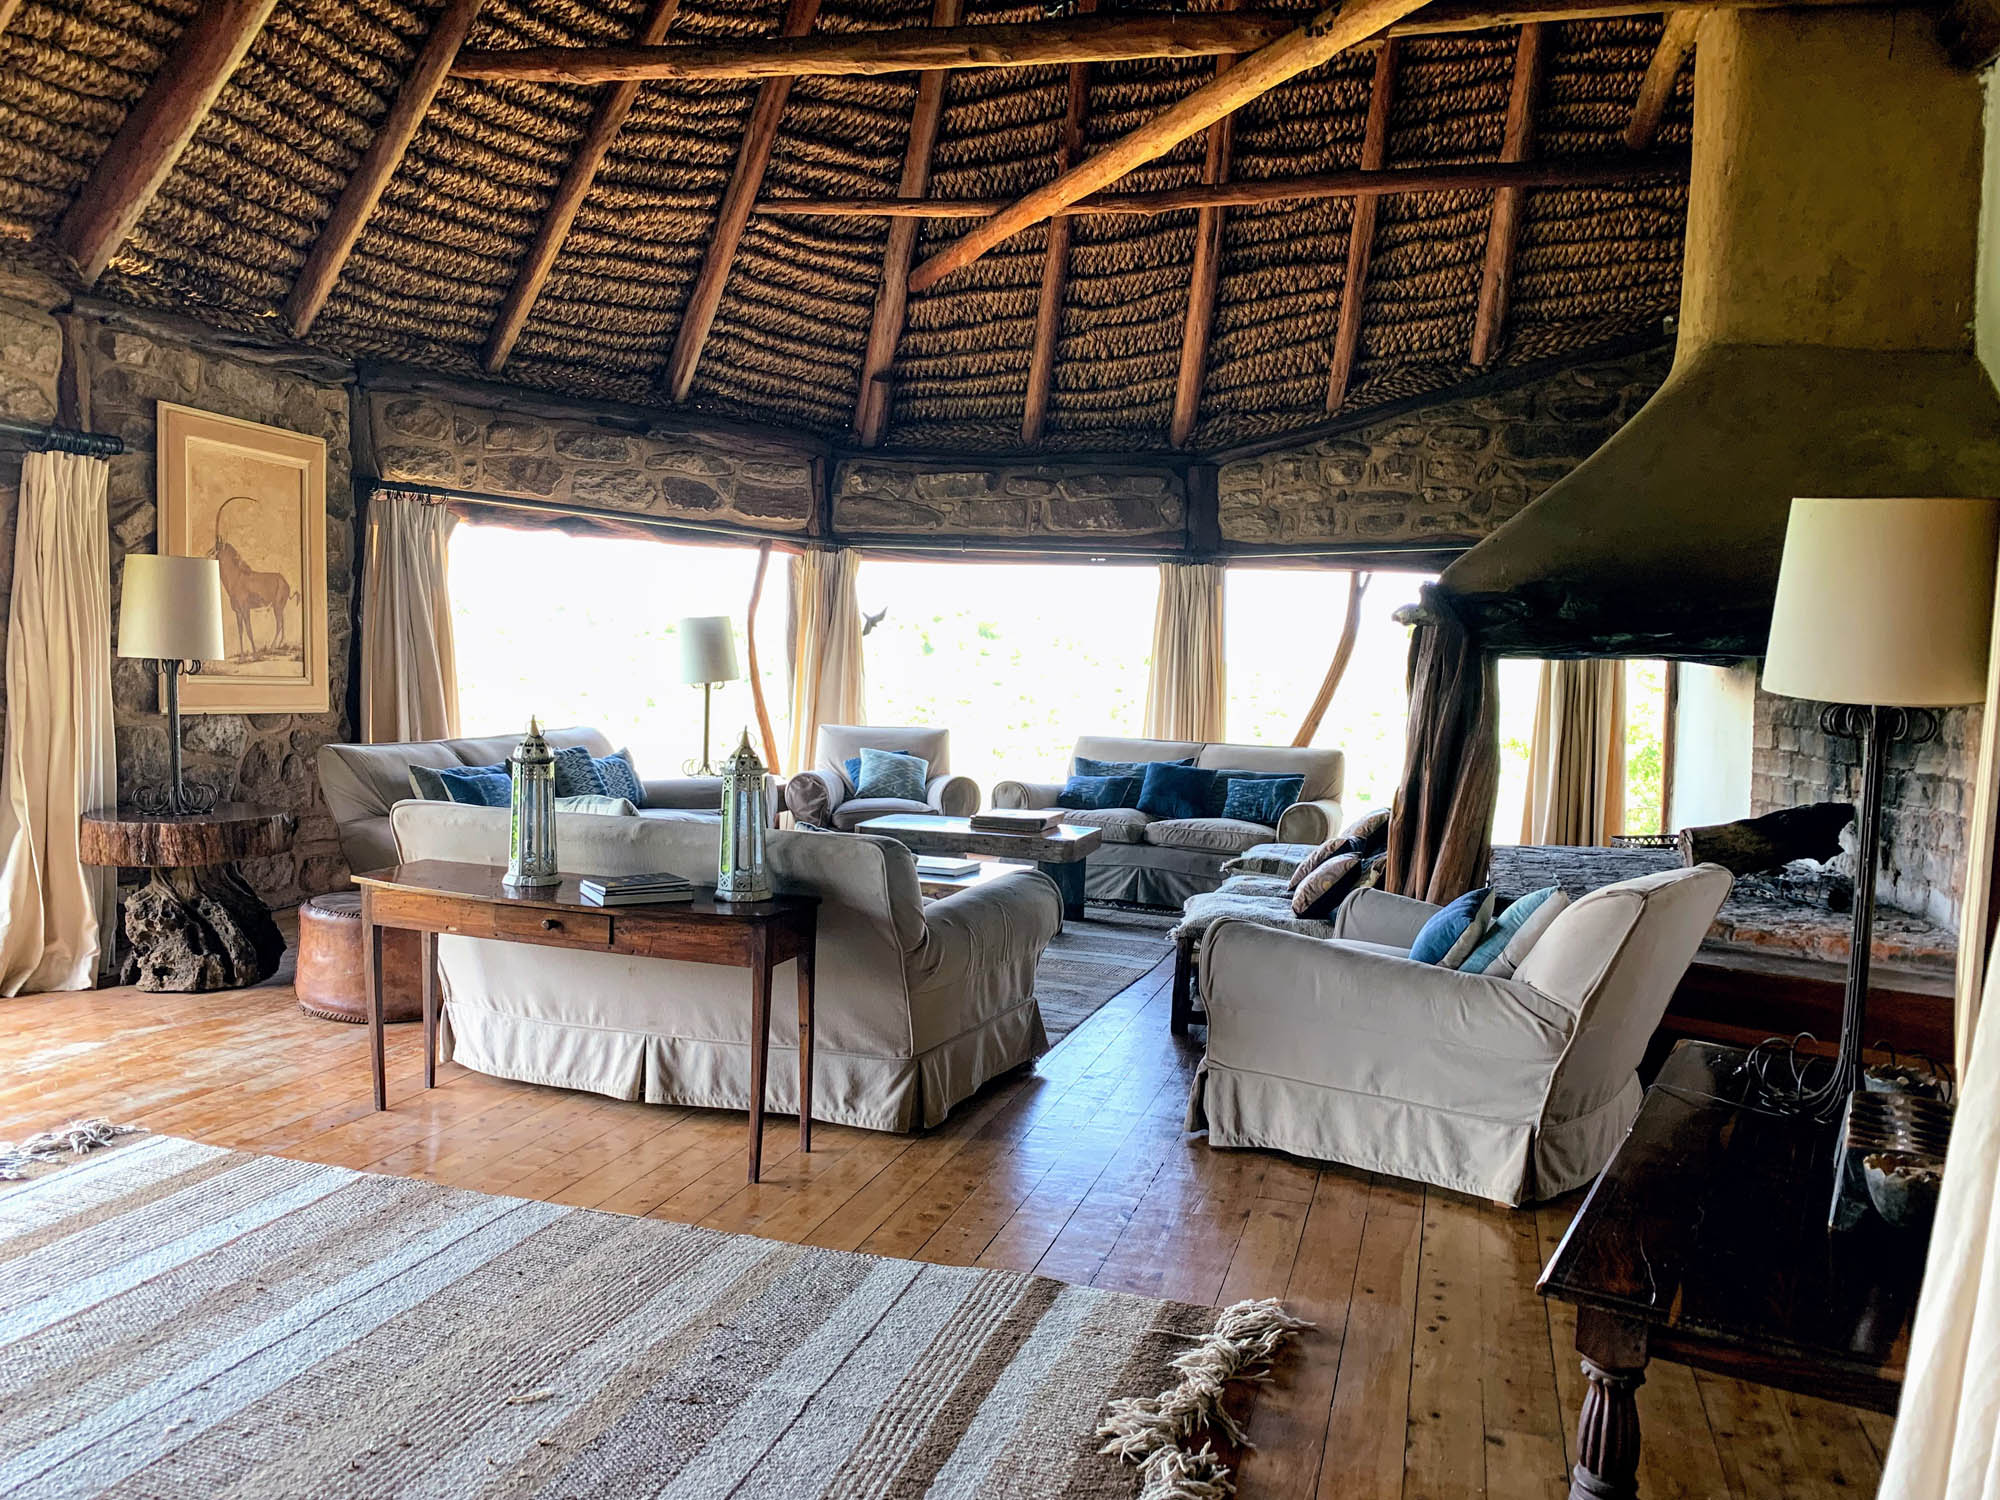
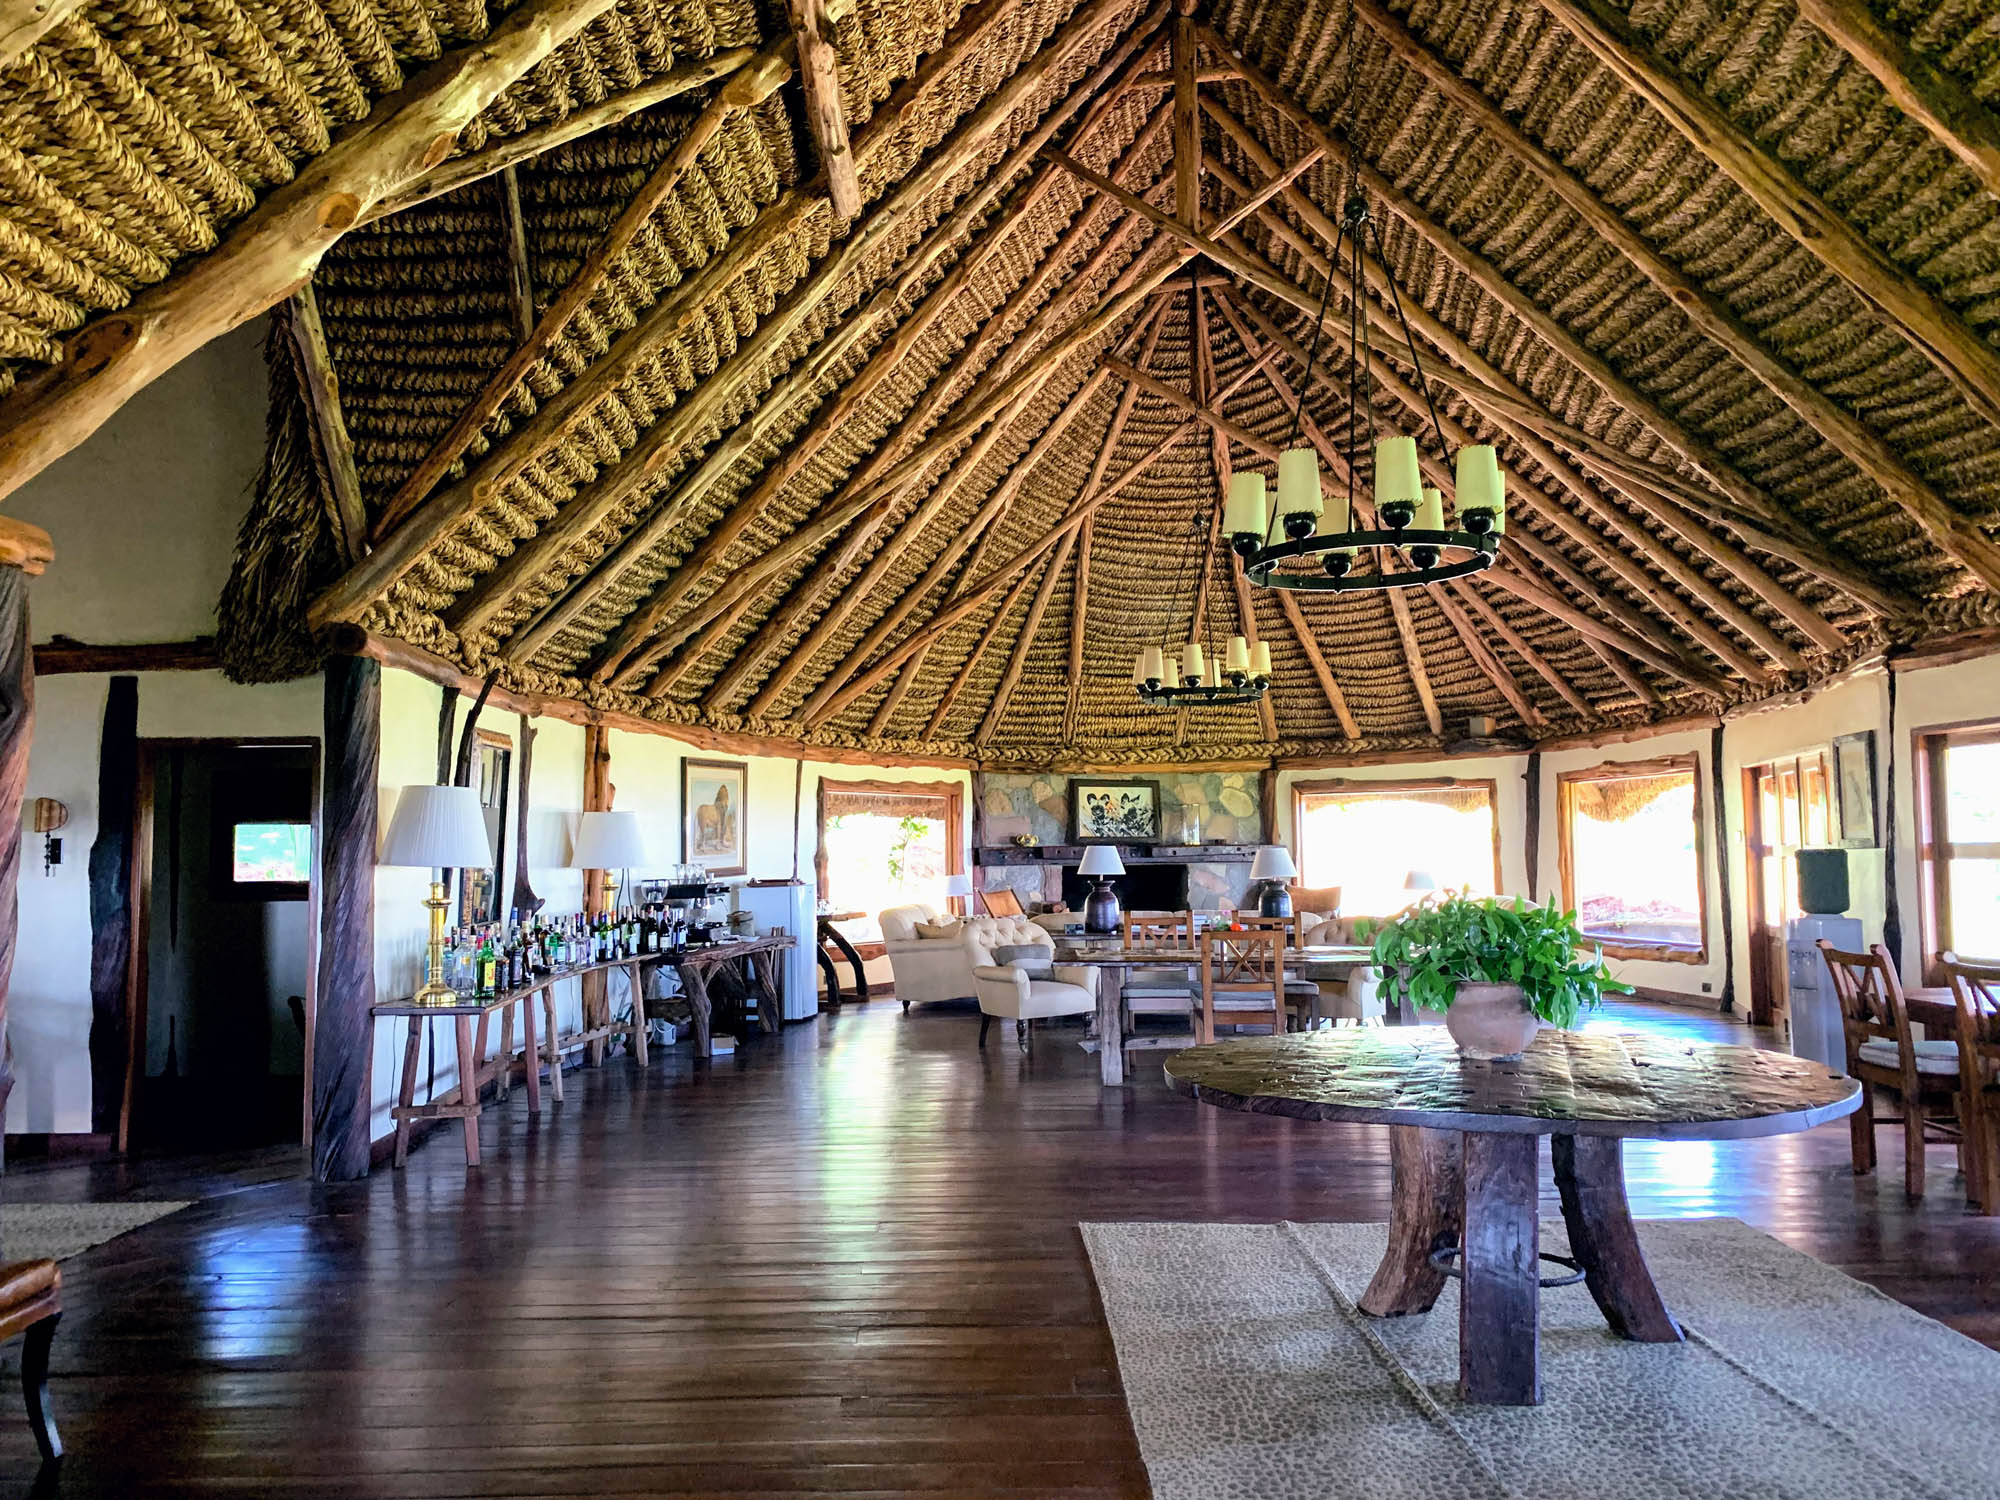
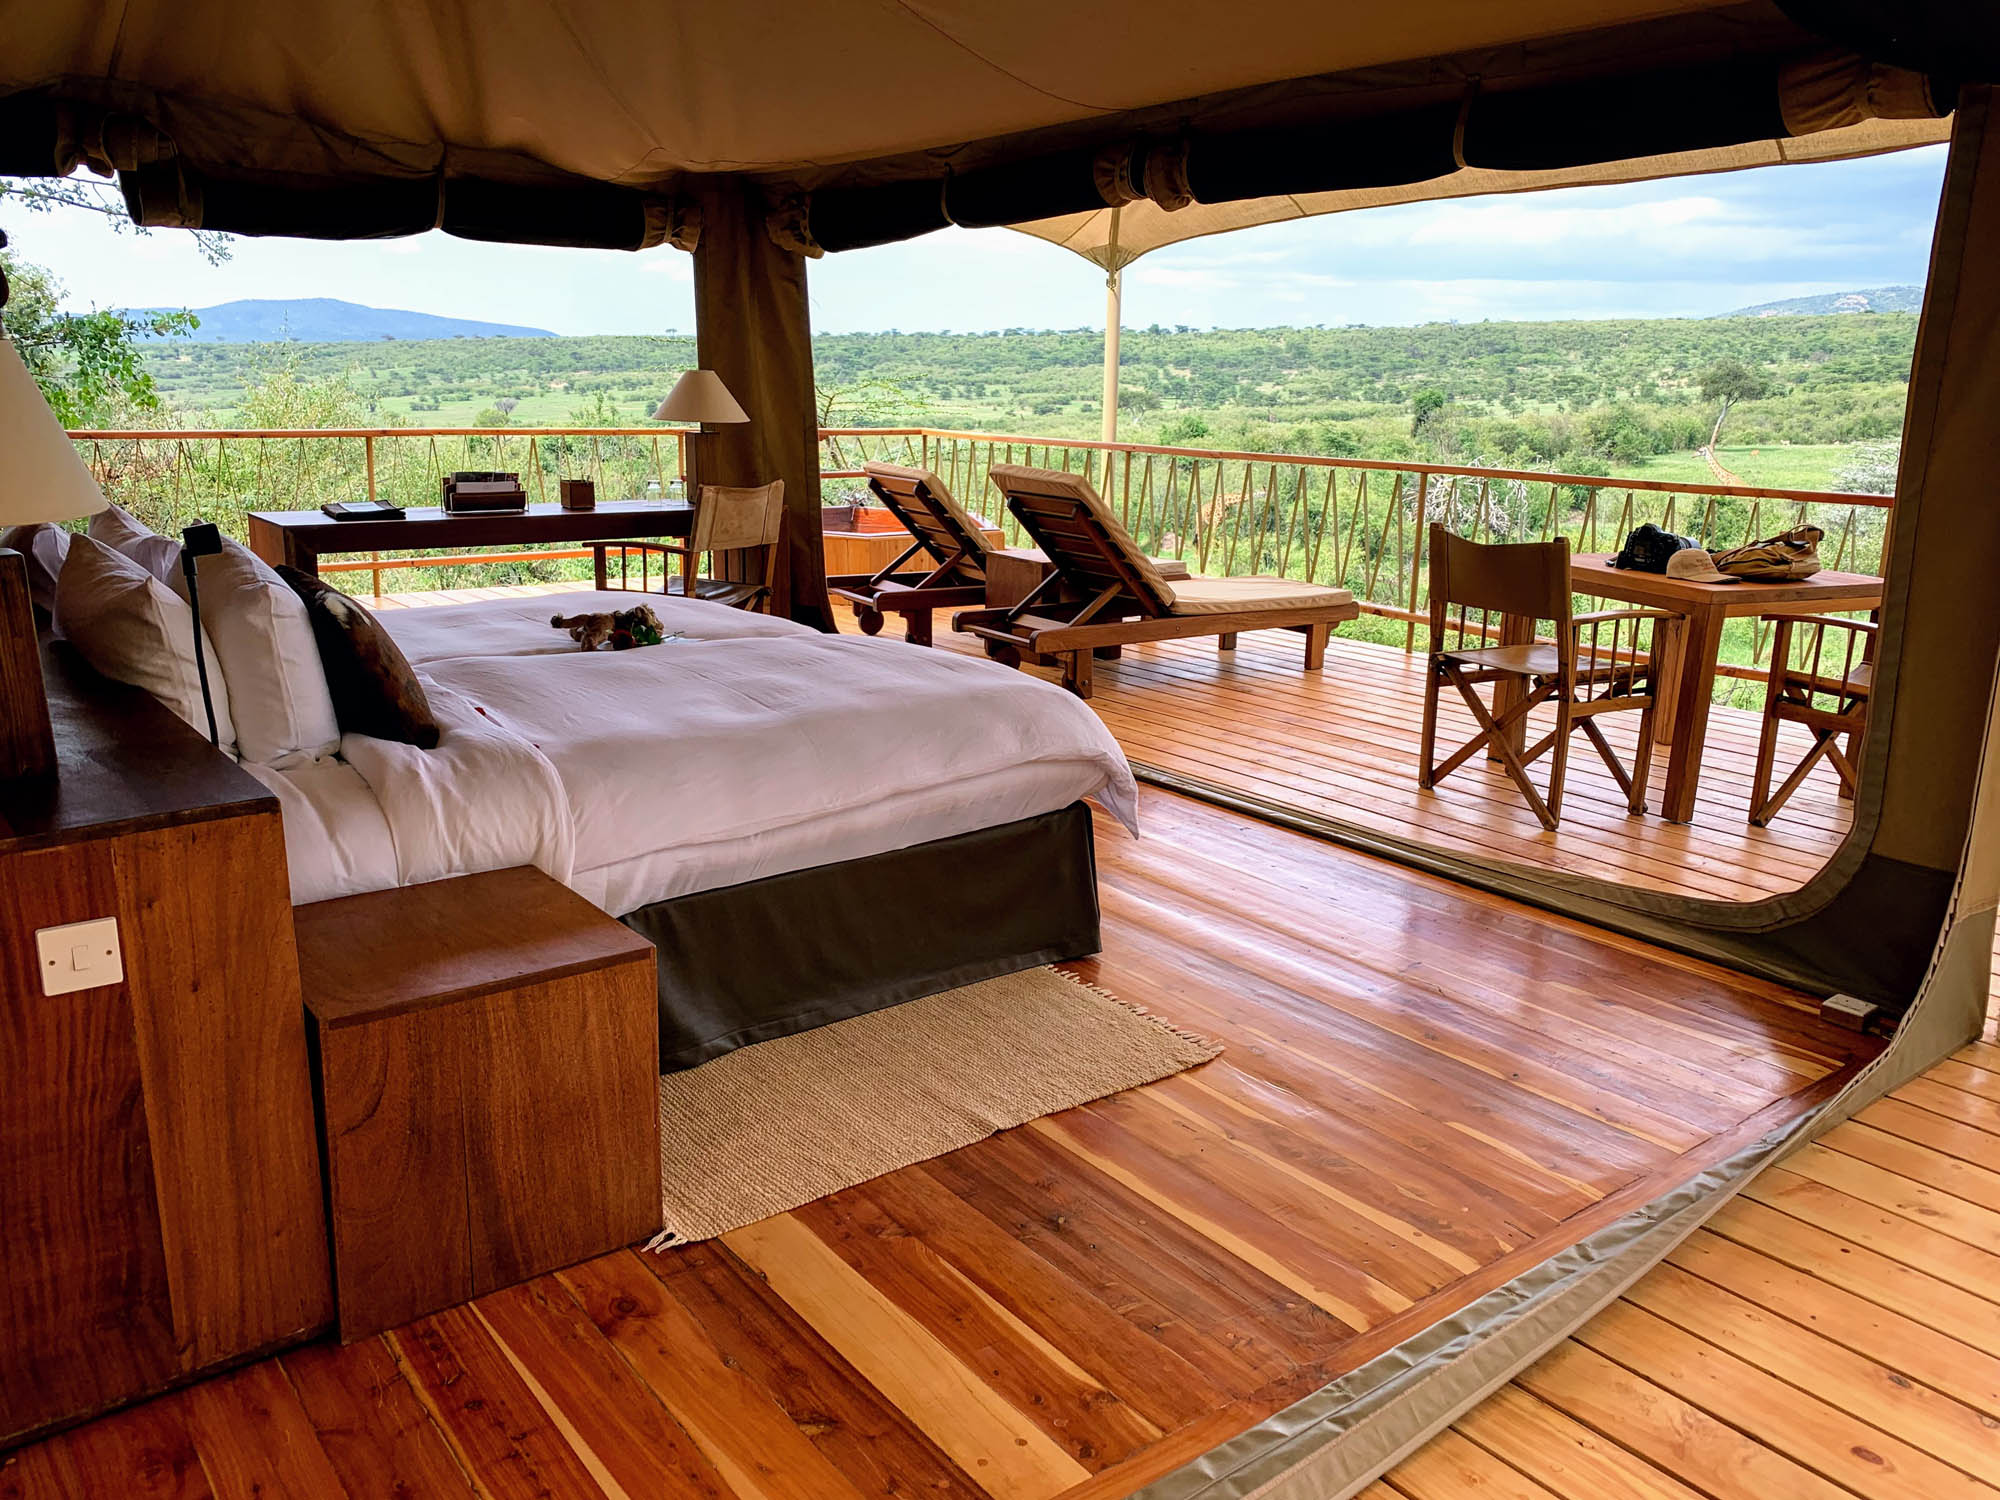
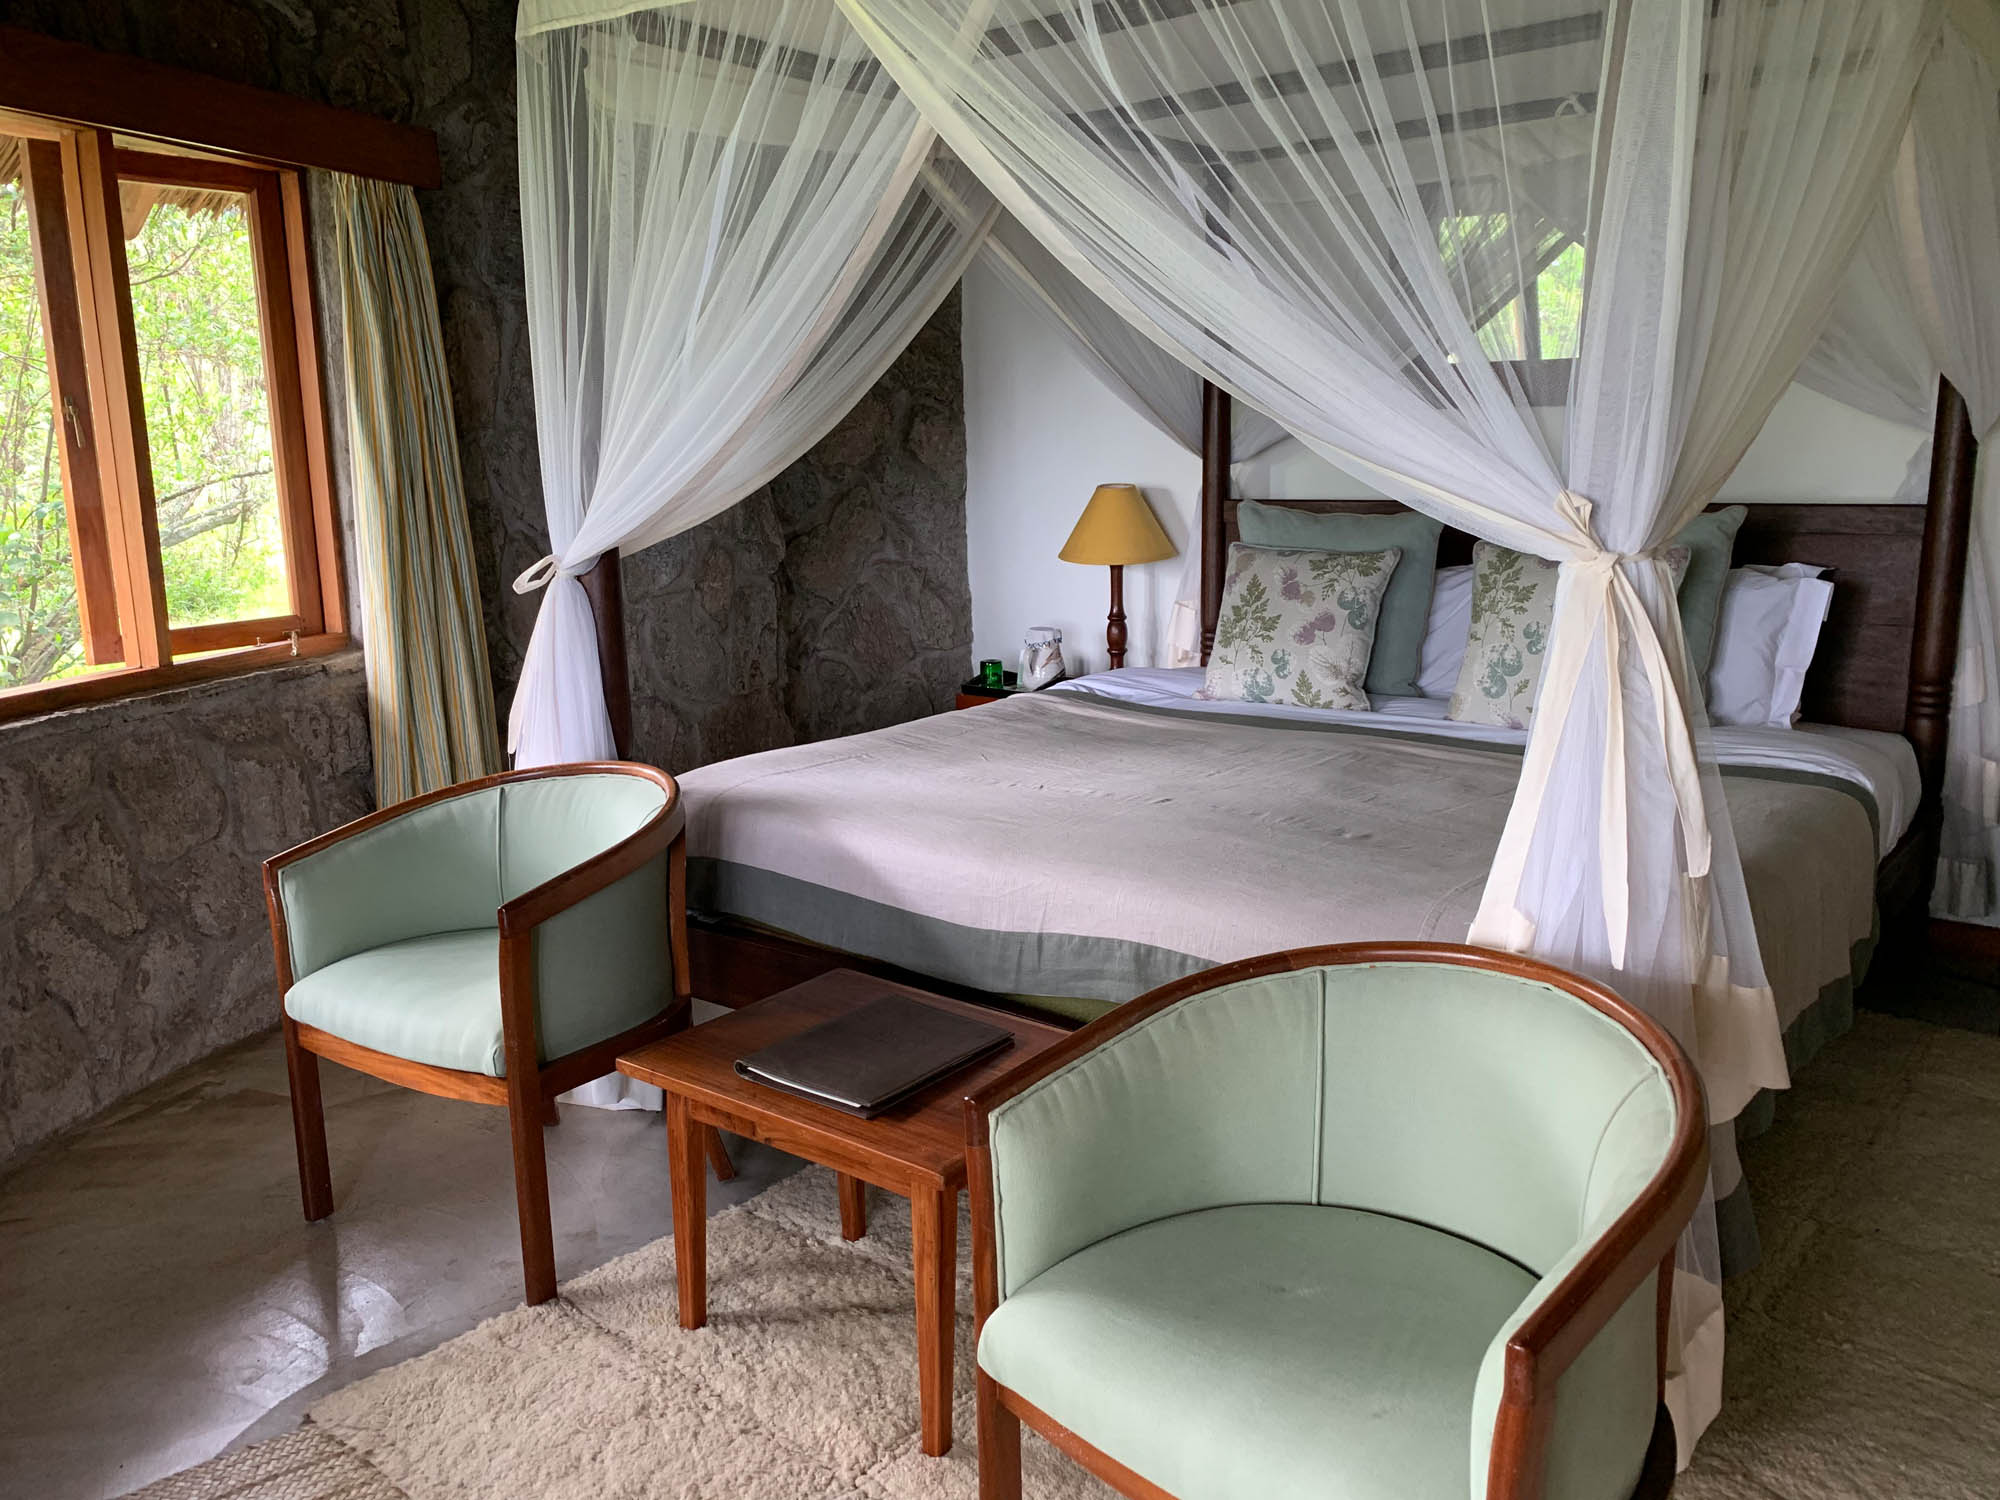
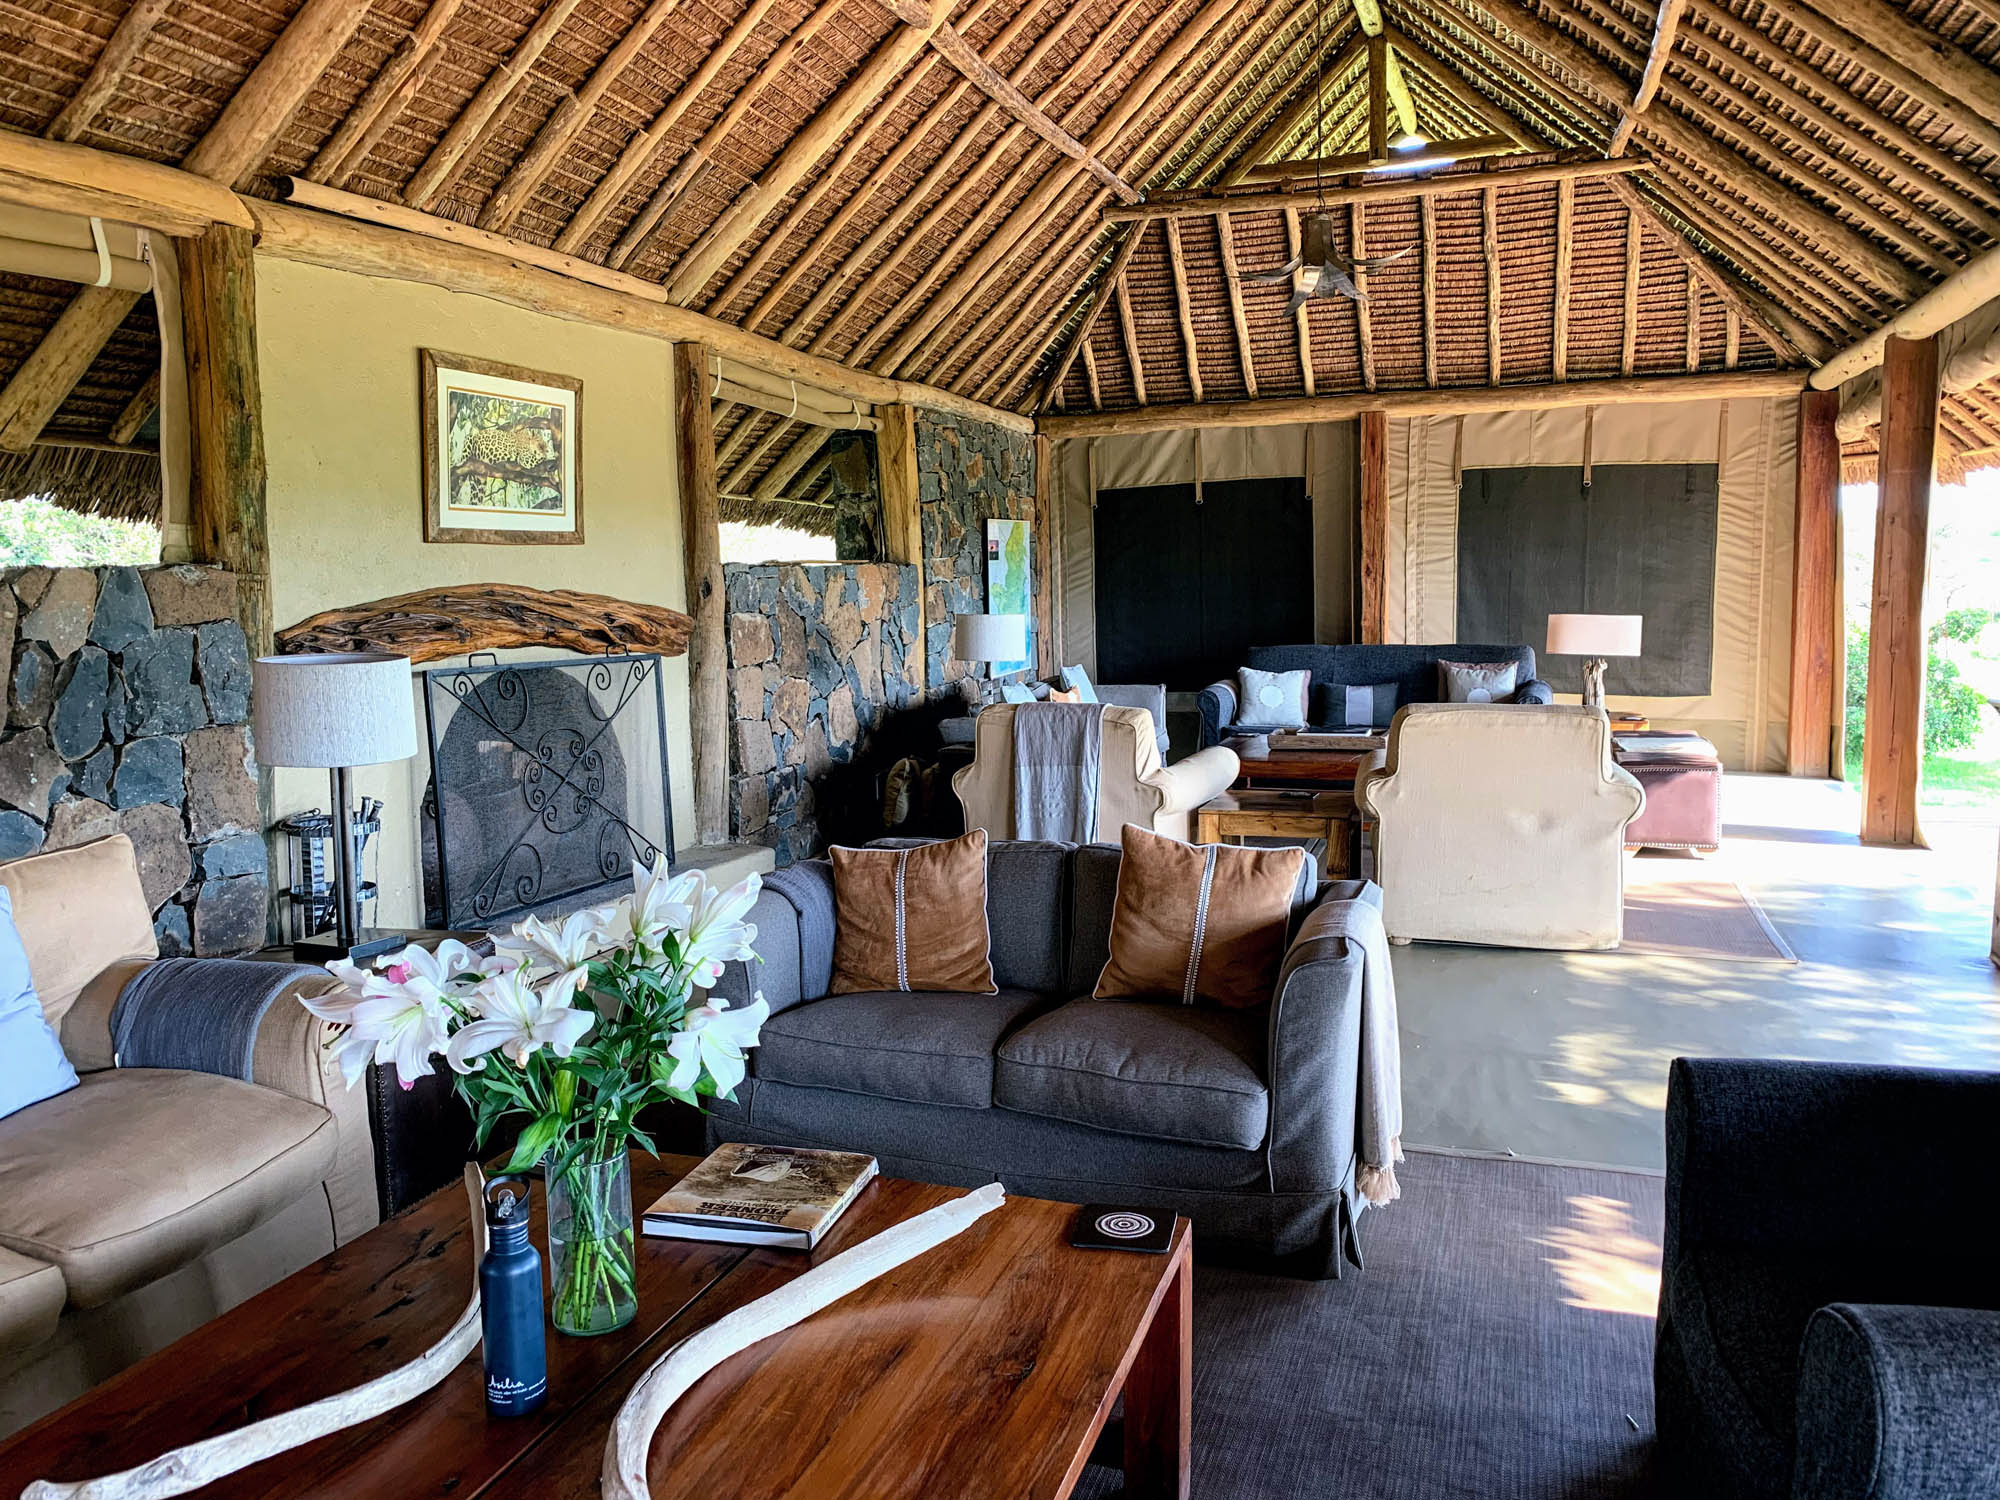
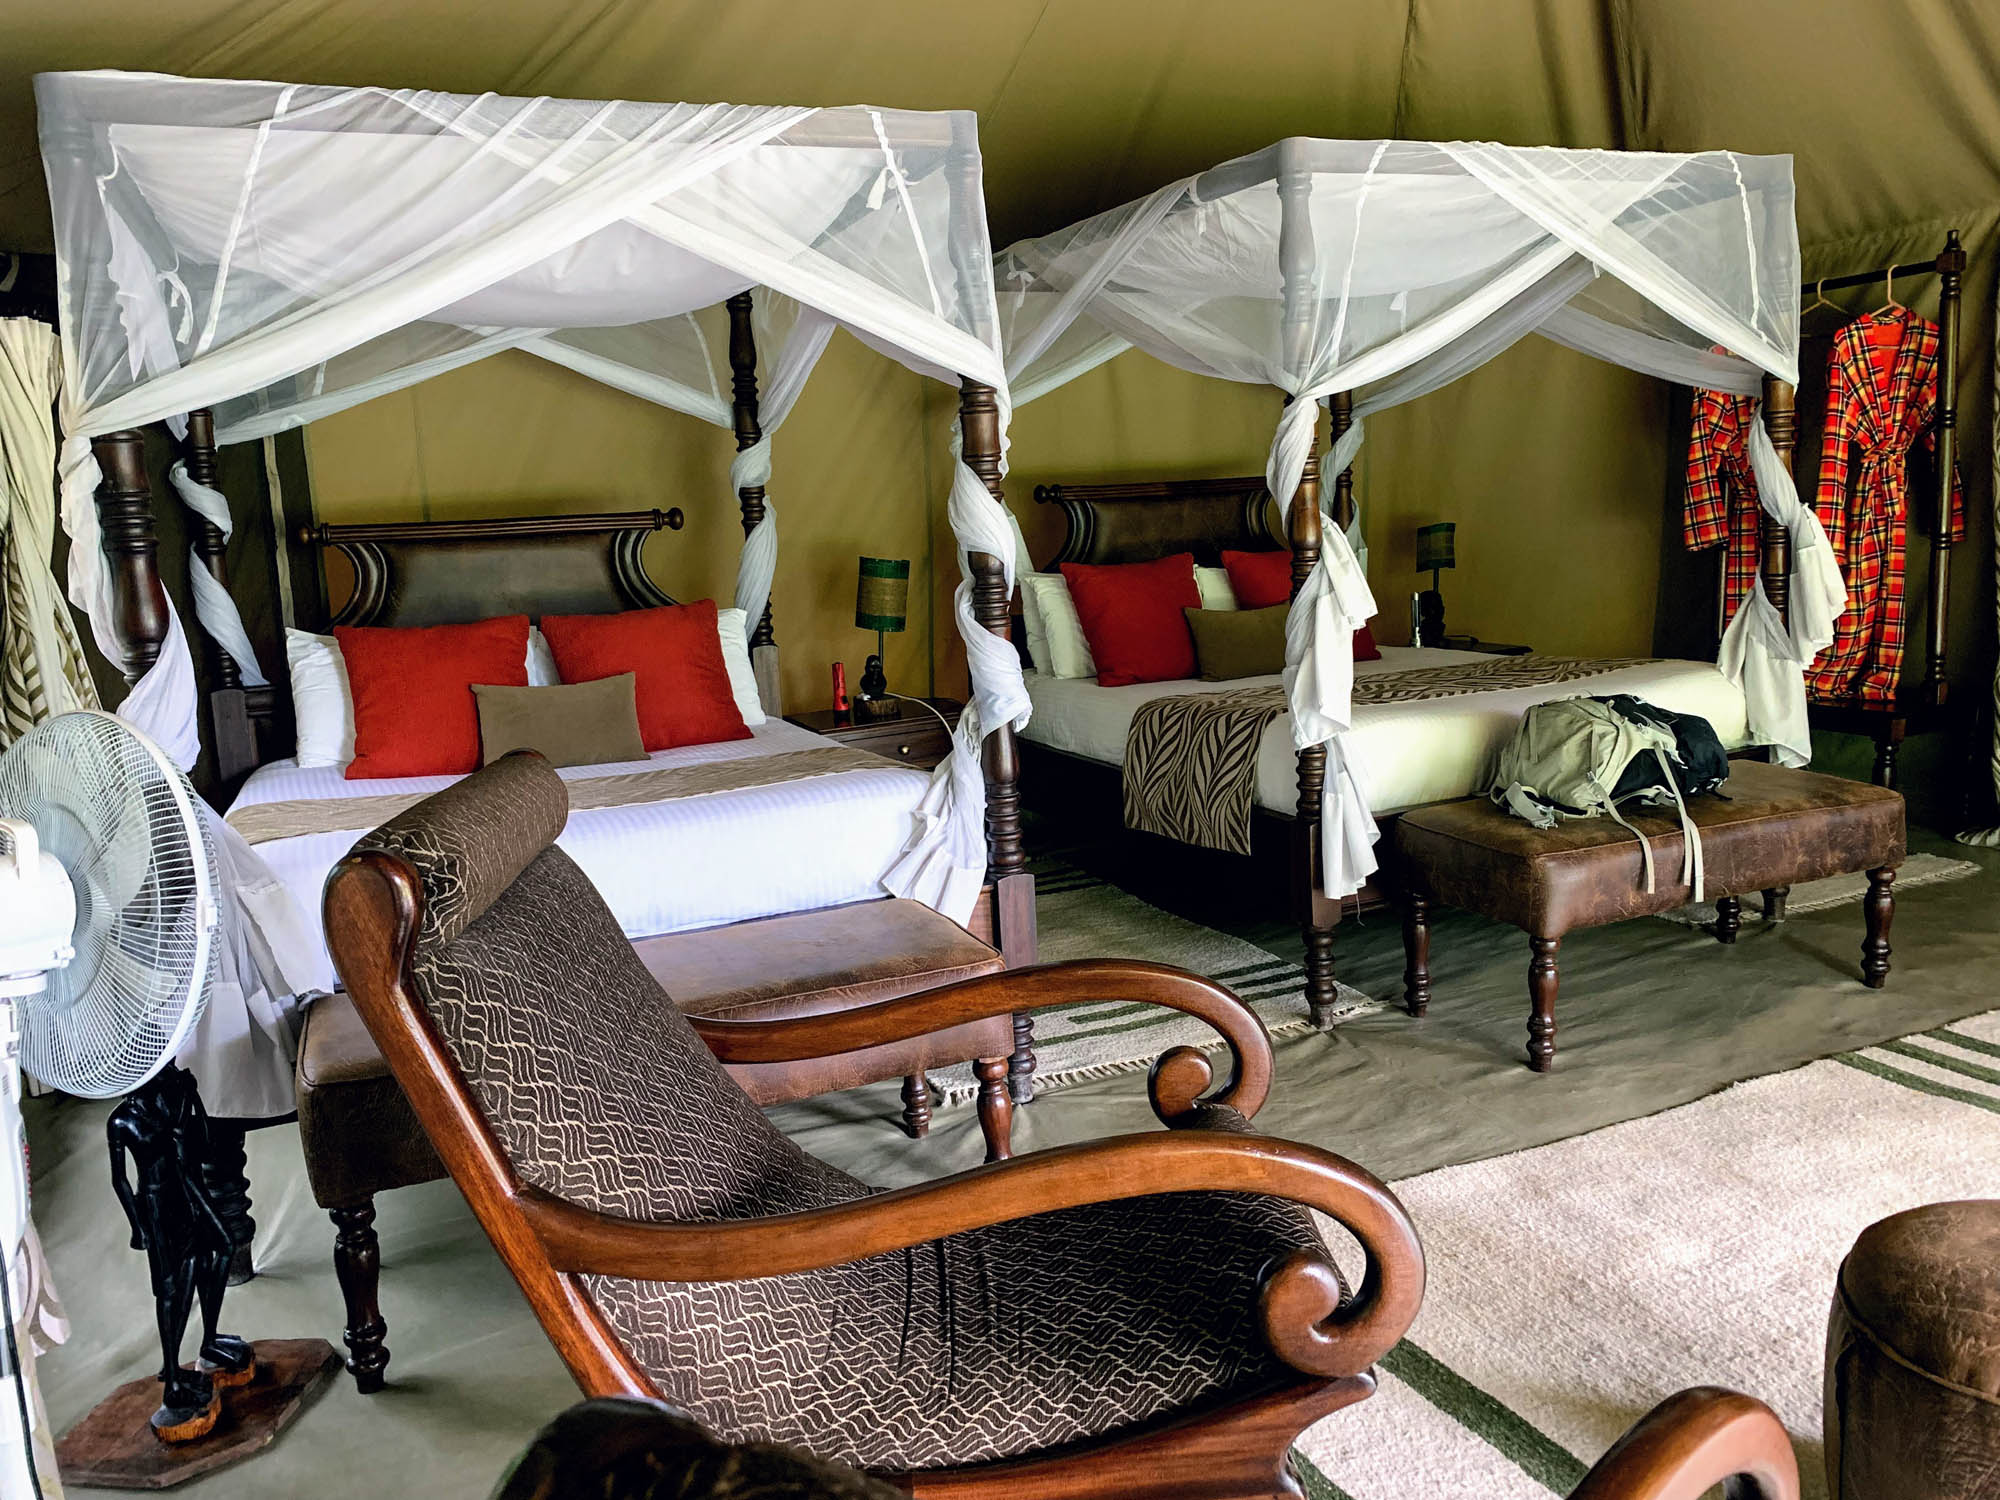
Kariega’s Settlers Lodge was all-round one of the best lodges I had seen in a long time, with beautifully designed, huge rooms and an unusually impactful main lodge building with glass, stone and canvas beautifully melded.
An added bonus here is the option of doing some boat trips along the Sunday’s River, a nice change of pace with time to relax and take in the natural beauty of the area. Kariega’s Homestead Lodge would be perfect for a family or friends group of up to 12 or so, with 2 vehicles and guides and a staff catering to the needs of young and old.
River Lodge is yet another good option at Kariega with the same mix of activities as at Settlers. It has a bit more of a ‘traditional safari’ or classic African safari lodge feel. A nice value add here is that guests who spend 3 nights or more at Kariega River Lodge have the option to take an included boat trip (open aluminum skiff with sun canopy) of about 40 minutes or so, to the Sunday’s River mouth on the Indian Ocean.
The guiding at Kariega Settlers was great and importantly, they do not take more than 6 or 7 persons in a vehicle, meaning nobody ends up in a middle seat.
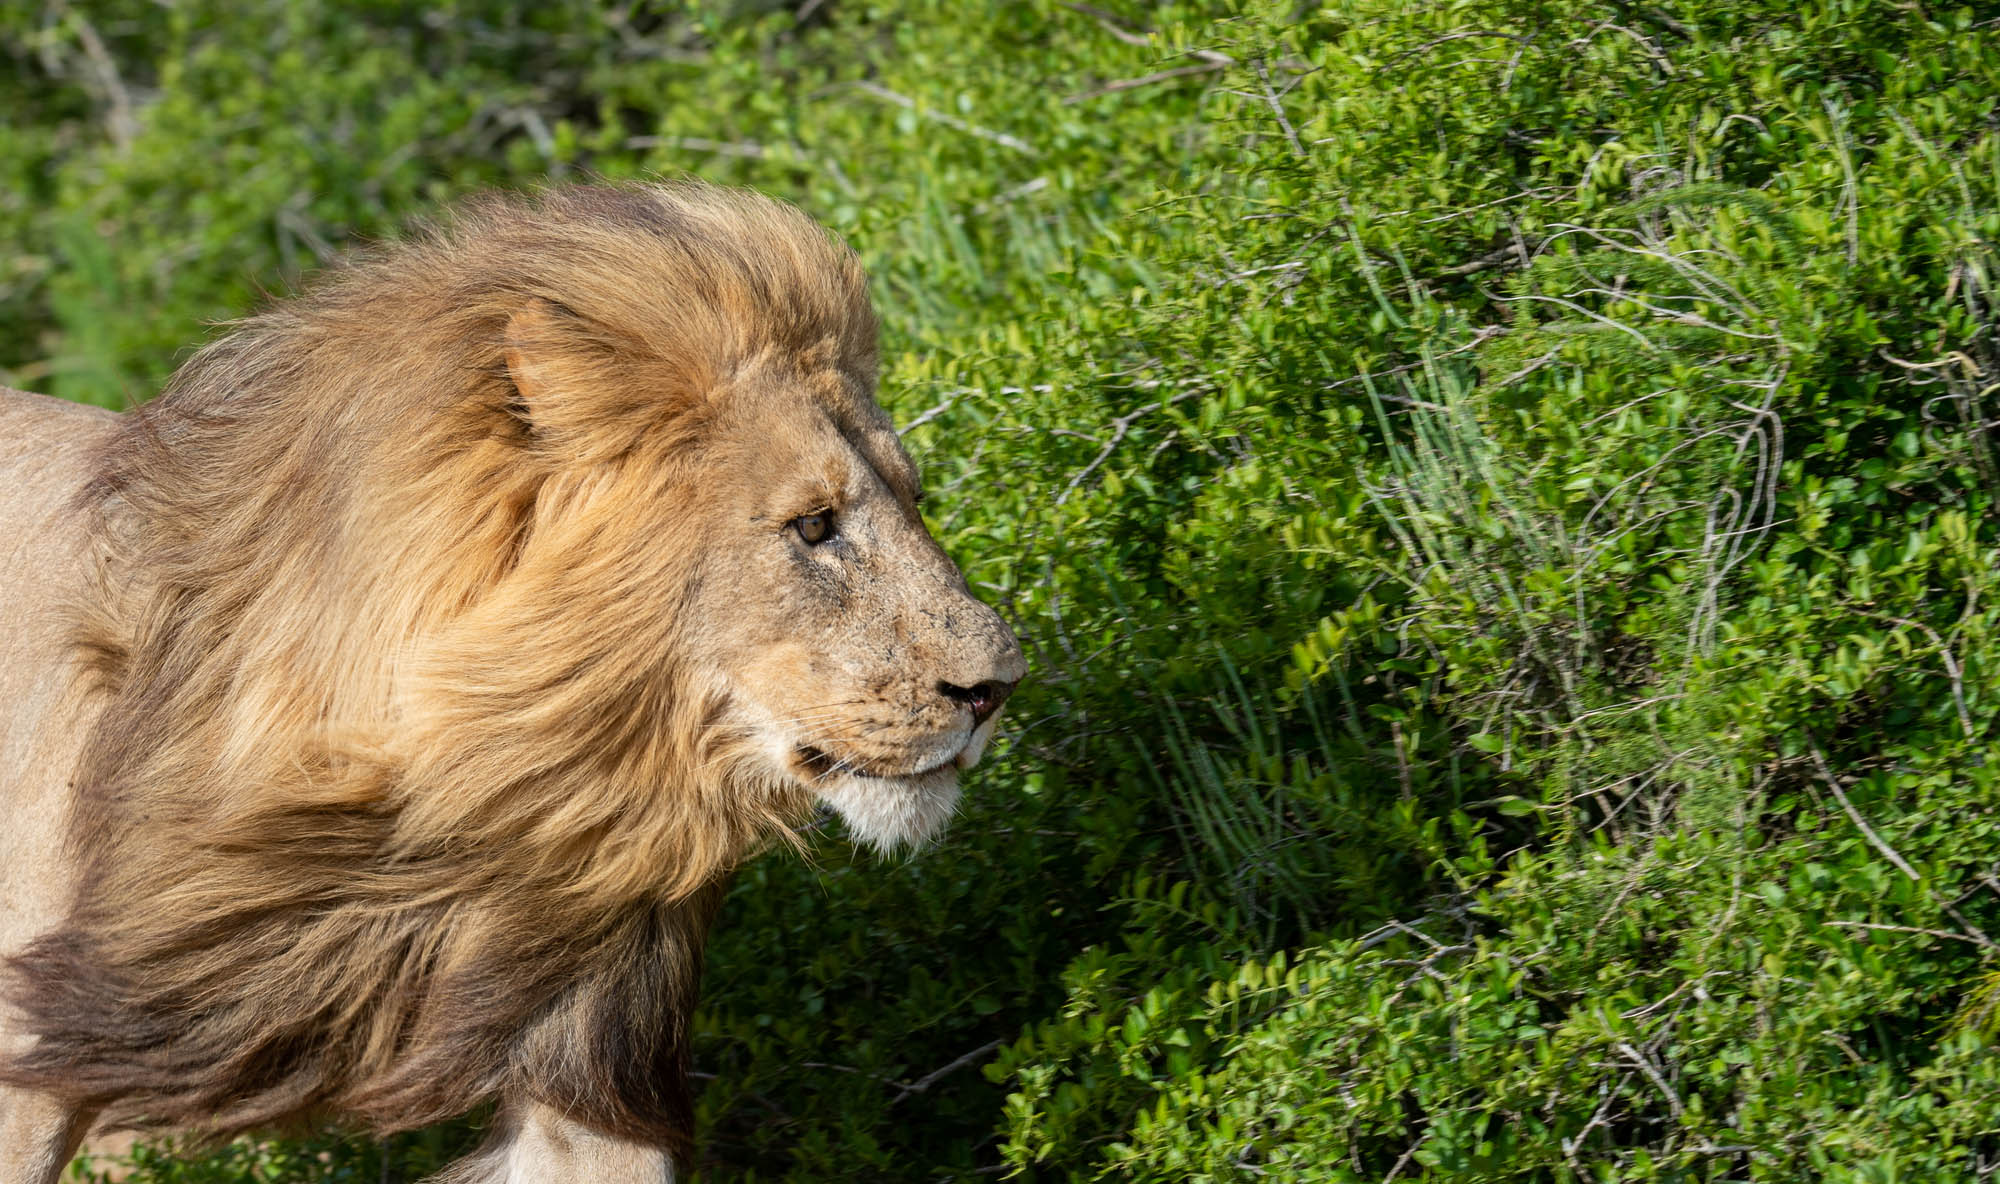
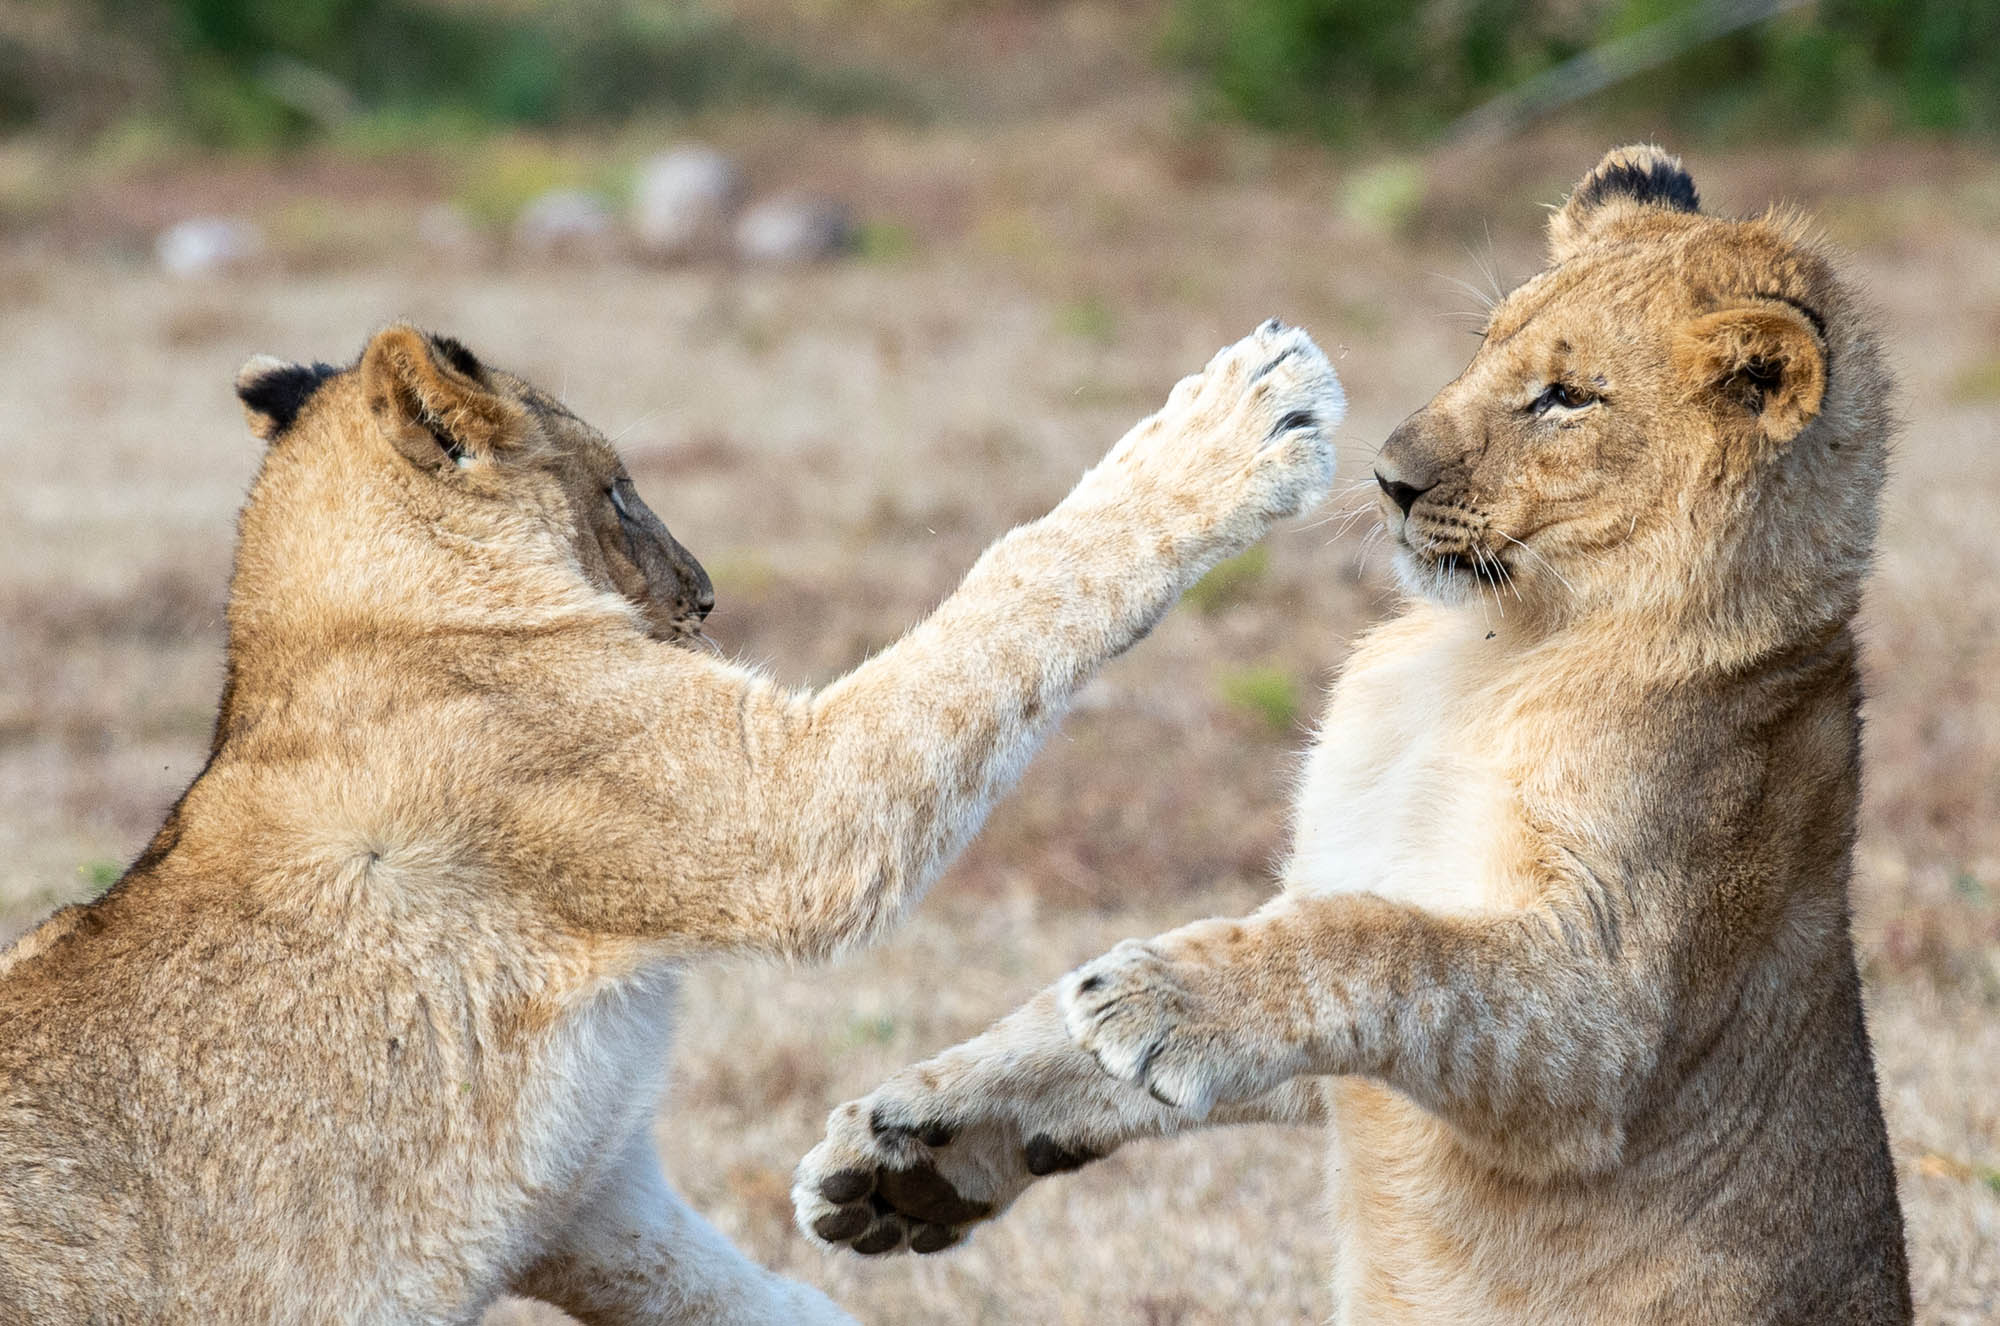
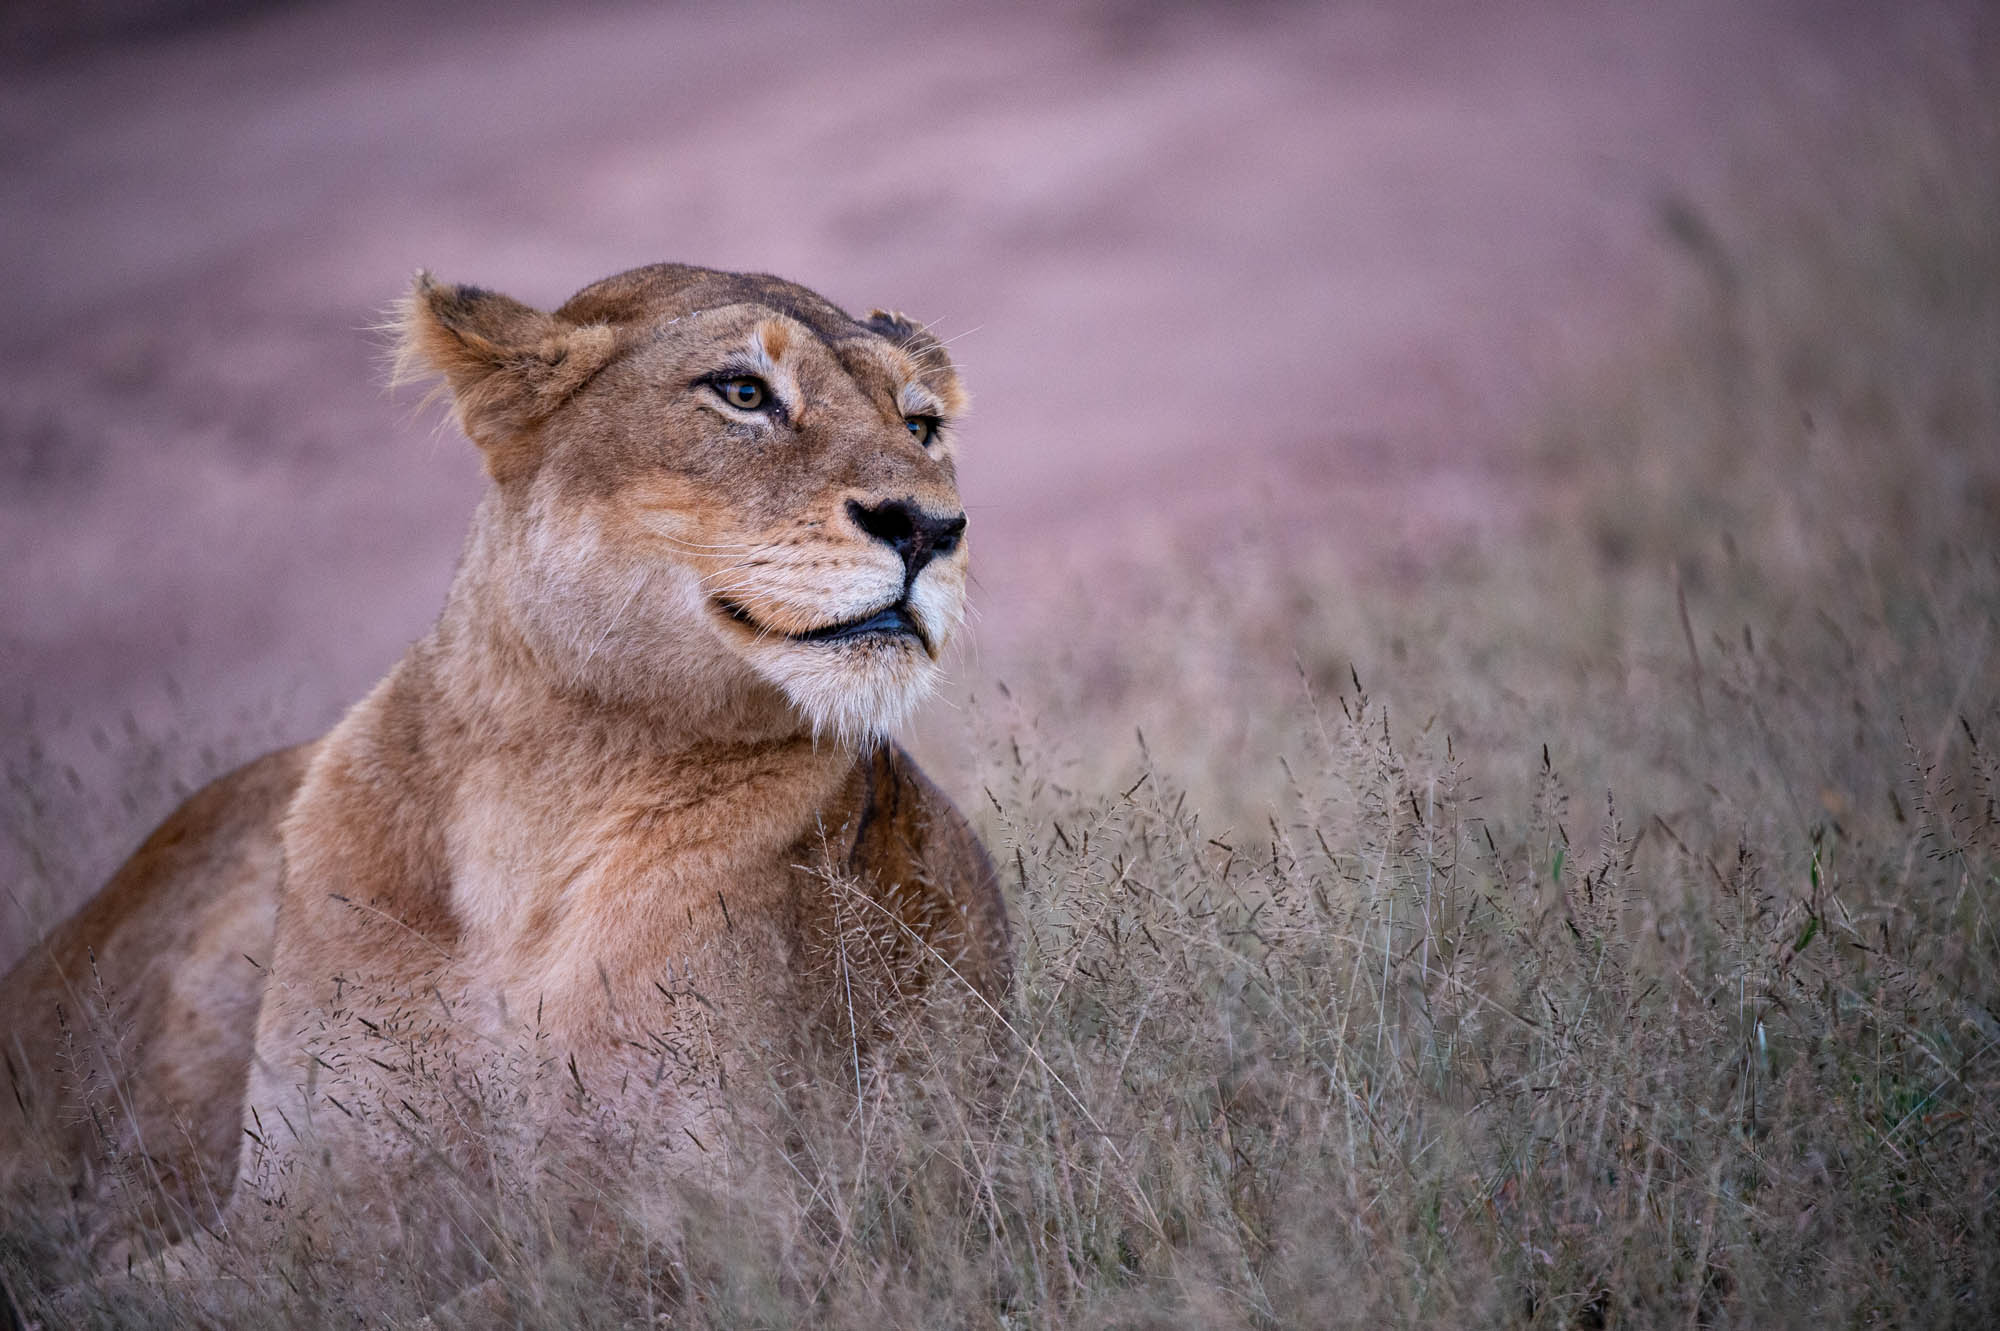
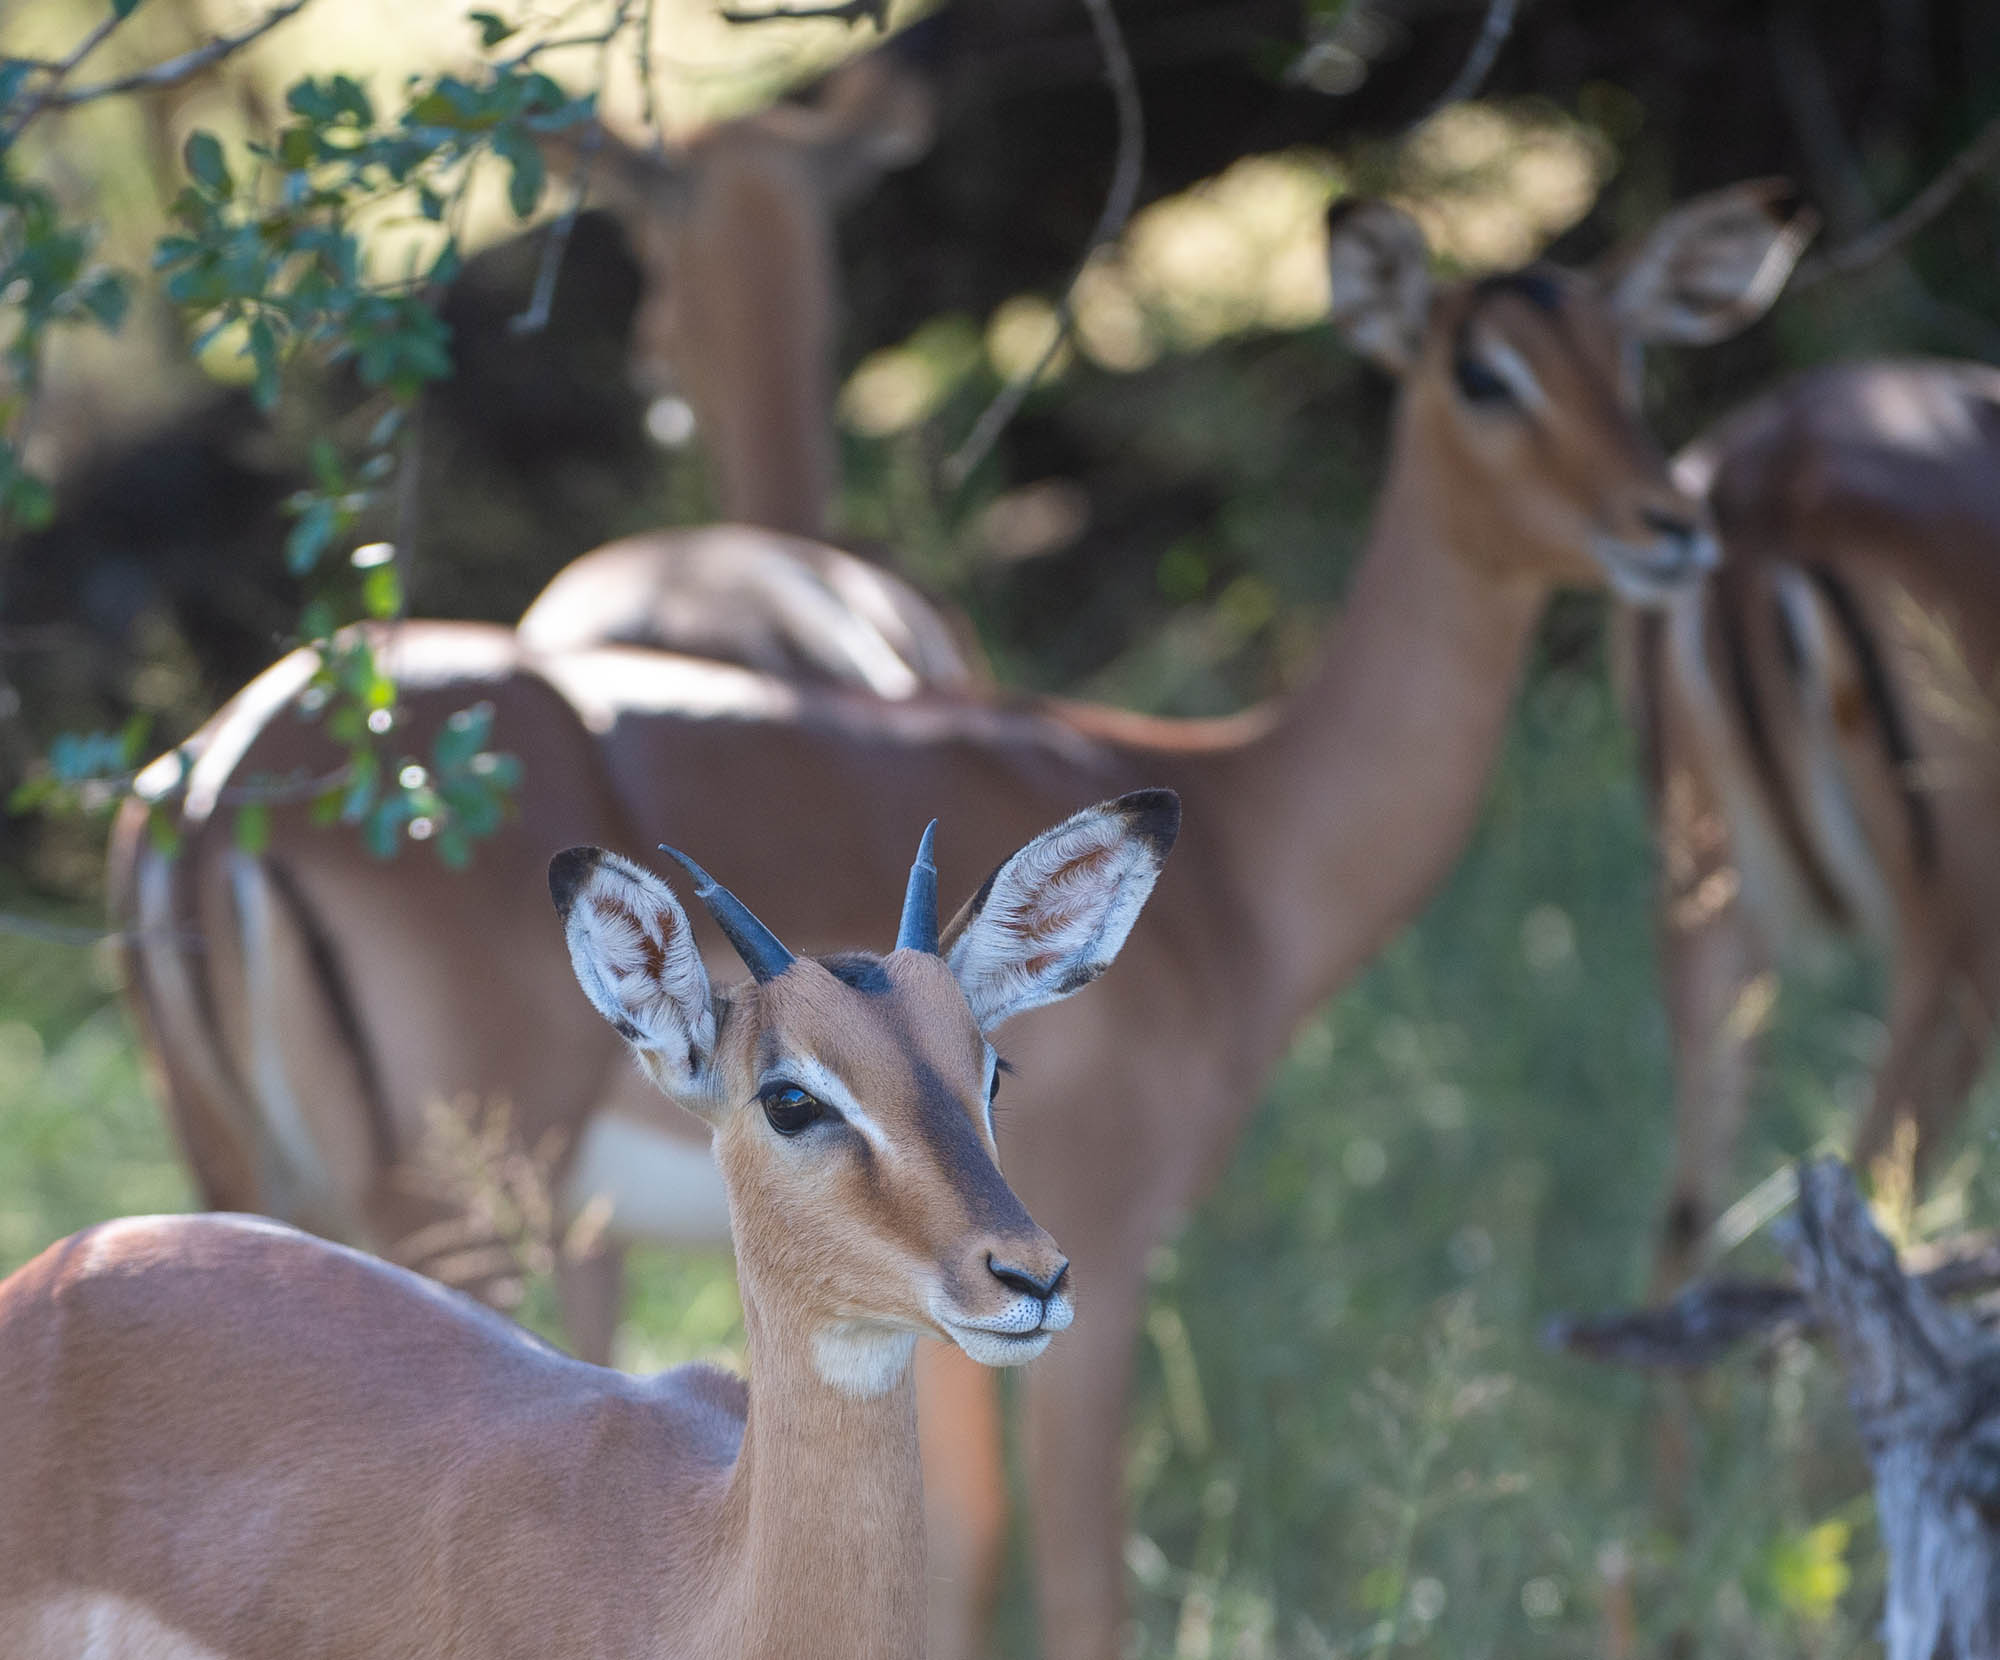
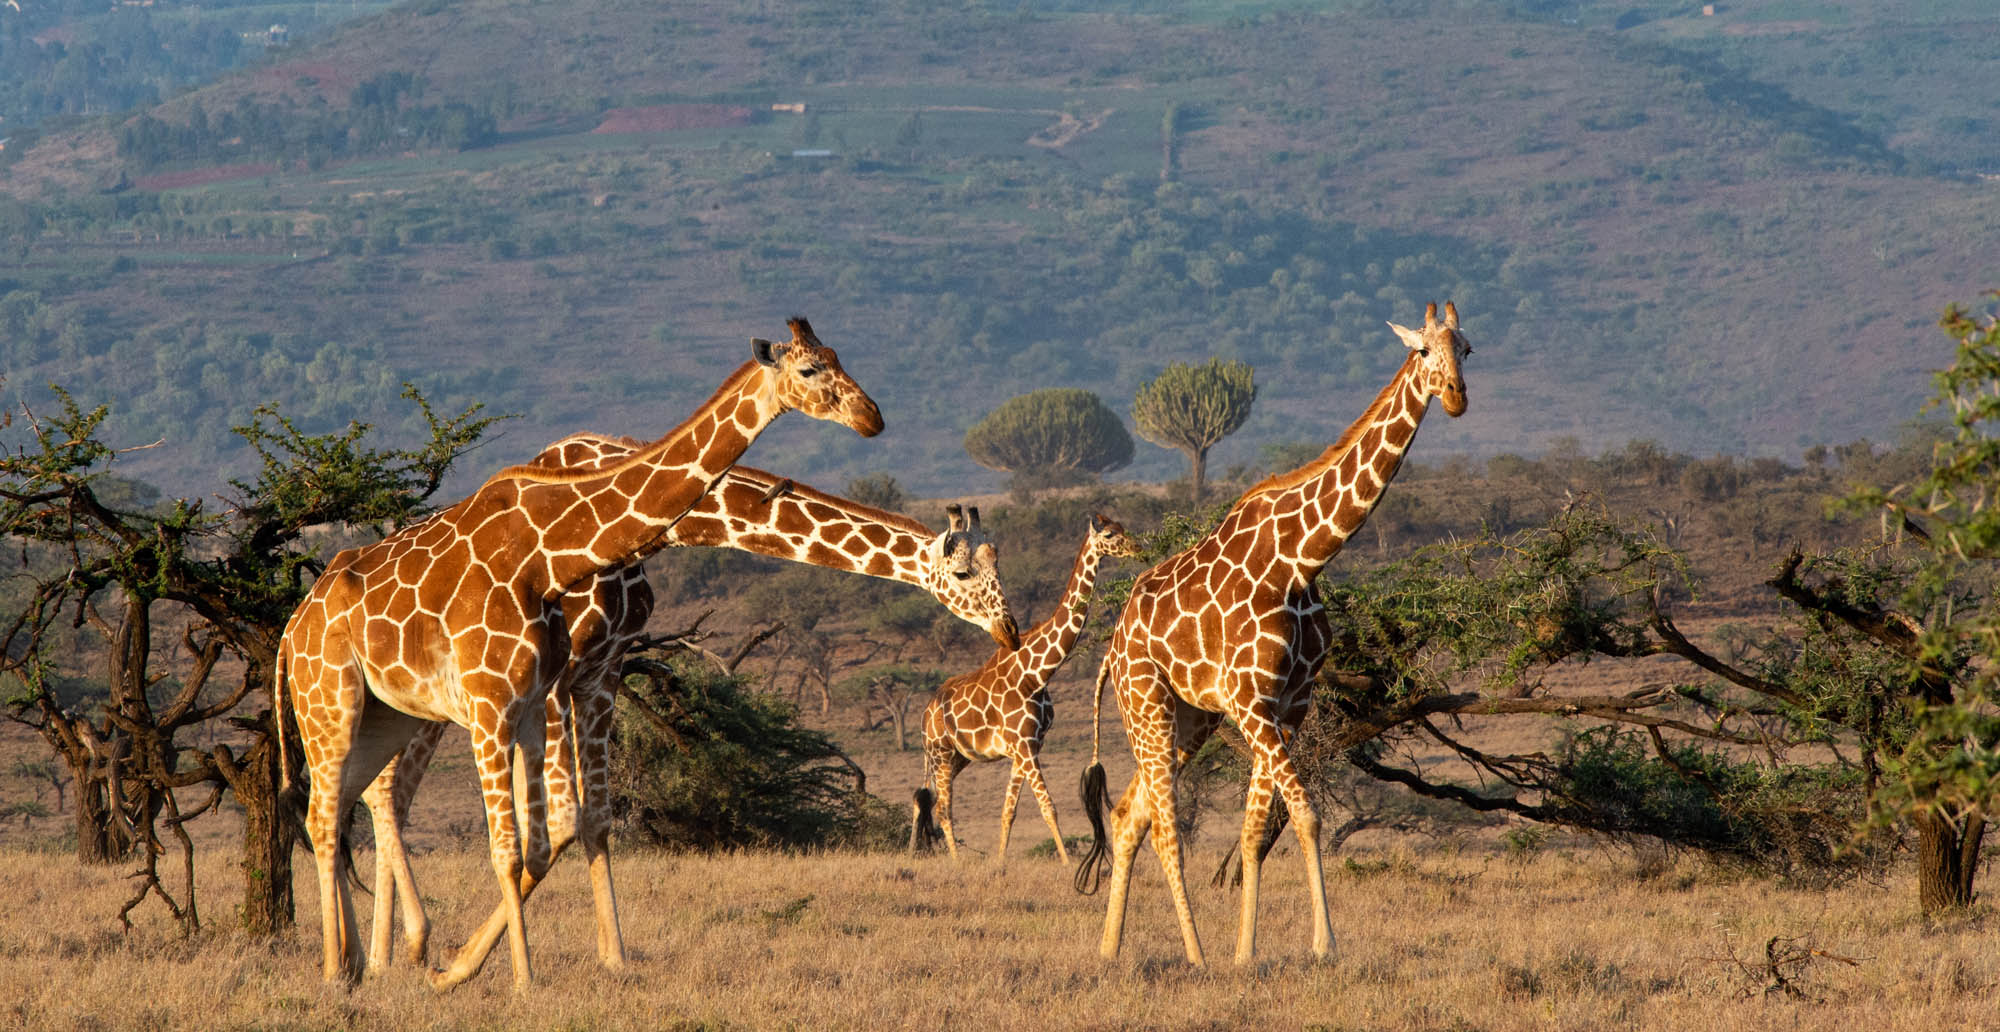
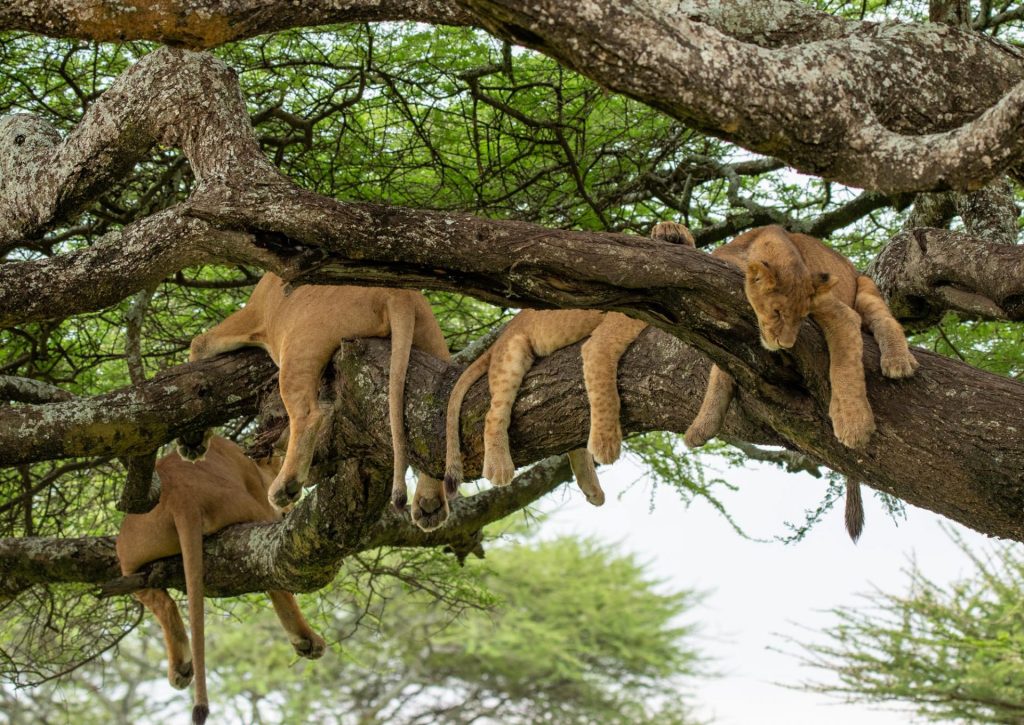
Overall I thought that the game-viewing at Kariega was very good; highlights were the abundance of giraffes, wide variety of antelopes, plenty of zebra, a good lion sighting and some great views of elephants.
As elsewhere in the Eastern Cape, it would be advisable to spend no less than 3 or 4 nights in the area. There is a lot of thick bush and to have a decent shot at seeing rarities like black rhinos, it is imperative to give yourself enough time and to do several game drives. So stay 4 nights and include the beach excursion to the mouth of the Sundays River.
SHAMWARI
My last two nights in the Eastern Cape were spent at Shamwari, a private game reserve which recently celebrated its 25th year as a pioneer of wildlife management and eco-tourism in the Greater Addo area.
Shamwari’s current range of properties include Bayethe Tented Camp, Sarili Private Lodge (ideal for family travel), Lobengula Lodge and its flagship classic lodge – Long Lee Manor, extensively rebuilt in 2019. Two other properties – Riverdene and Eagle’s Crag – have also recently been rebuilt/renovated.
Clearly Shamwari is making a very substantial investment in its future, re-asserting its position as the pre-eminent photo safari property in the Eastern Cape.
Here’s what surprised me about Shamwari: the abundance of wildlife (easily seen), the simply amazing natural beauty of the area and its diversity.
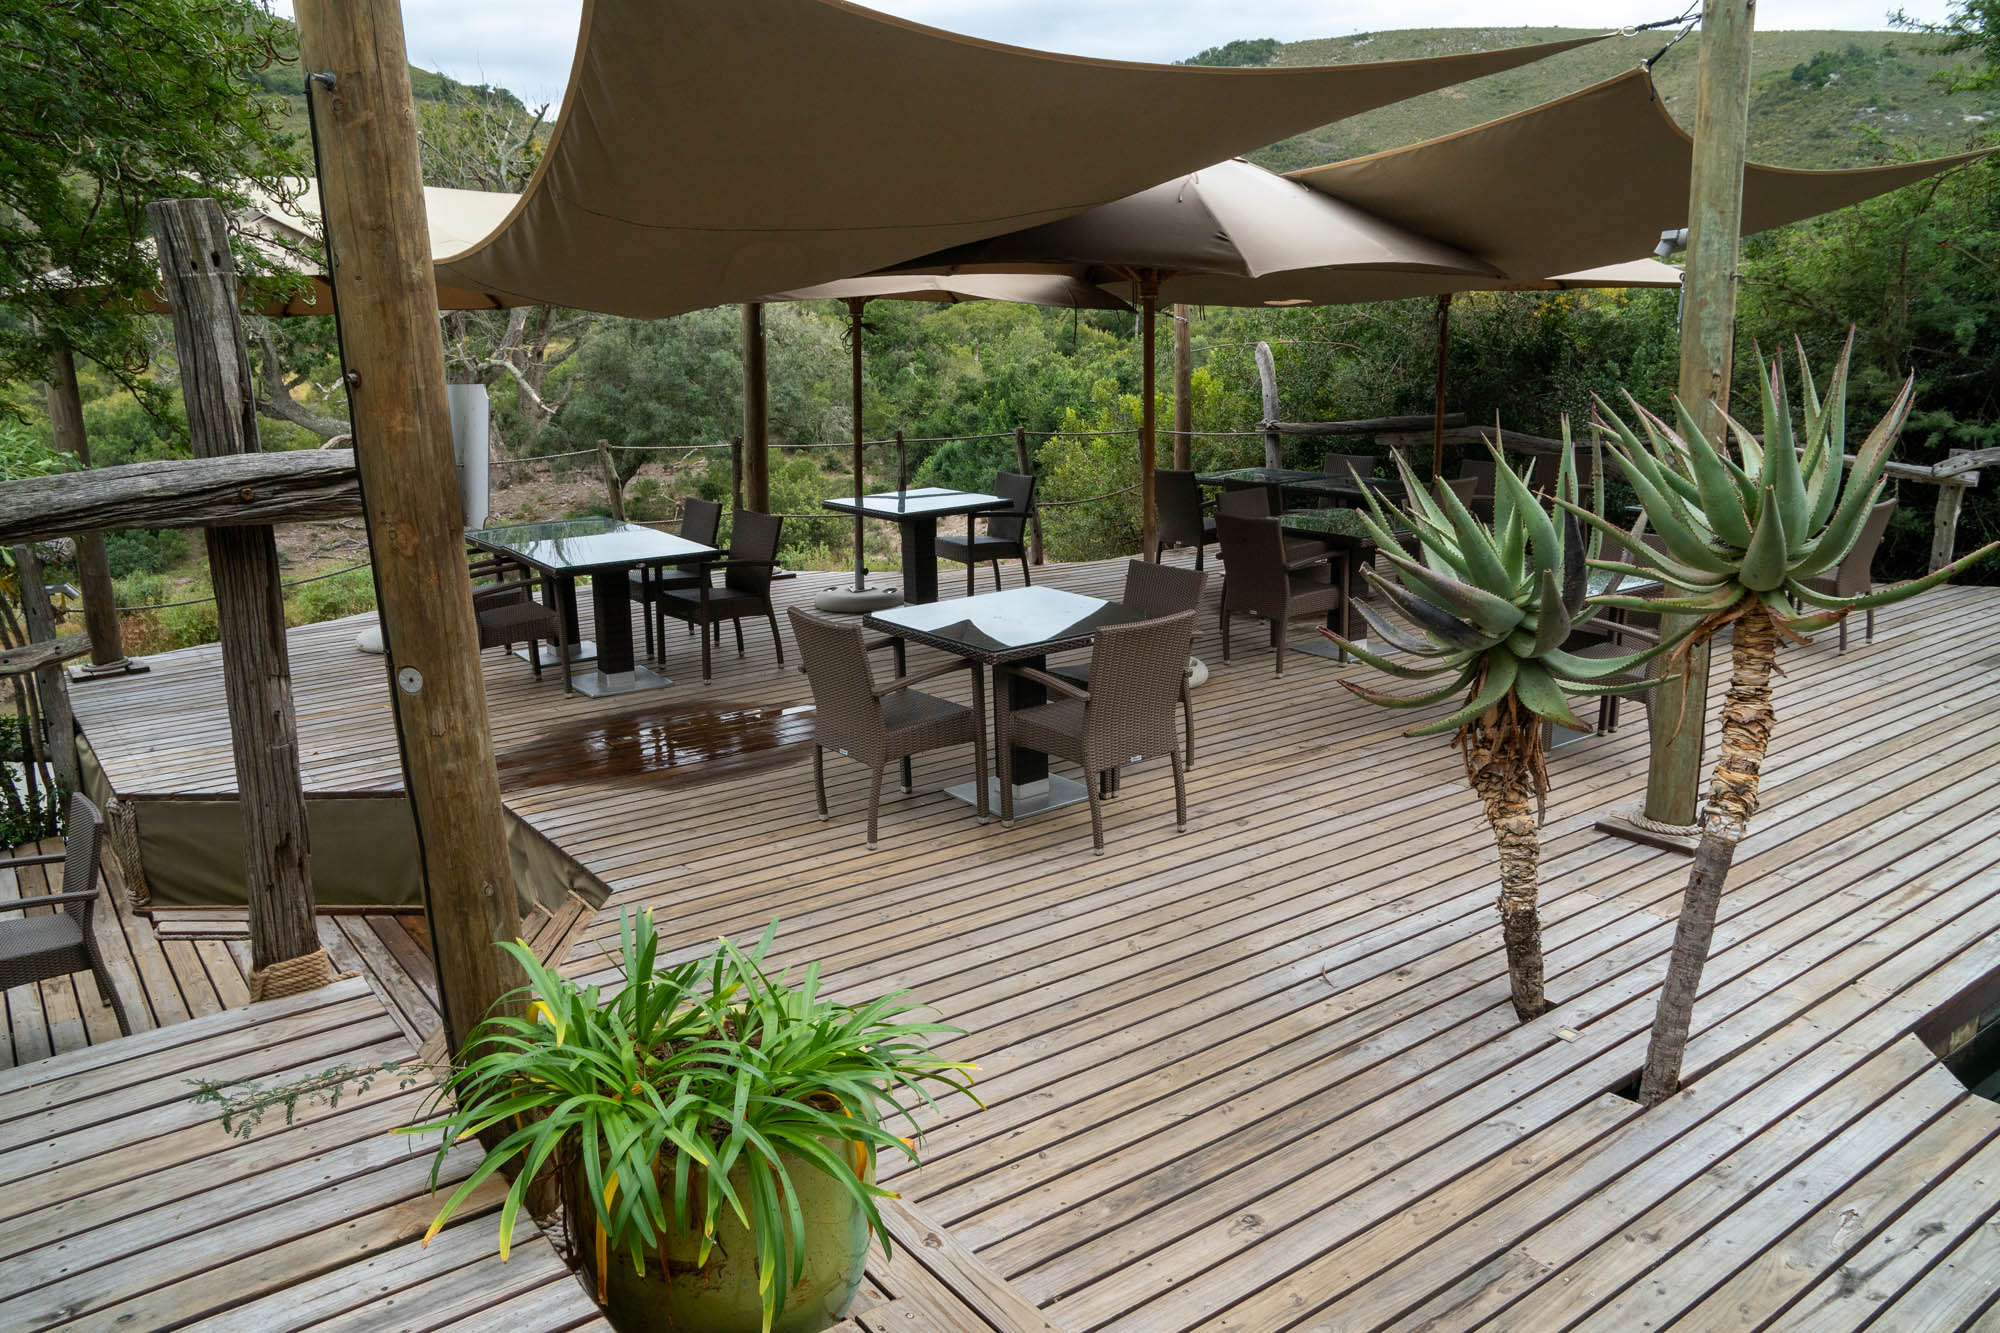
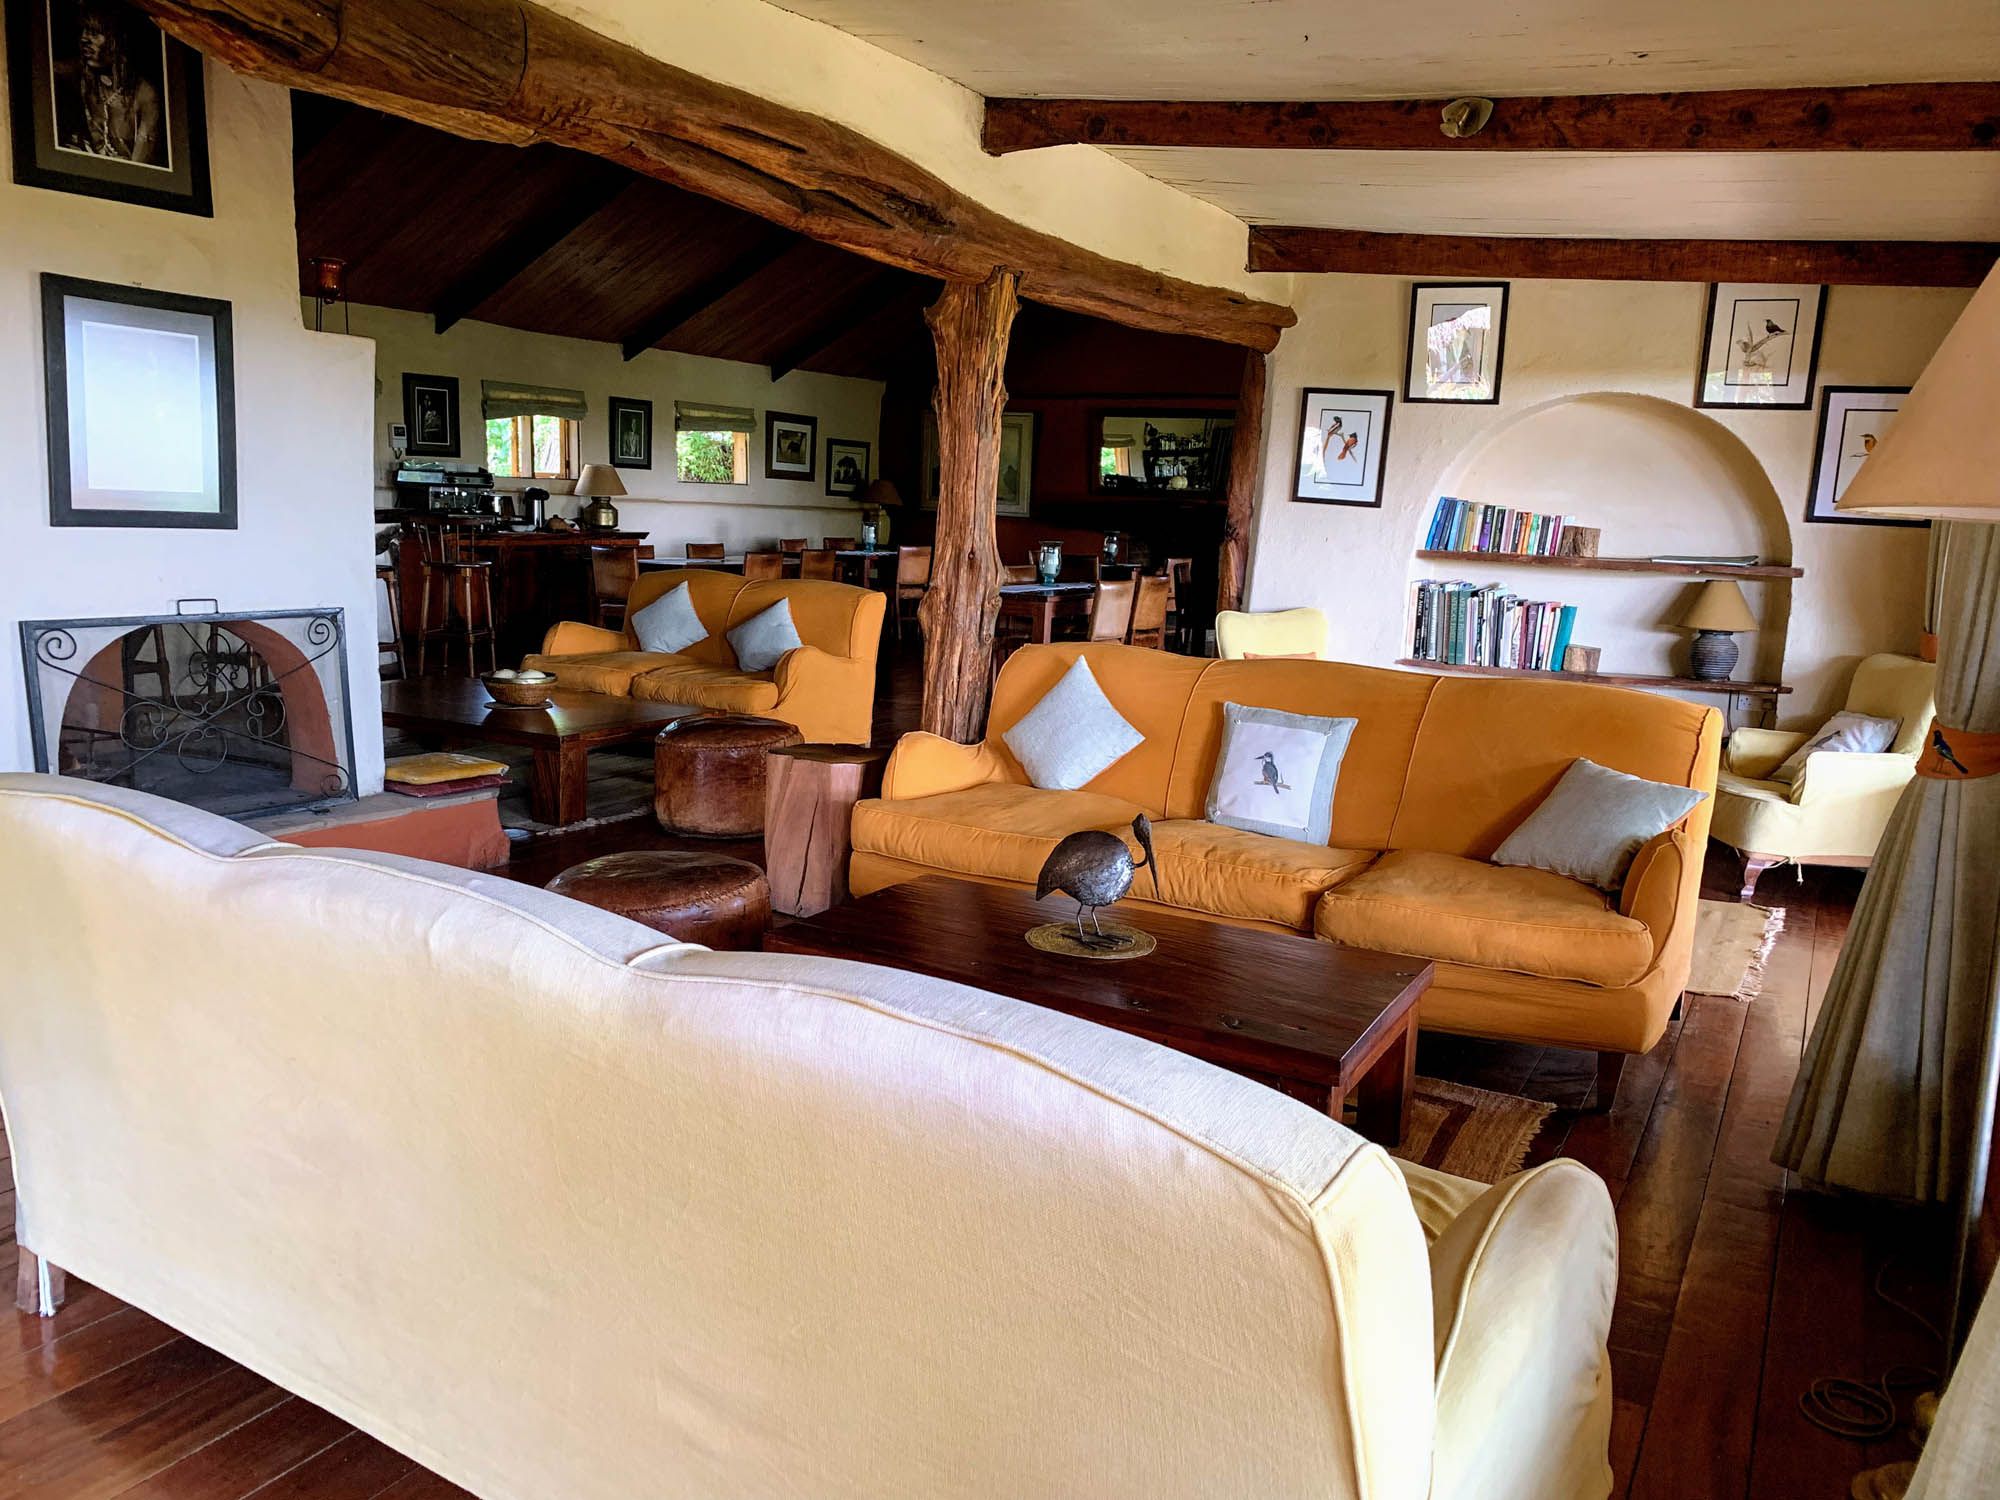
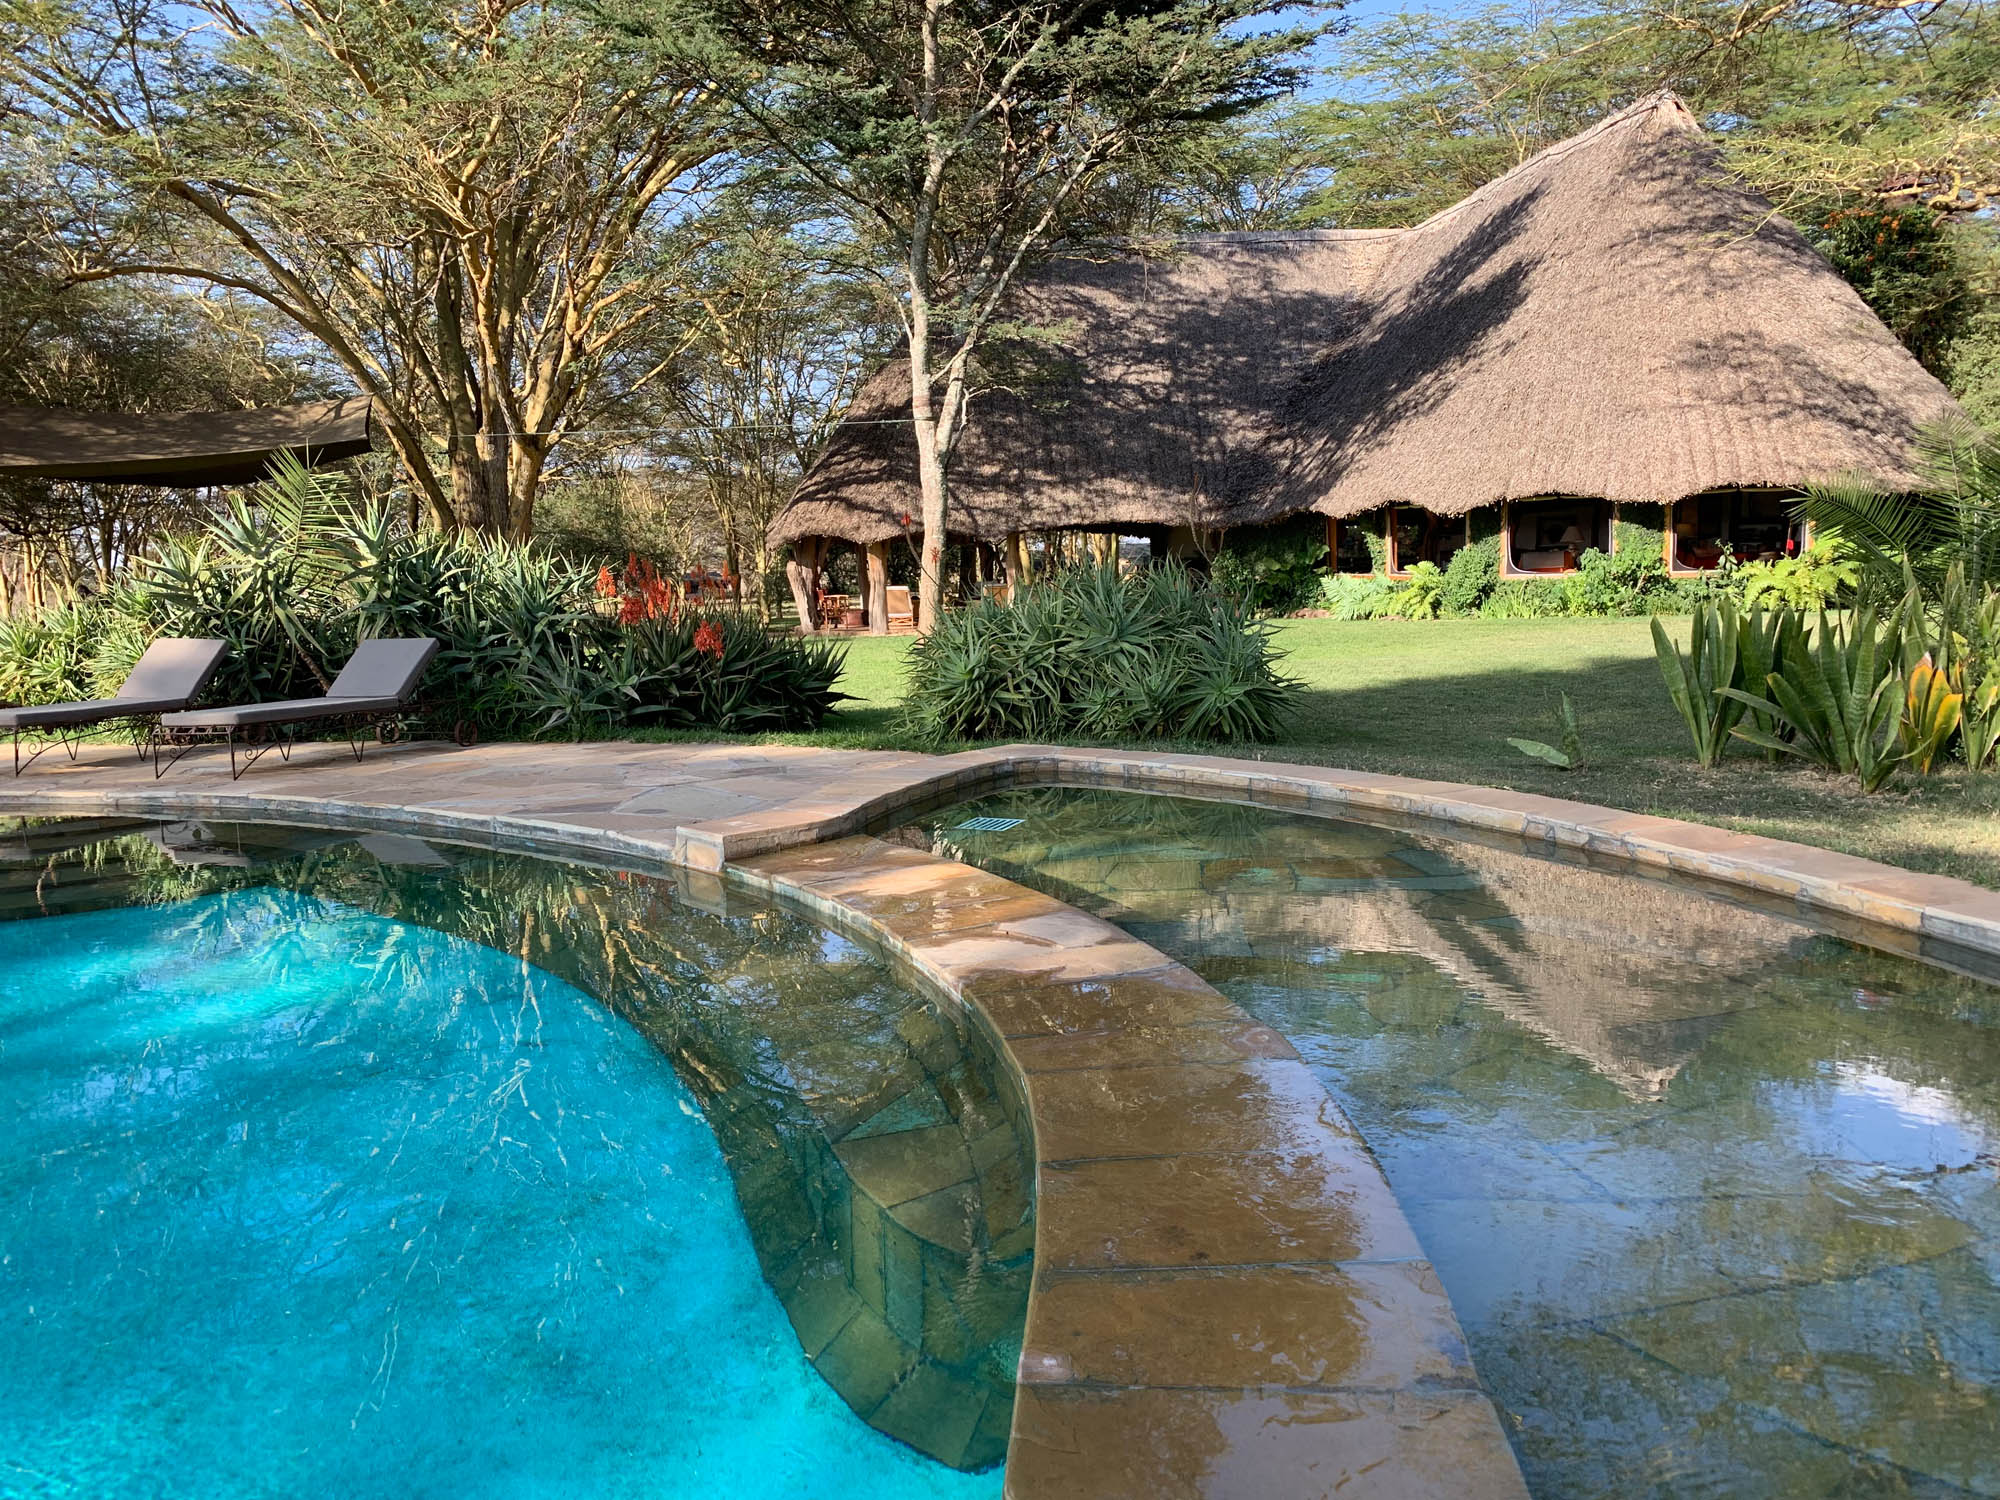
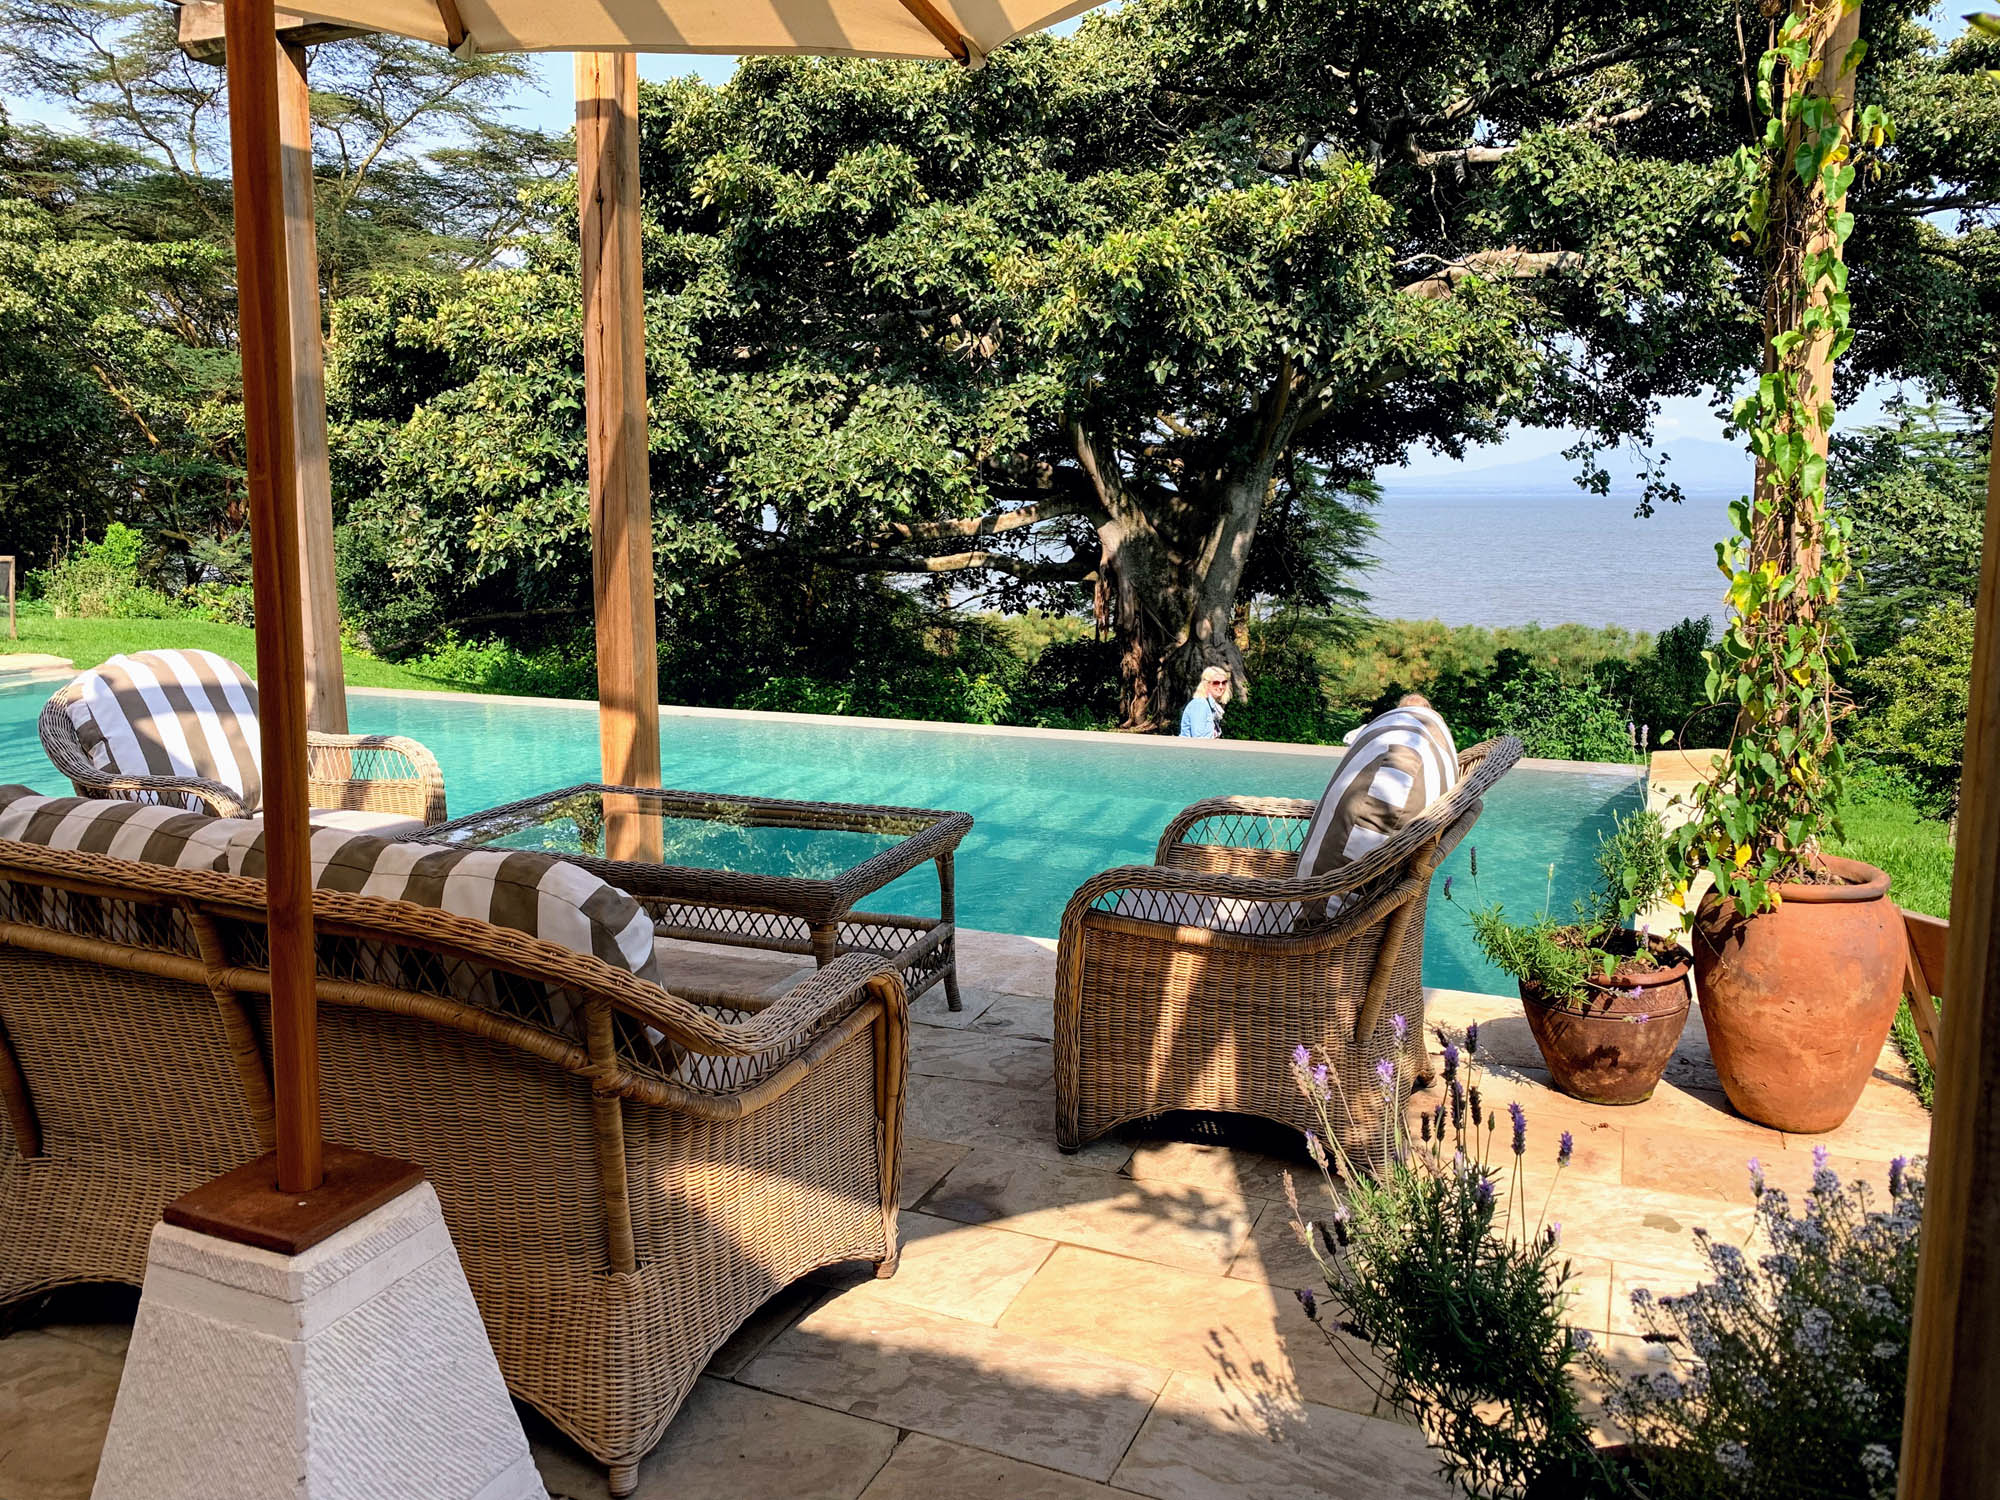
I was fortunate to have Morne Hamlyn as my guide in Shamwari, operating out of the compact classic Lobengula Lodge. More about the guiding later. It was a welcome change of pace to be in a room just steps away from a pool, and not much further away from the dining room. No long hikes to dinner, no armed escorts, just wait for the sounds of drums and off you go…
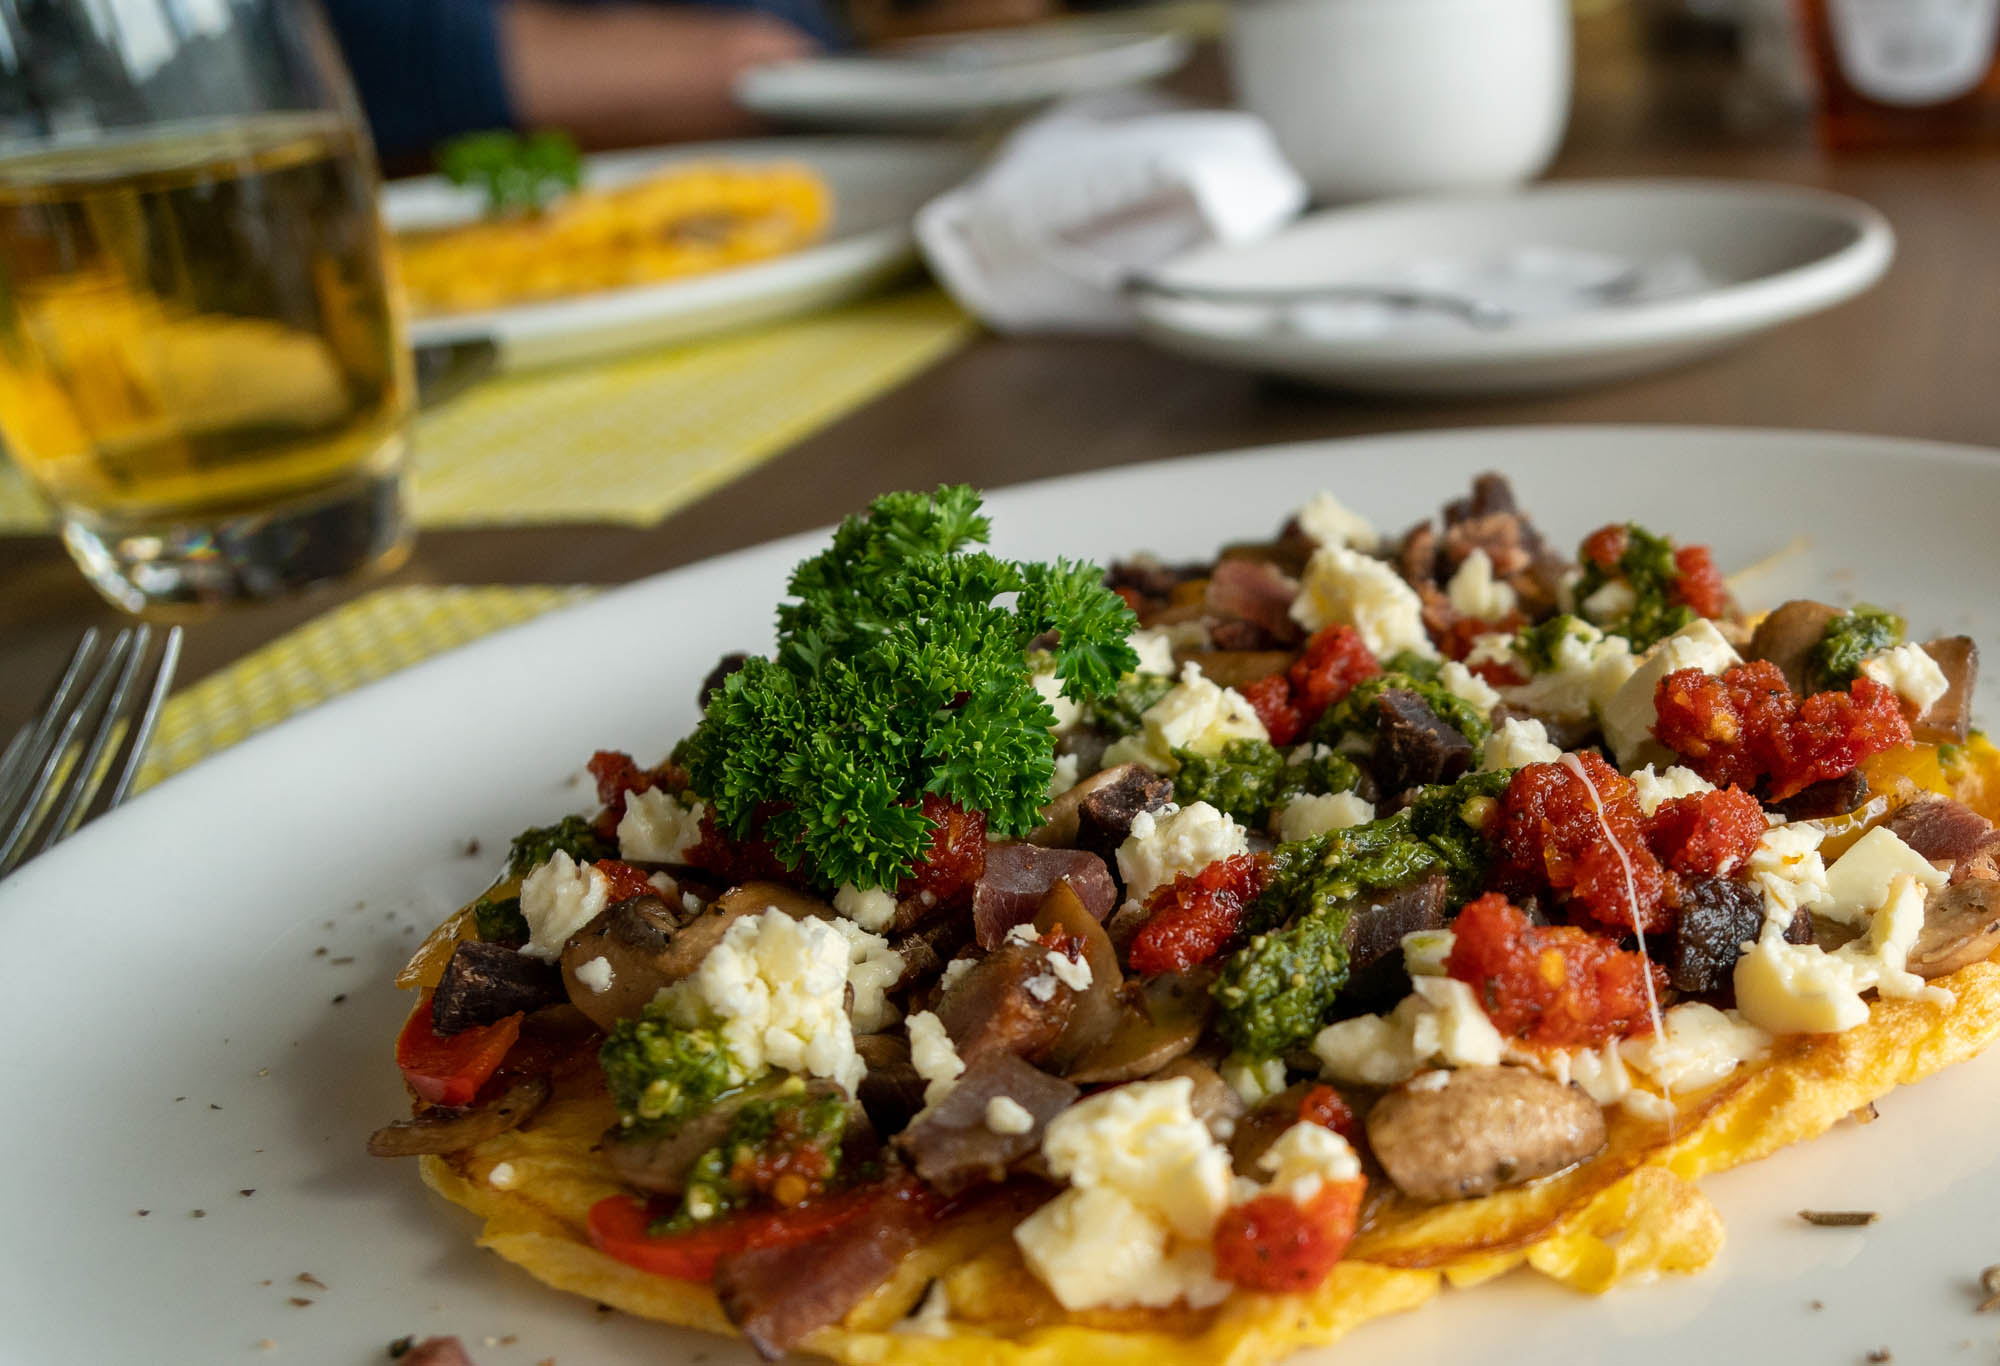
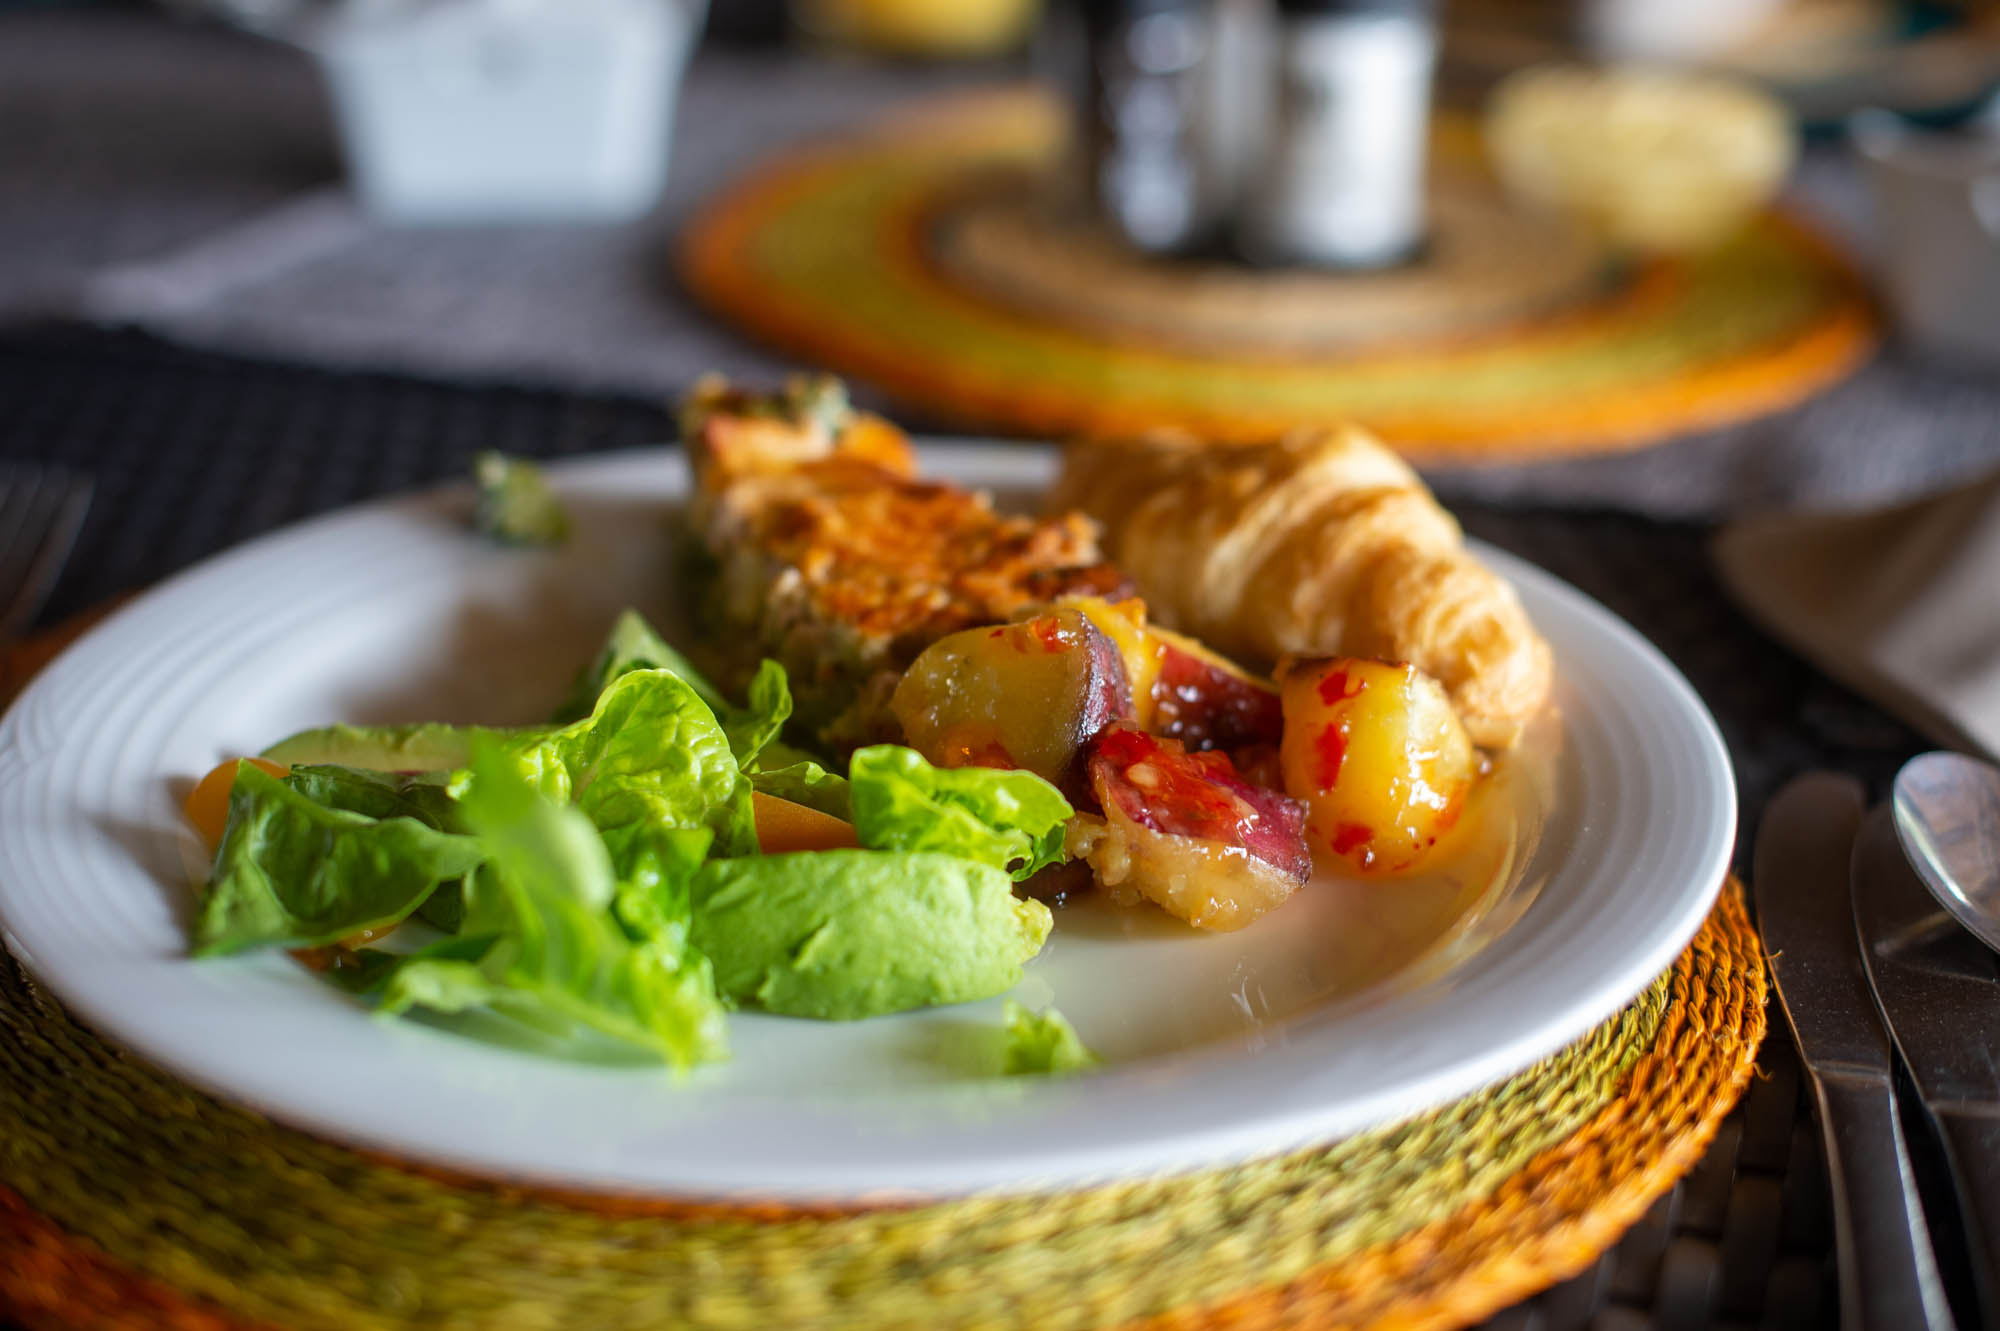
Breakfast at Lobengula was excellent; I tried a local take on Eggs Benedict one morning and it absolutely hit the spot; an omelette the second day was equally good. Dinner results were mixed. The meat for the charcoal grill (braai) on my first night there was presented in advance on a platter – you pick your portion and cut – and it was then prepared to order. I selected a couple of lamb chops and asked for them to be done medium-rare. I got them back well done and tough. The side dishes were great, as was the dessert. In fact the dessert (malva pudding) was excellent.
The following night I decided to take a small gamble and ordered lamb again – this time a rack of lamb. It paid off handsomely. The chops were tender and succulent with that typical South African Dorper sheep taste: a nice herbaceous undertone but quite subtle, and not at all mutton-like. Dessert was again splendid.
The ‘lamb chop experience’ at Lobengula underscored my experience of many years on safari. Almost never have I found the meat prepared on a ‘bush dinner’ or outside grill/barbecue – a ‘braai’ as the South African refers to it – to be anywhere close as good as similar cuts prepared in a proper kitchen setting. Just too many unknowns and variables with grilling outside, particularly when the chefs are cooking for a whole camp-full of people. Visibility is bad in the dark, the charcoal temperature is difficult to regulate, it is hard to get the timing right, and so on. Boerewors sausage and chicken (other than breast portions) are generally the best choices for bush dinners.
Throughout my stay at Lobengula I could not have received better service or friendlier attention than I did. Irreproachable in every respect.
Back to guiding: Morne had guided me some years previously in the Timbavati at Kings Camp, where he worked as the head guide at the time. Right now, Morne is at the apex of his guiding career and any visitor to Shamwari should thank their lucky stars to be in his vehicle.
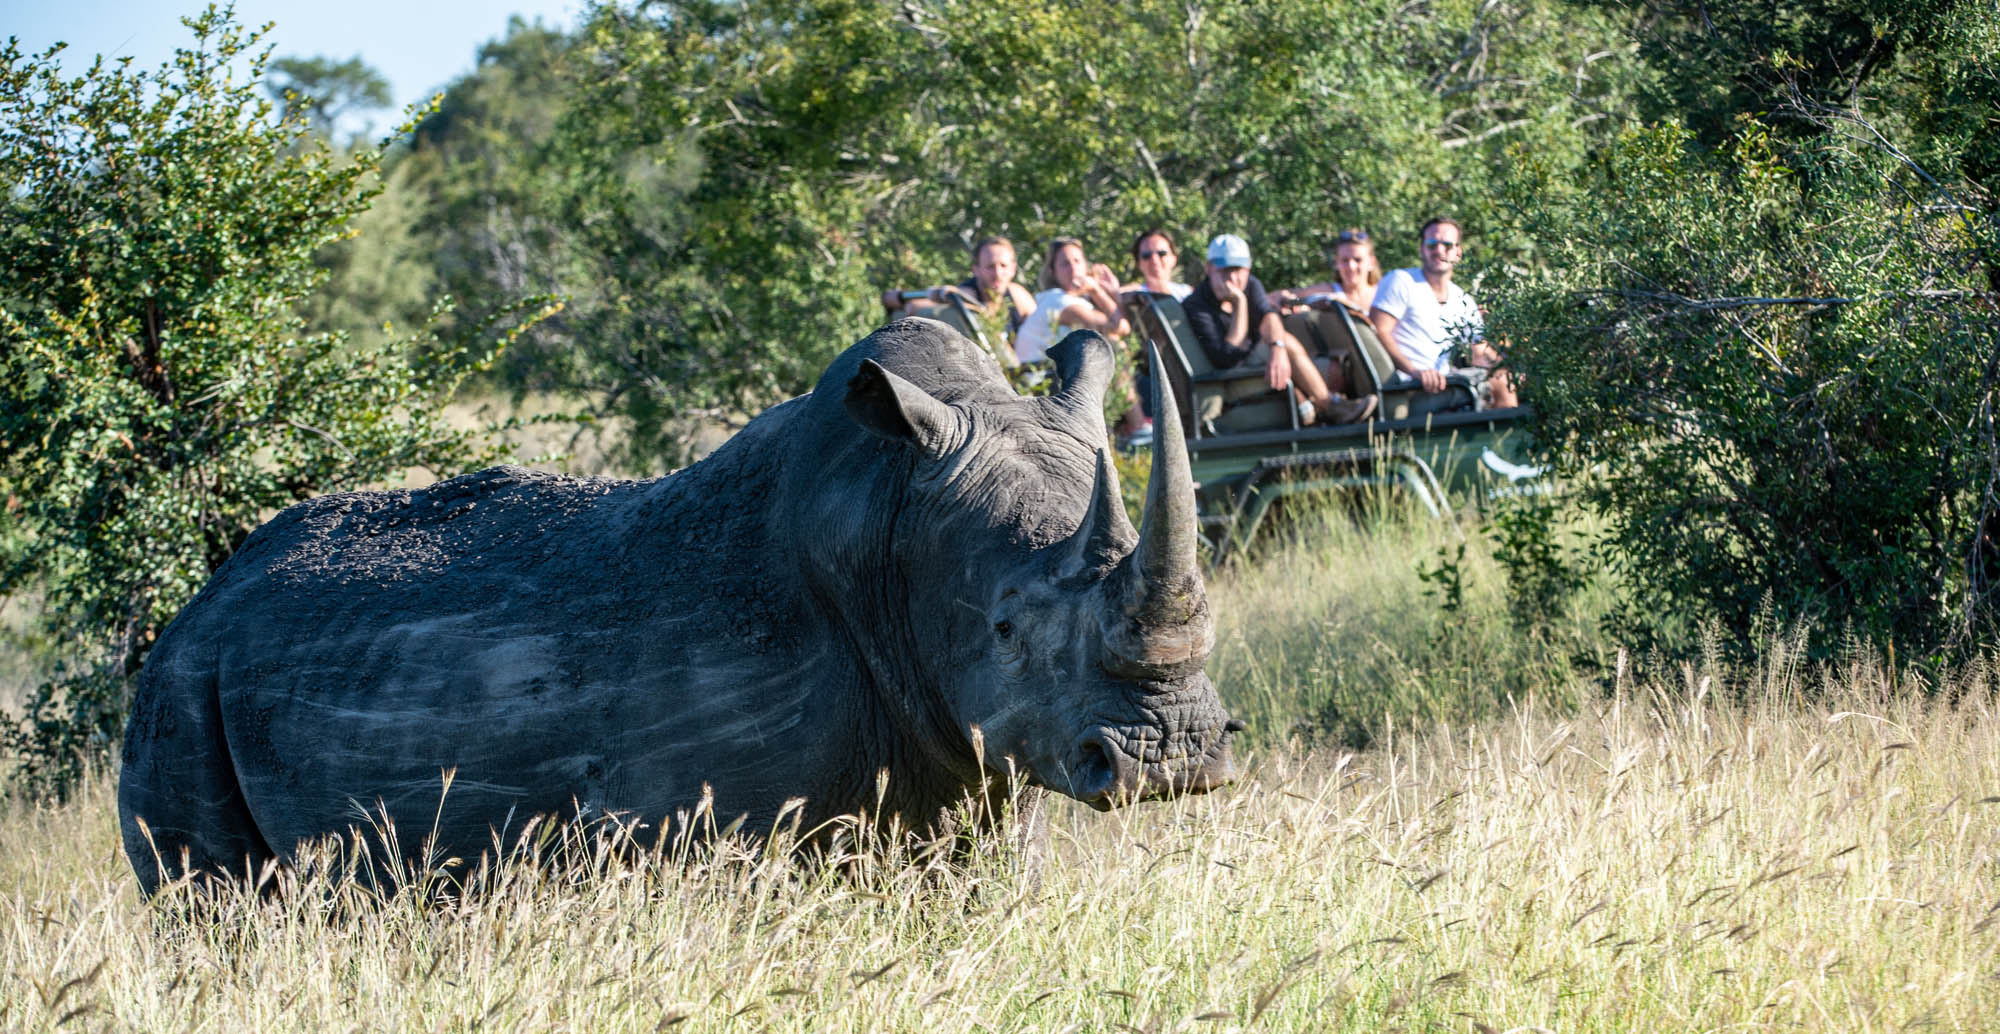
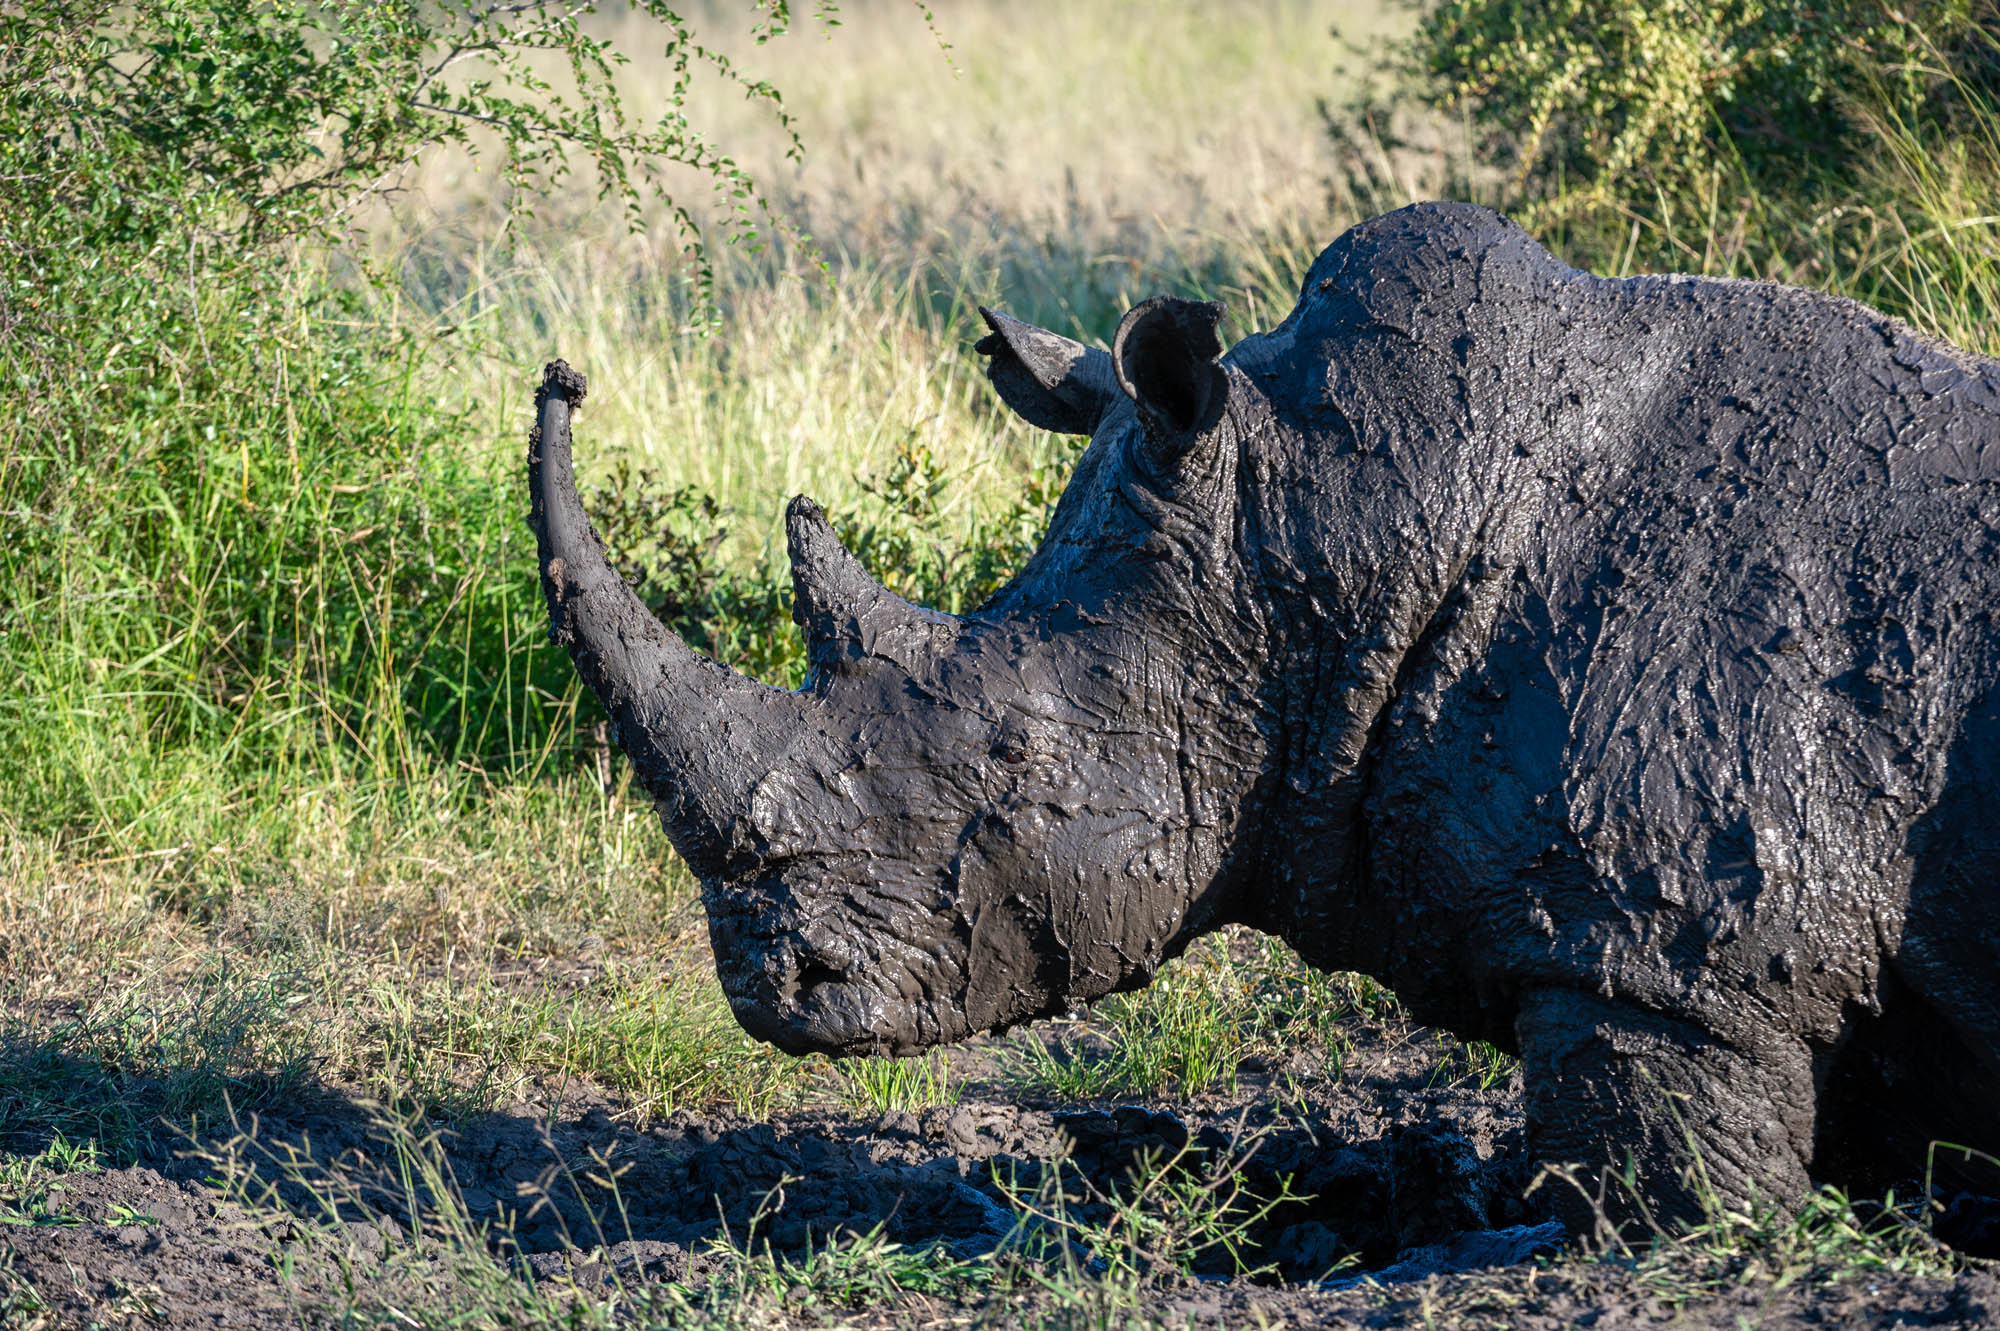
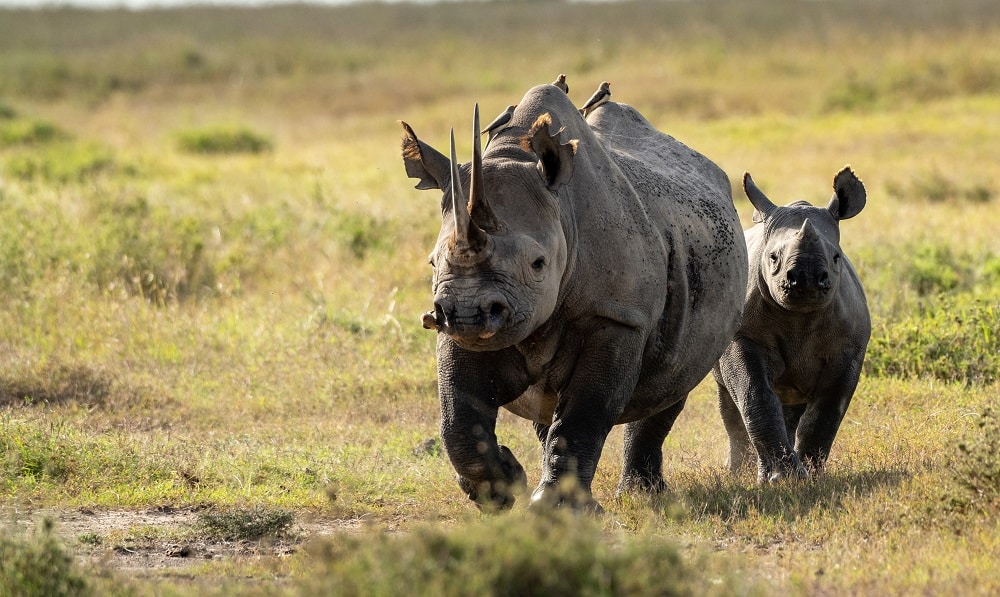
Morne has all the attributes of a good guide: personable, highly knowledgeable, friendly and enthusiastic, and he wants you to have fun and experience everything the area has to offer. He will also make every attempt to find a ‘special’ animal or bird for you. In my case it was black rhino, the only large mammal I had not seen previously on this Southern Africa trip. Given the bushy habitat preferred by these rare animals, I knew it was a tall order but I need not have been concerned. We found a striking black rhino female with a young calf, probably not even 40 minutes into our afternoon drive at Shamwari. Initially motionless behind a bush with just the tip of her long horn giving away her location, she was in no hurry to relocate despite our proximity. She then walked slowly to the next thicket, calf in tow, turned sideways to give us a look and then she disappeared. Just like any animal can, in the eastern Cape thickets.
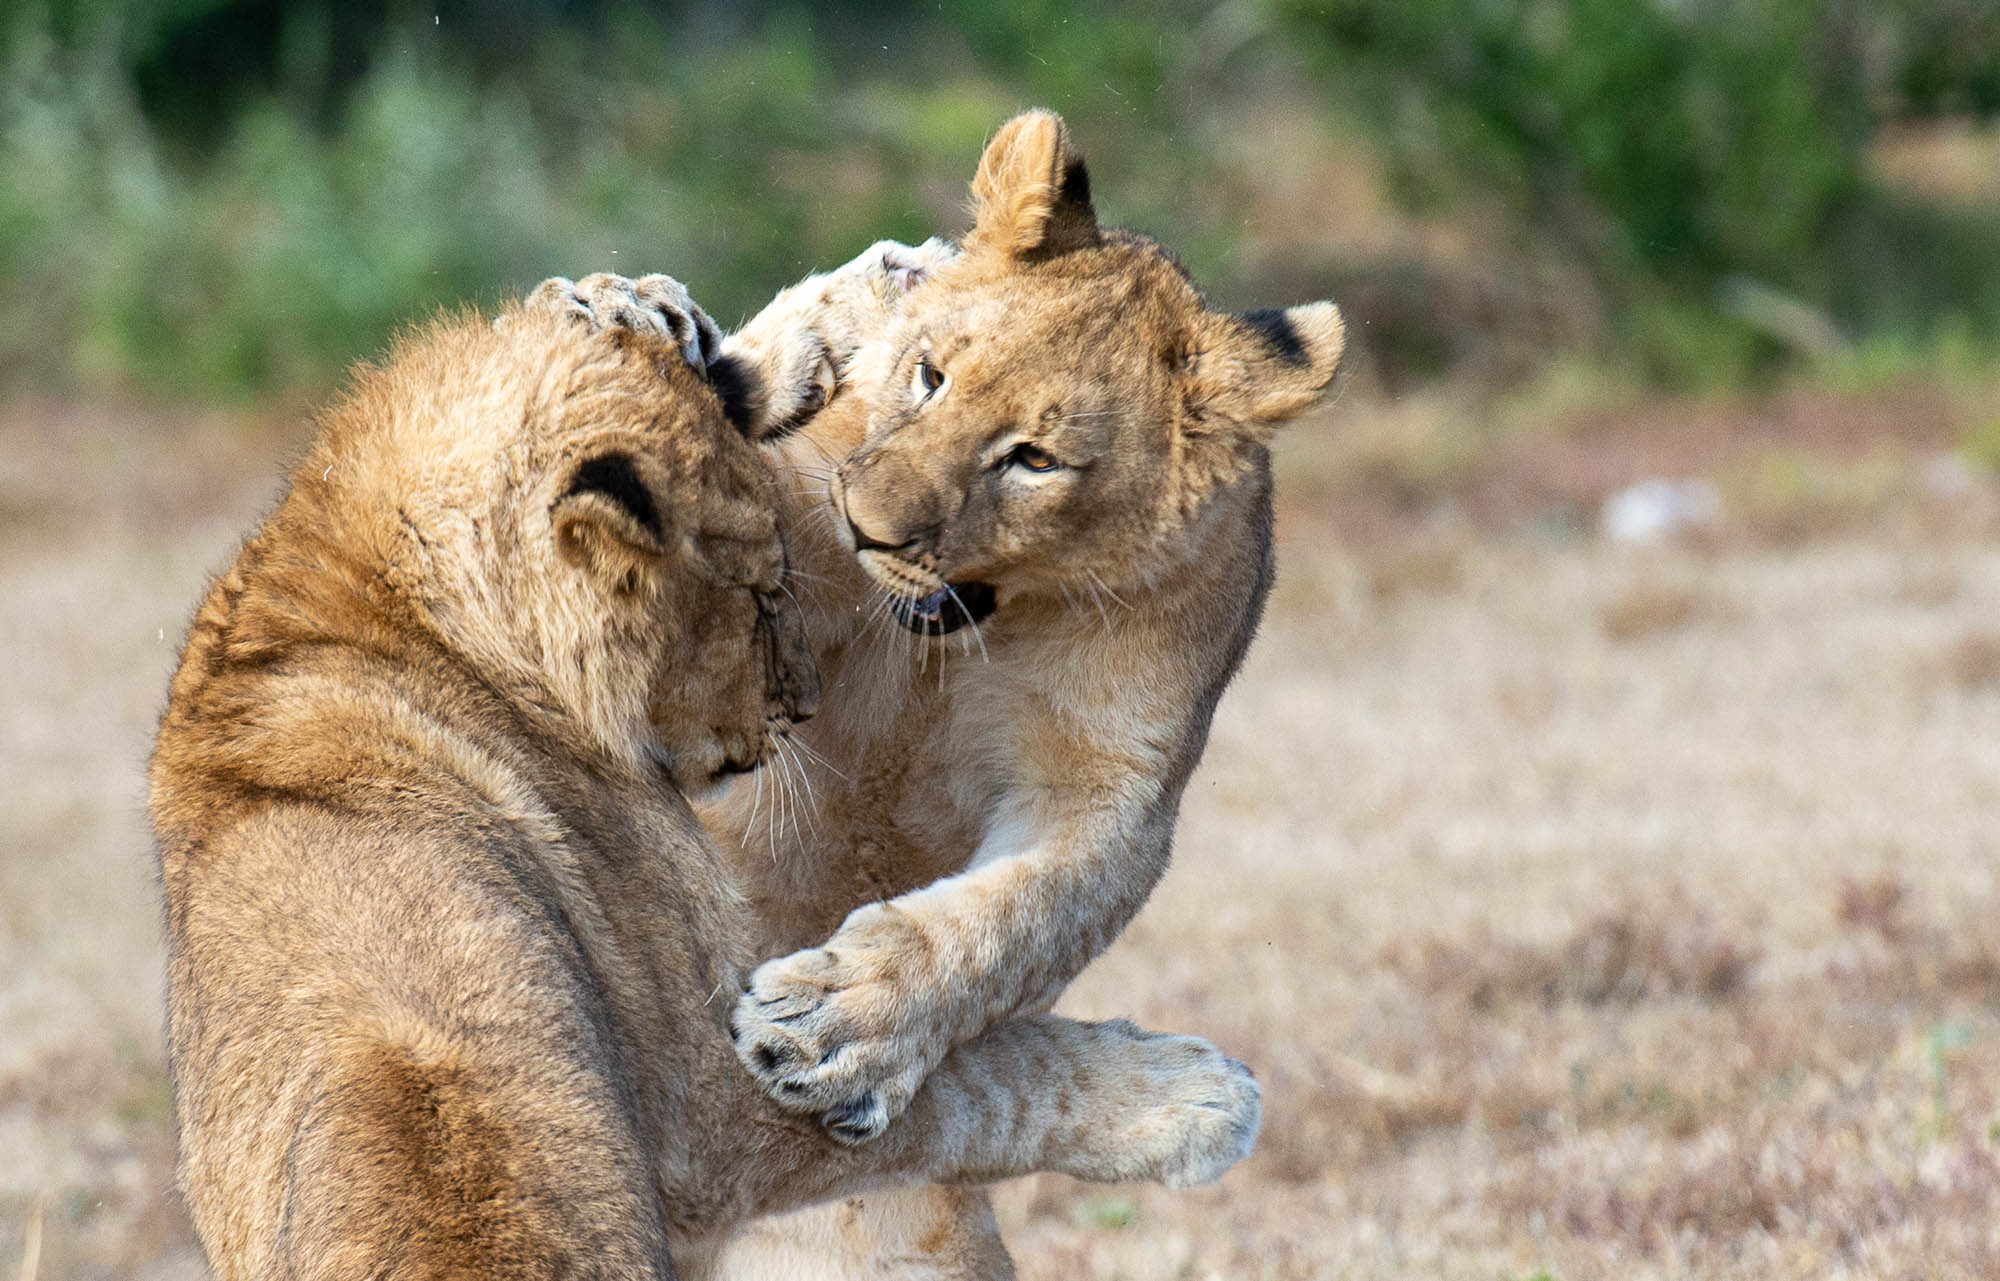
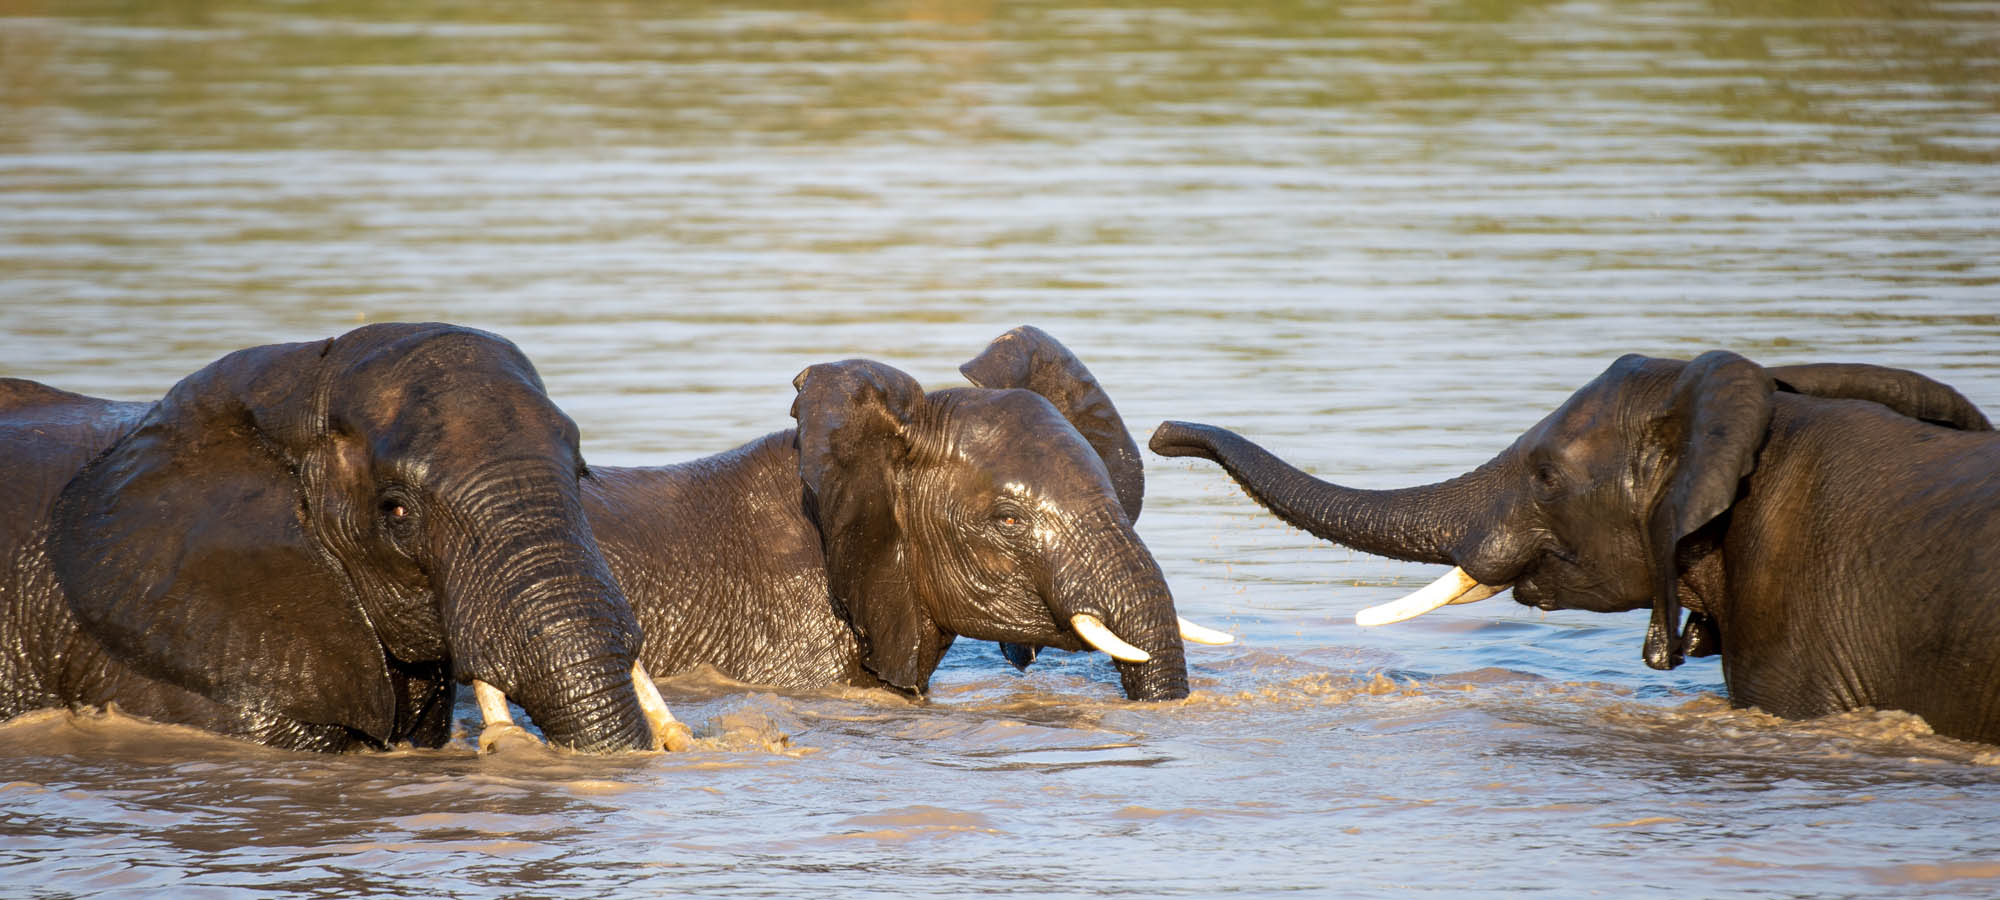
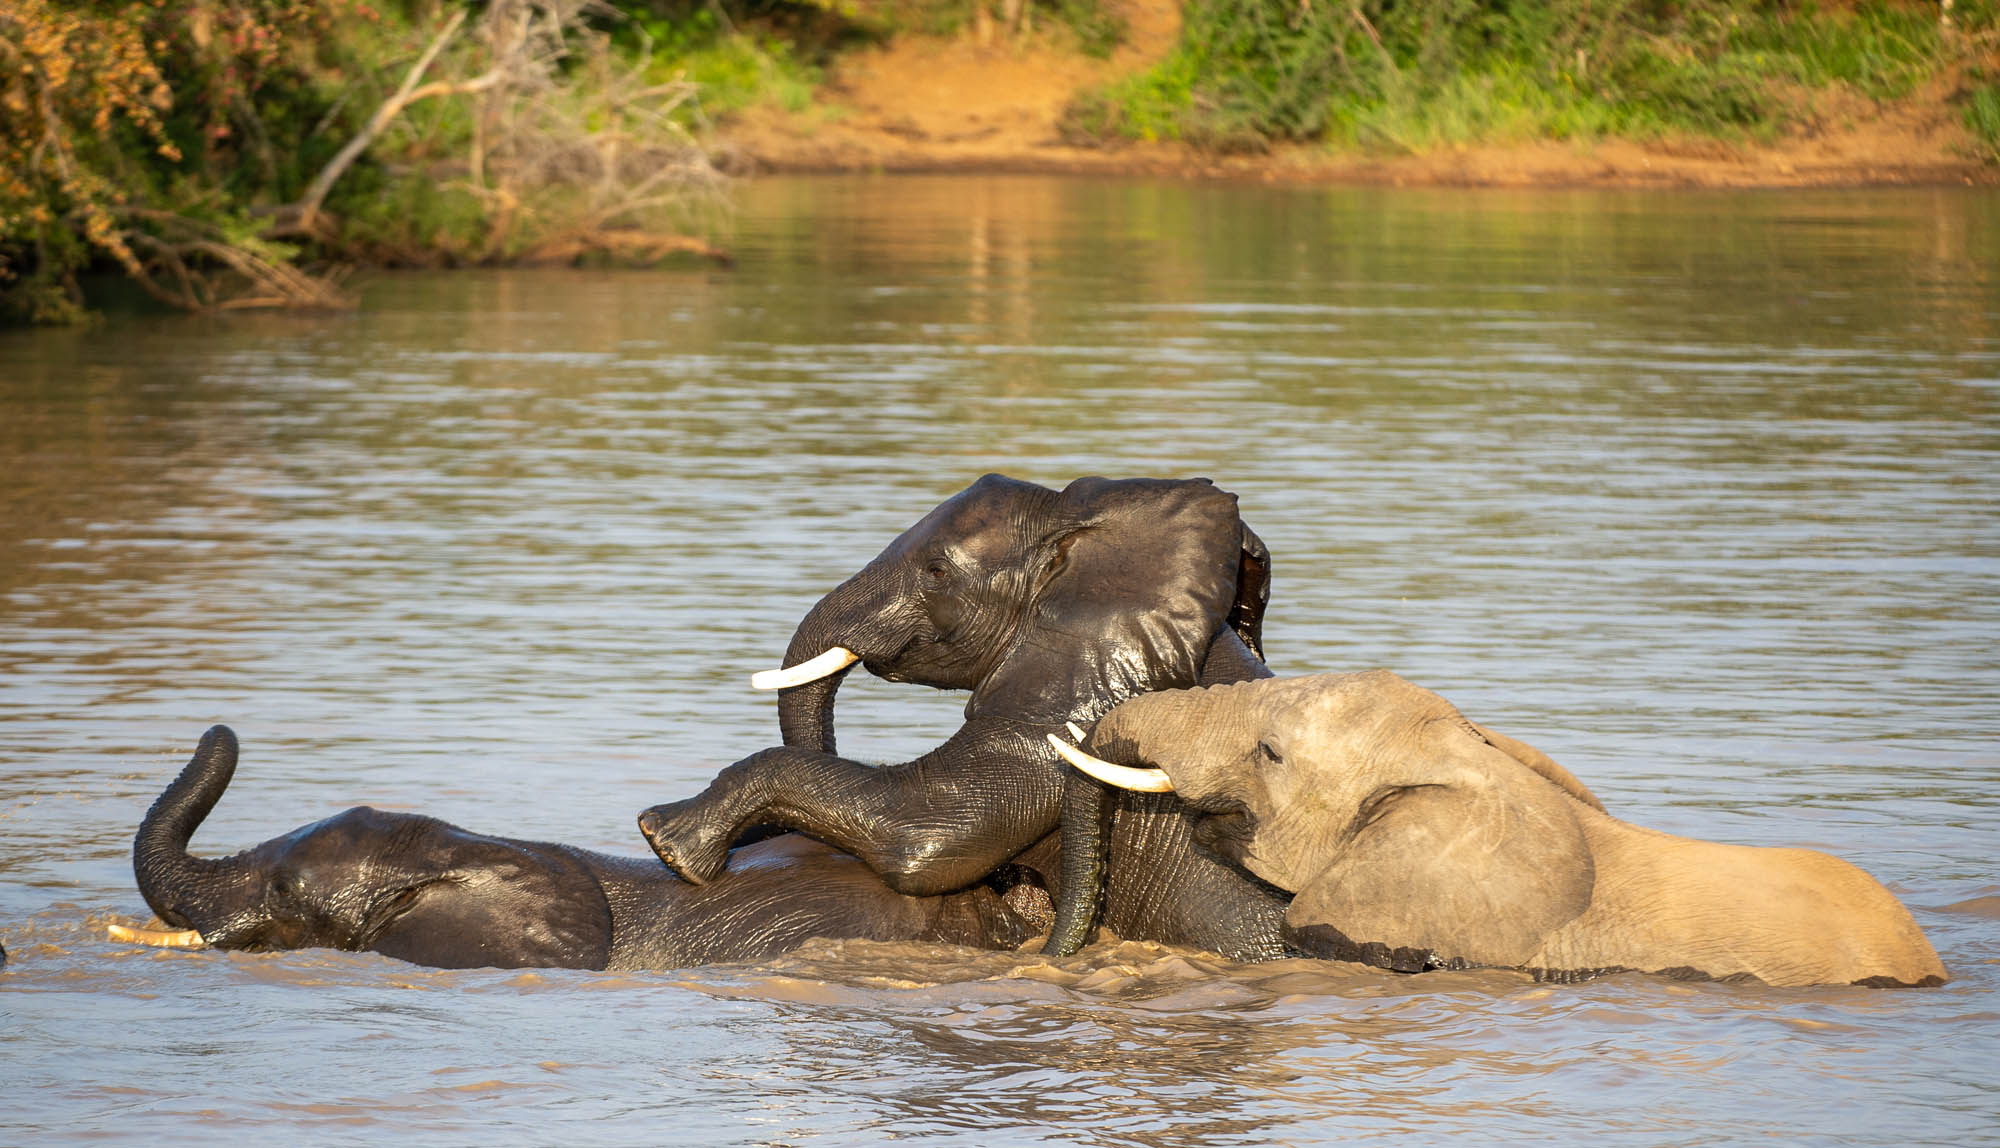
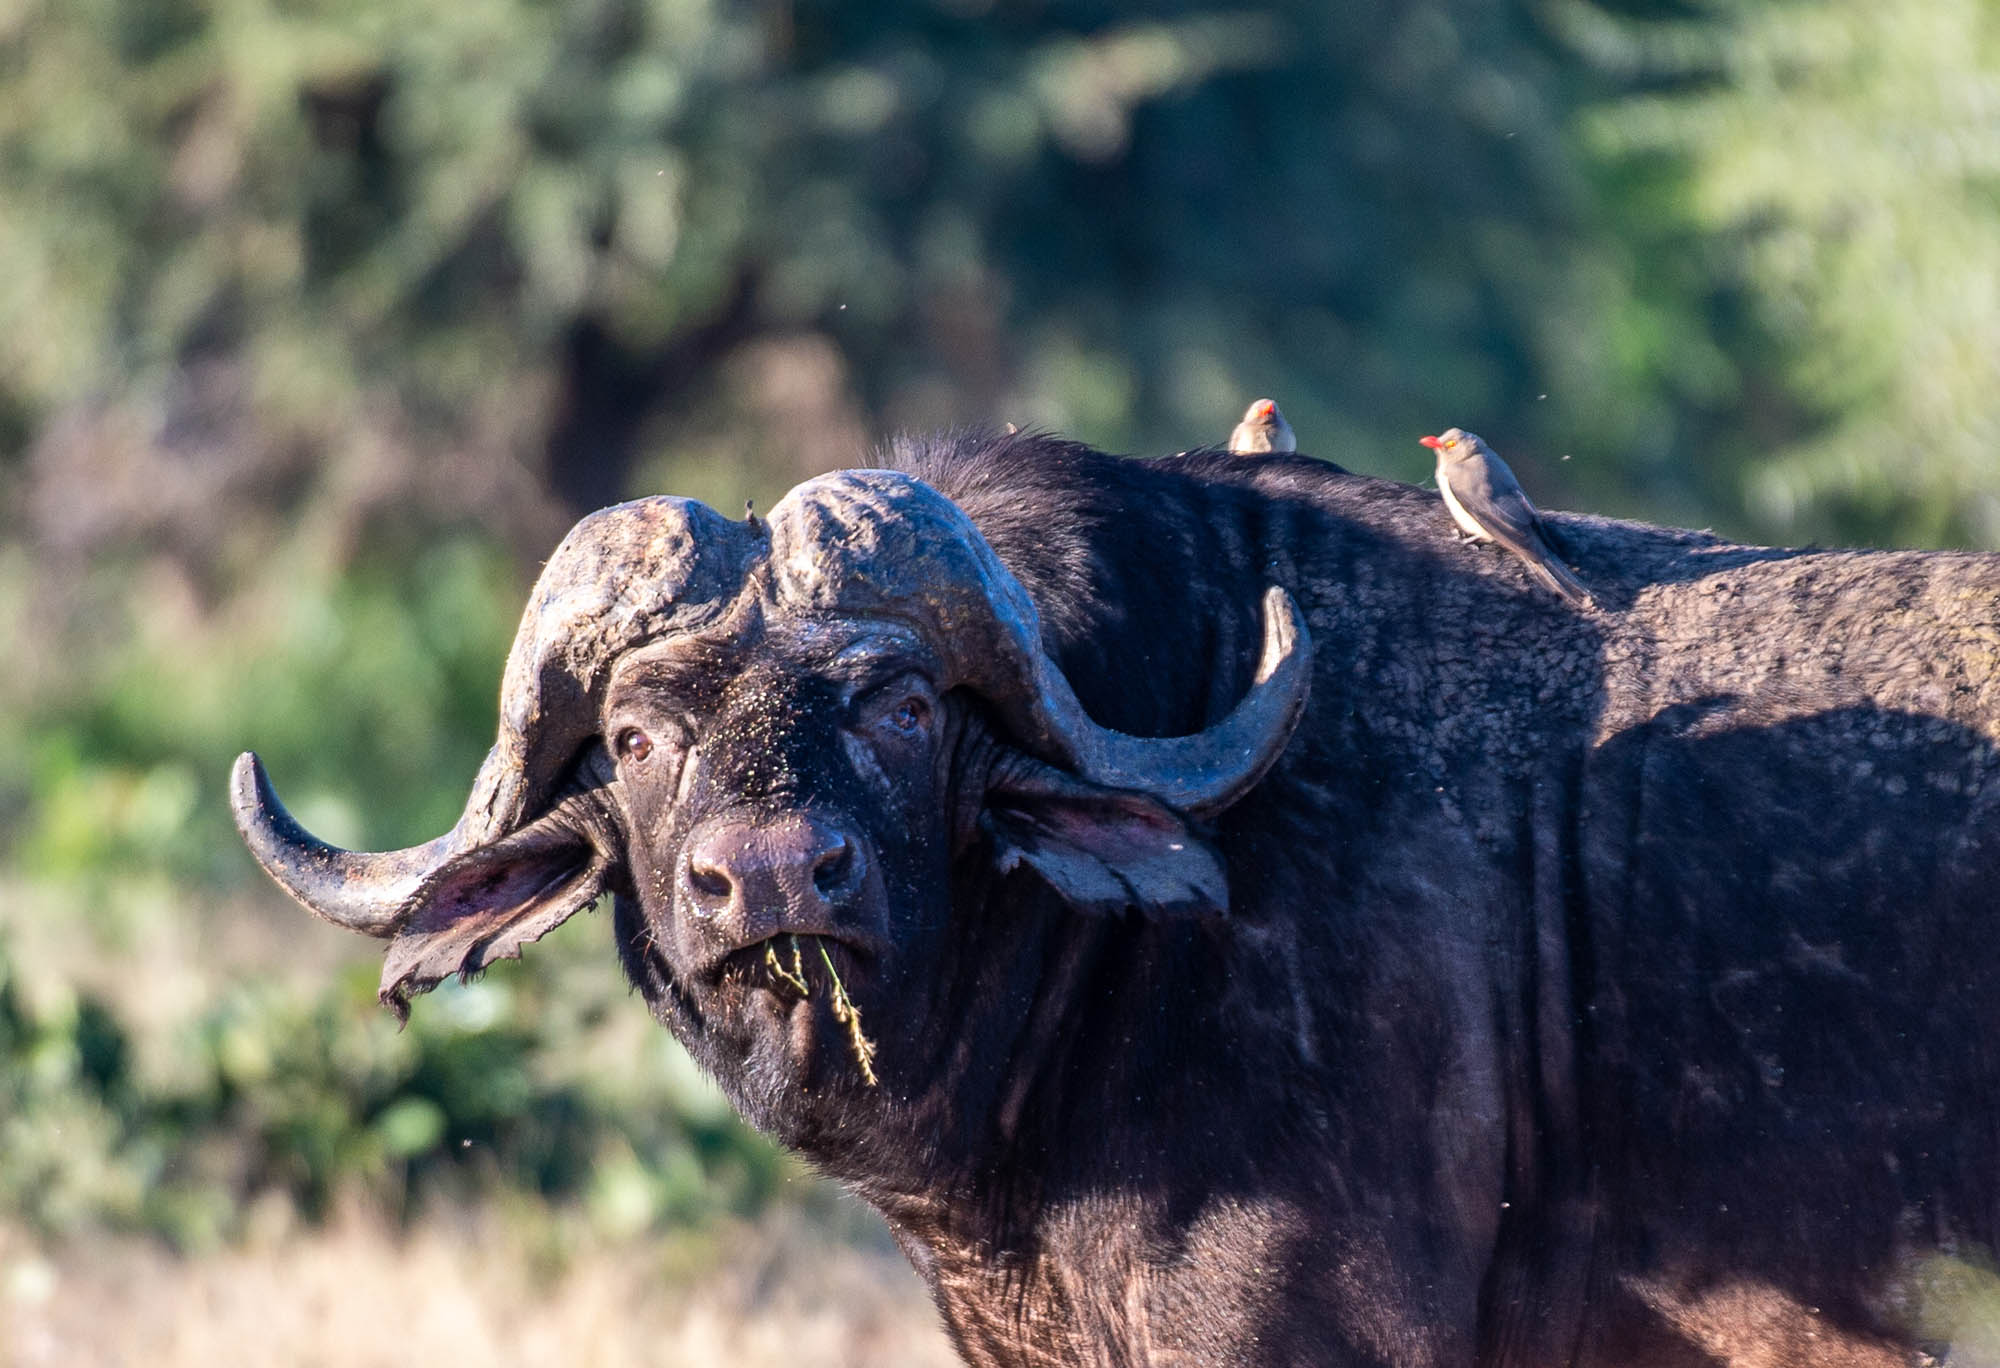
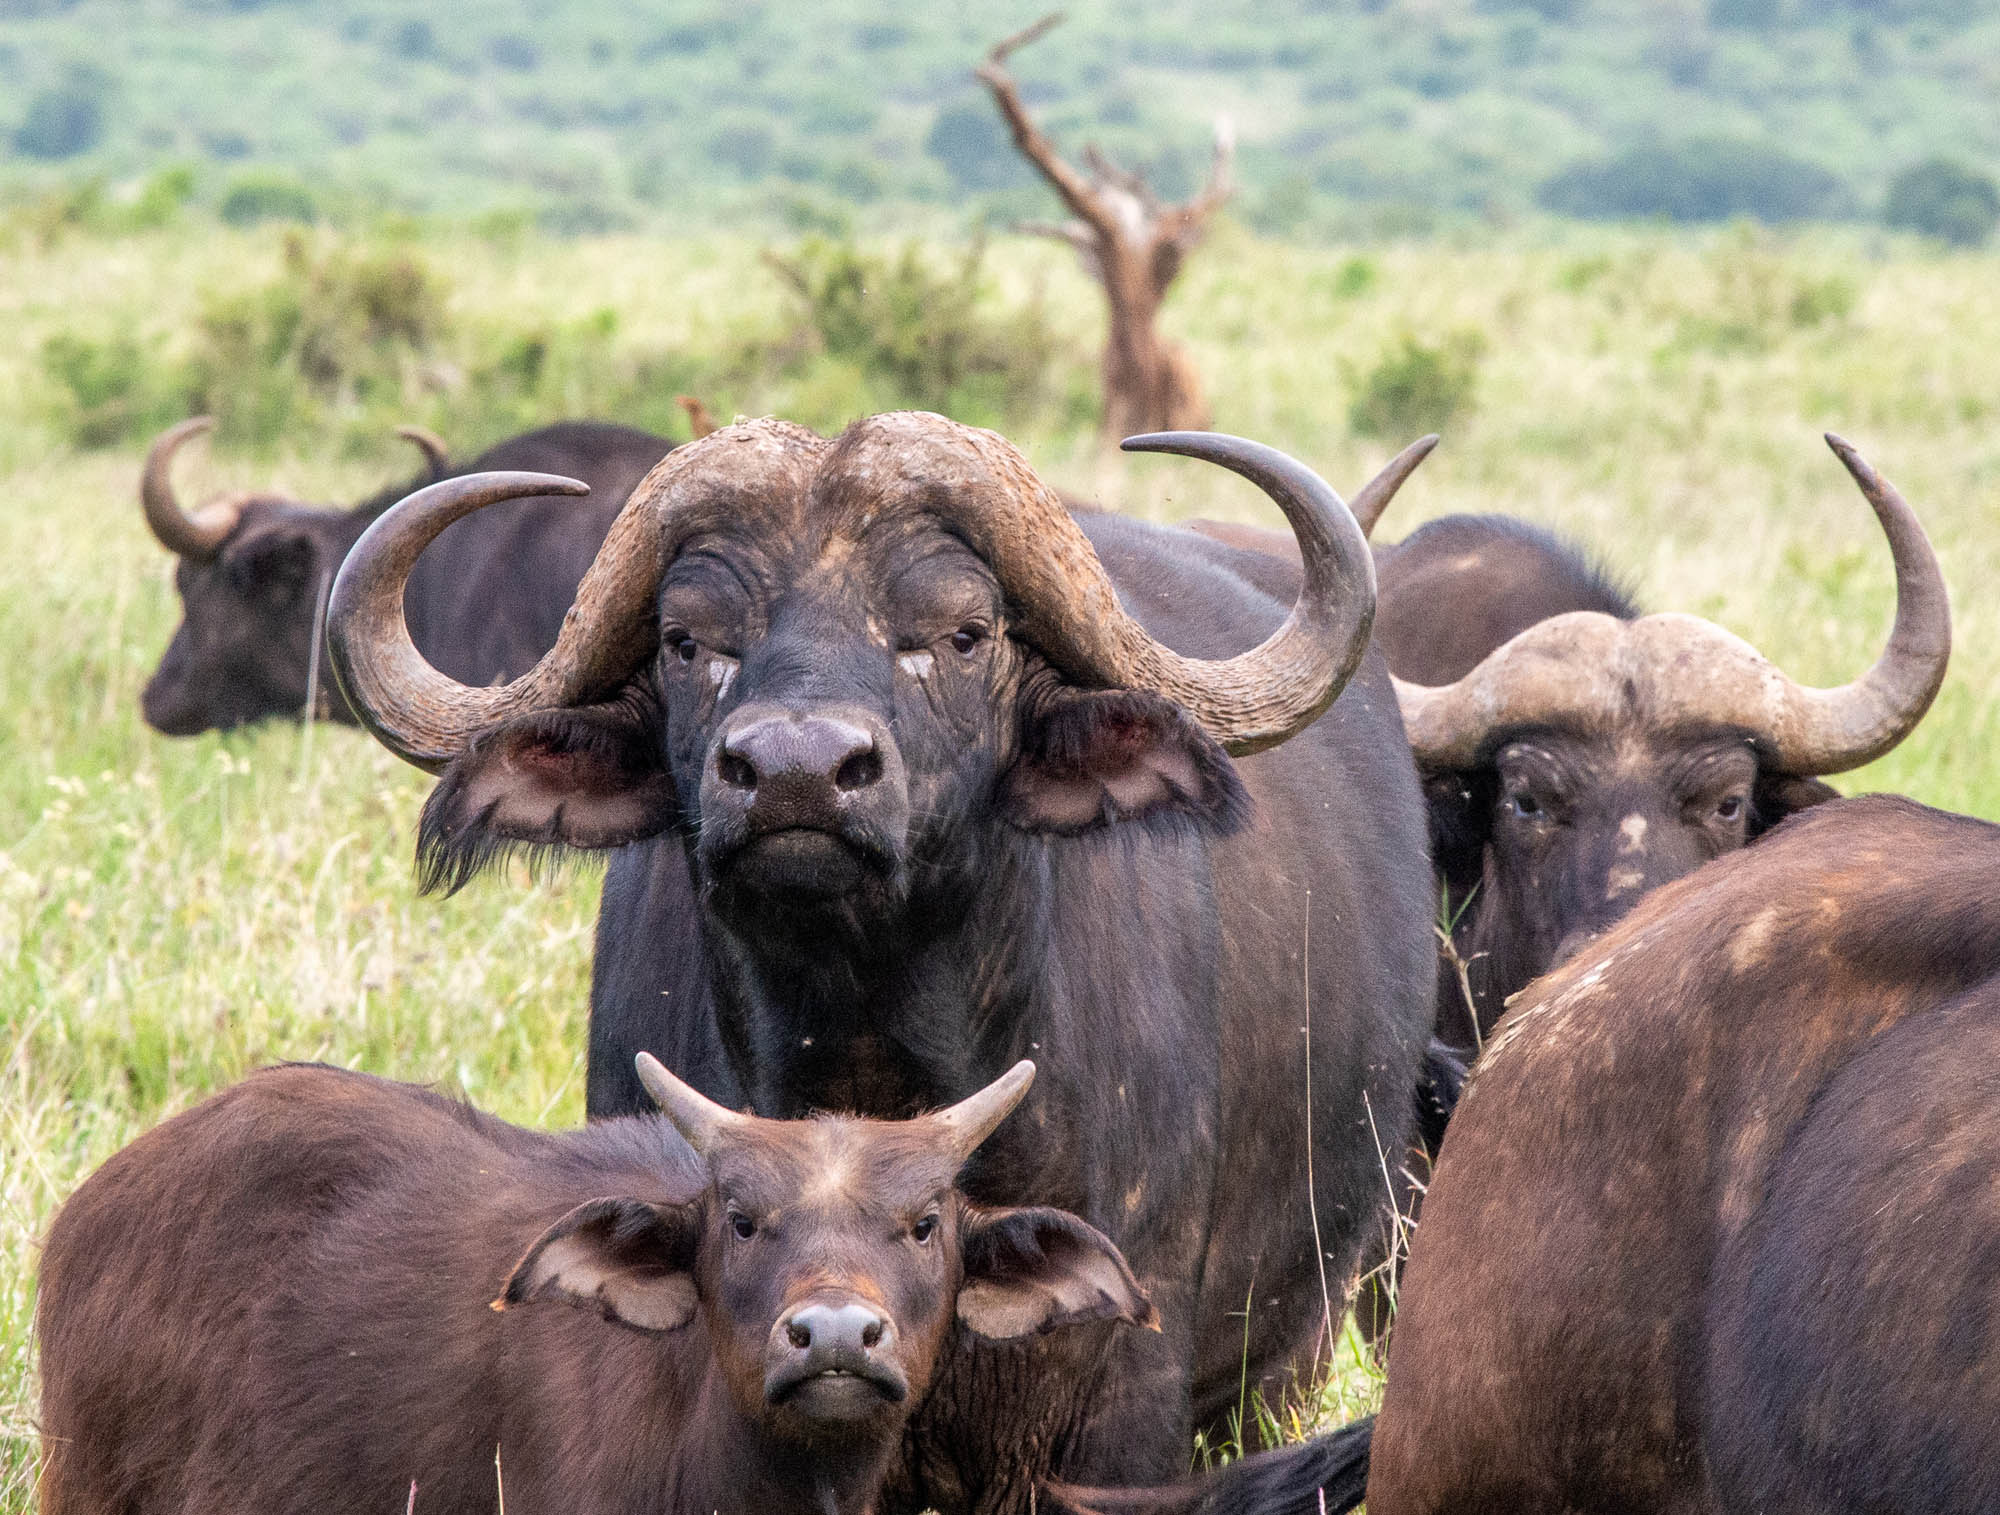
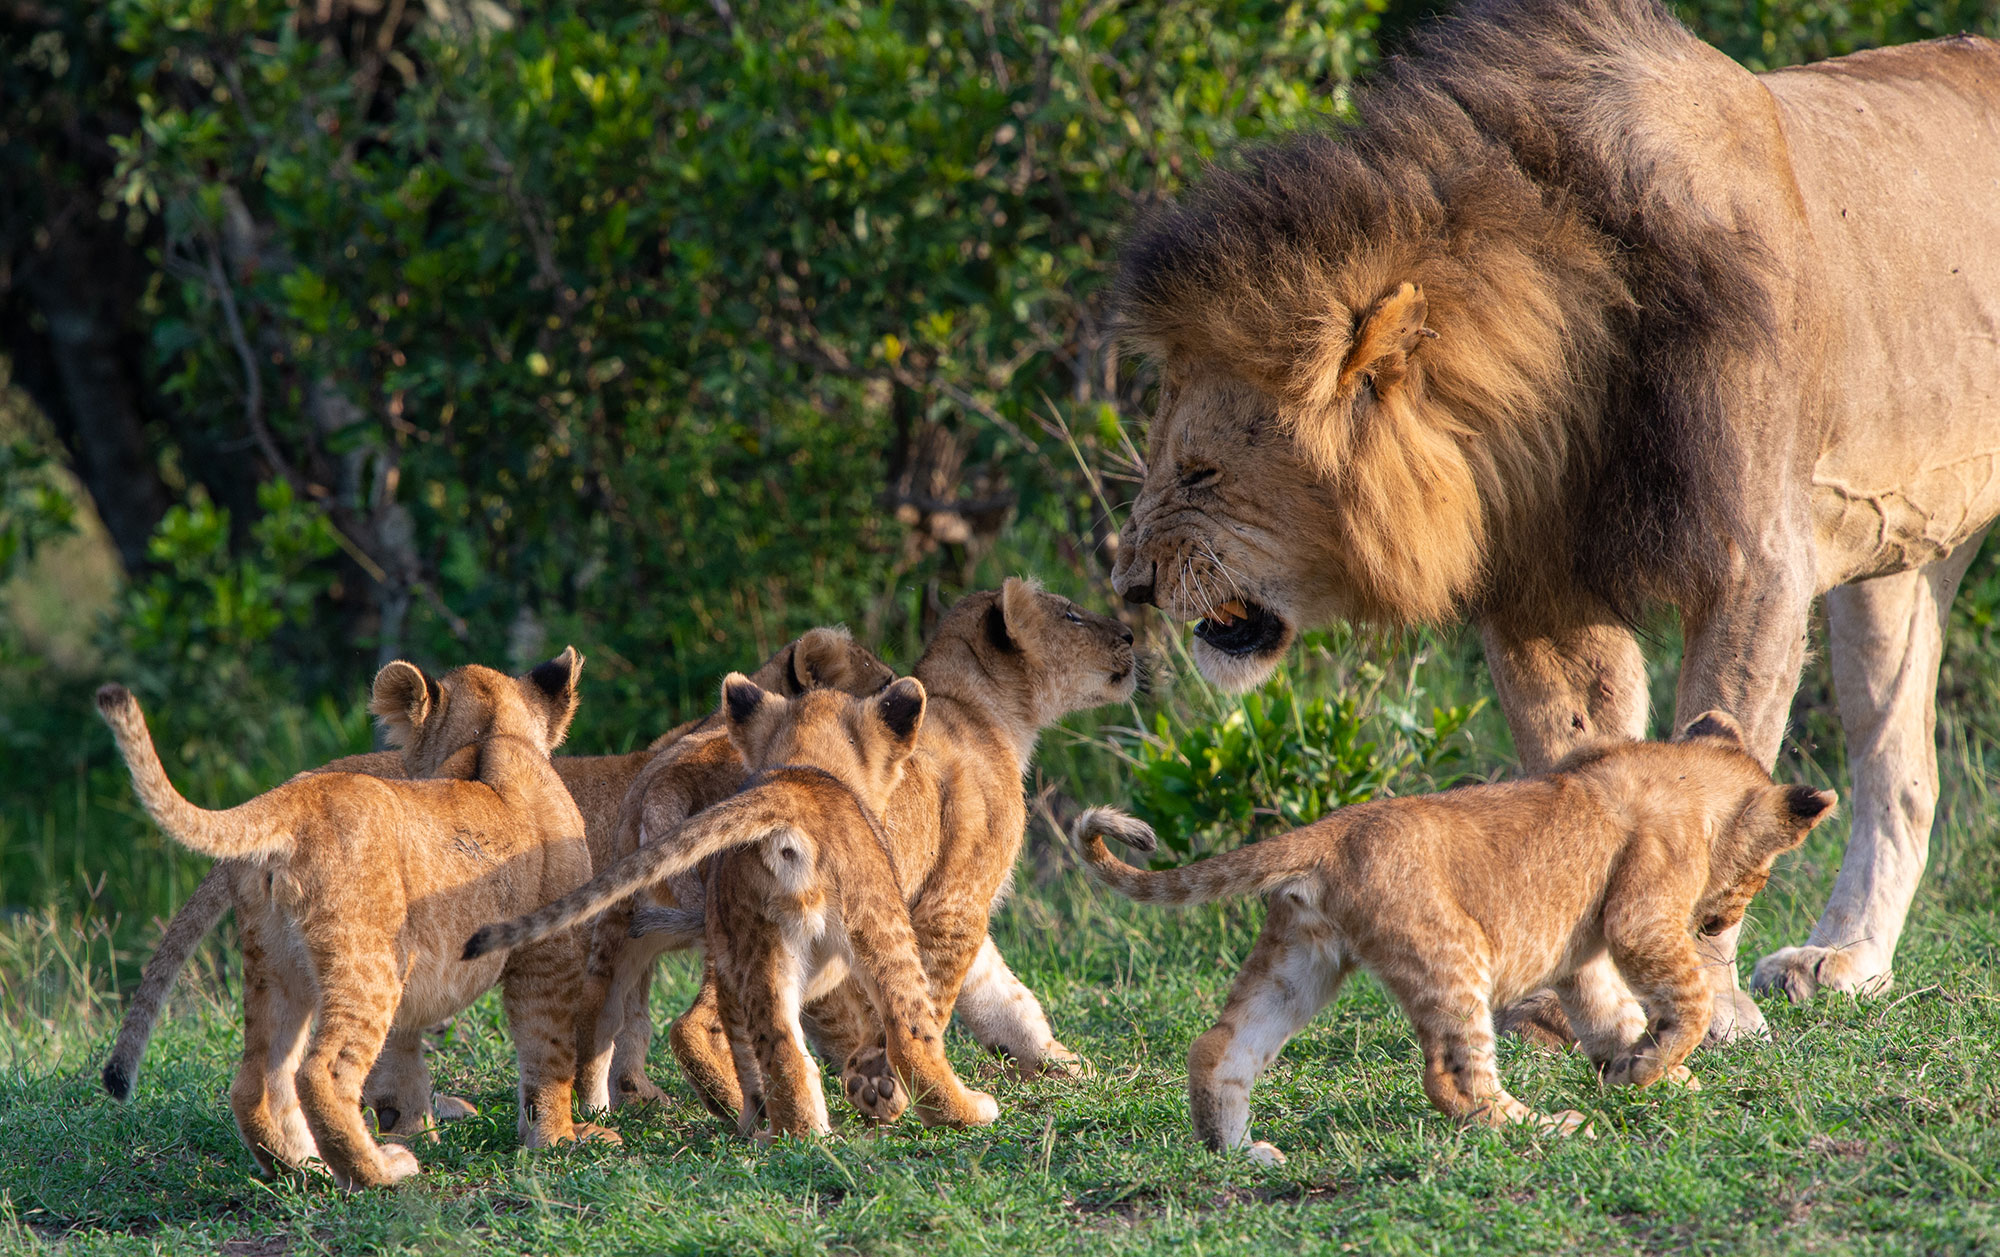
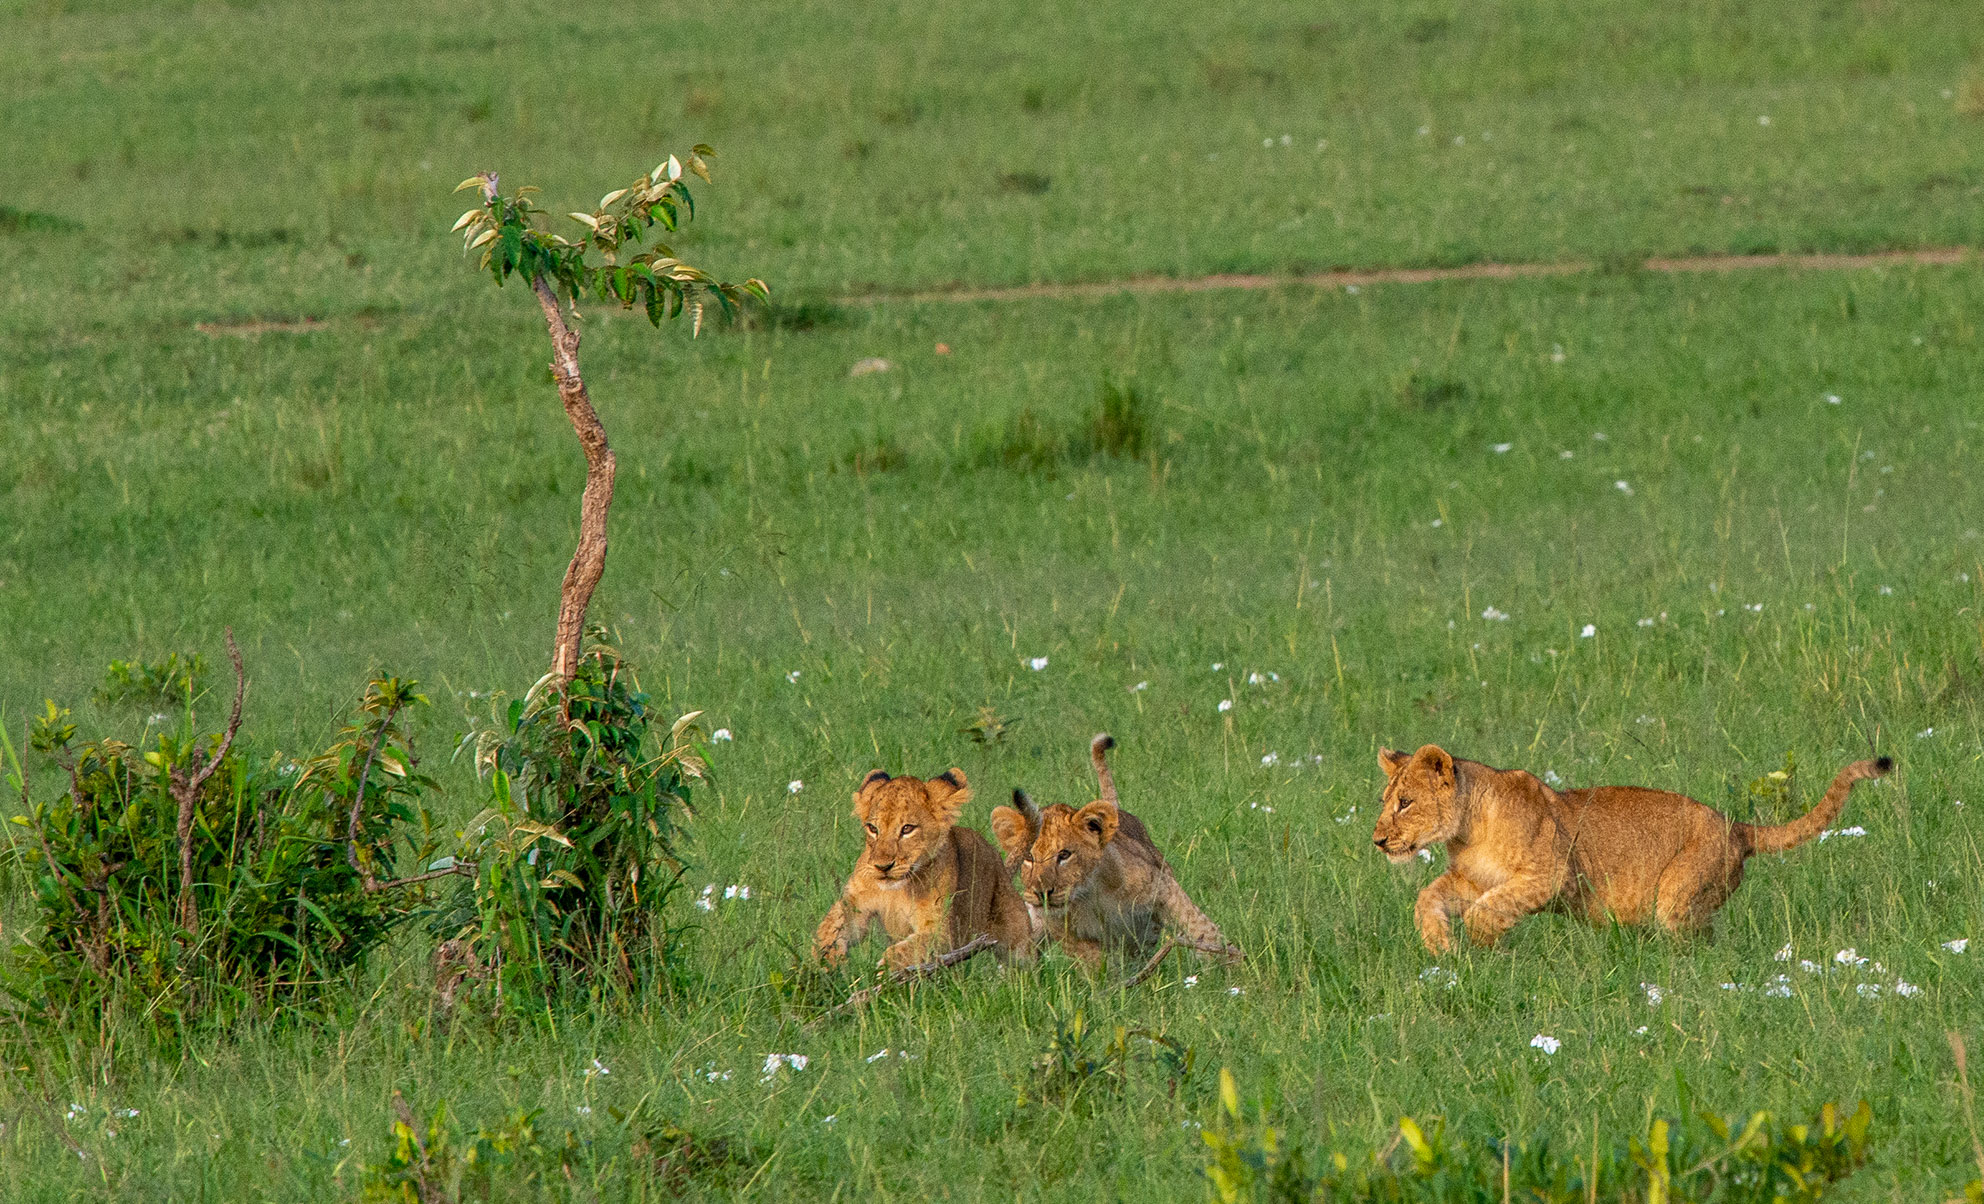
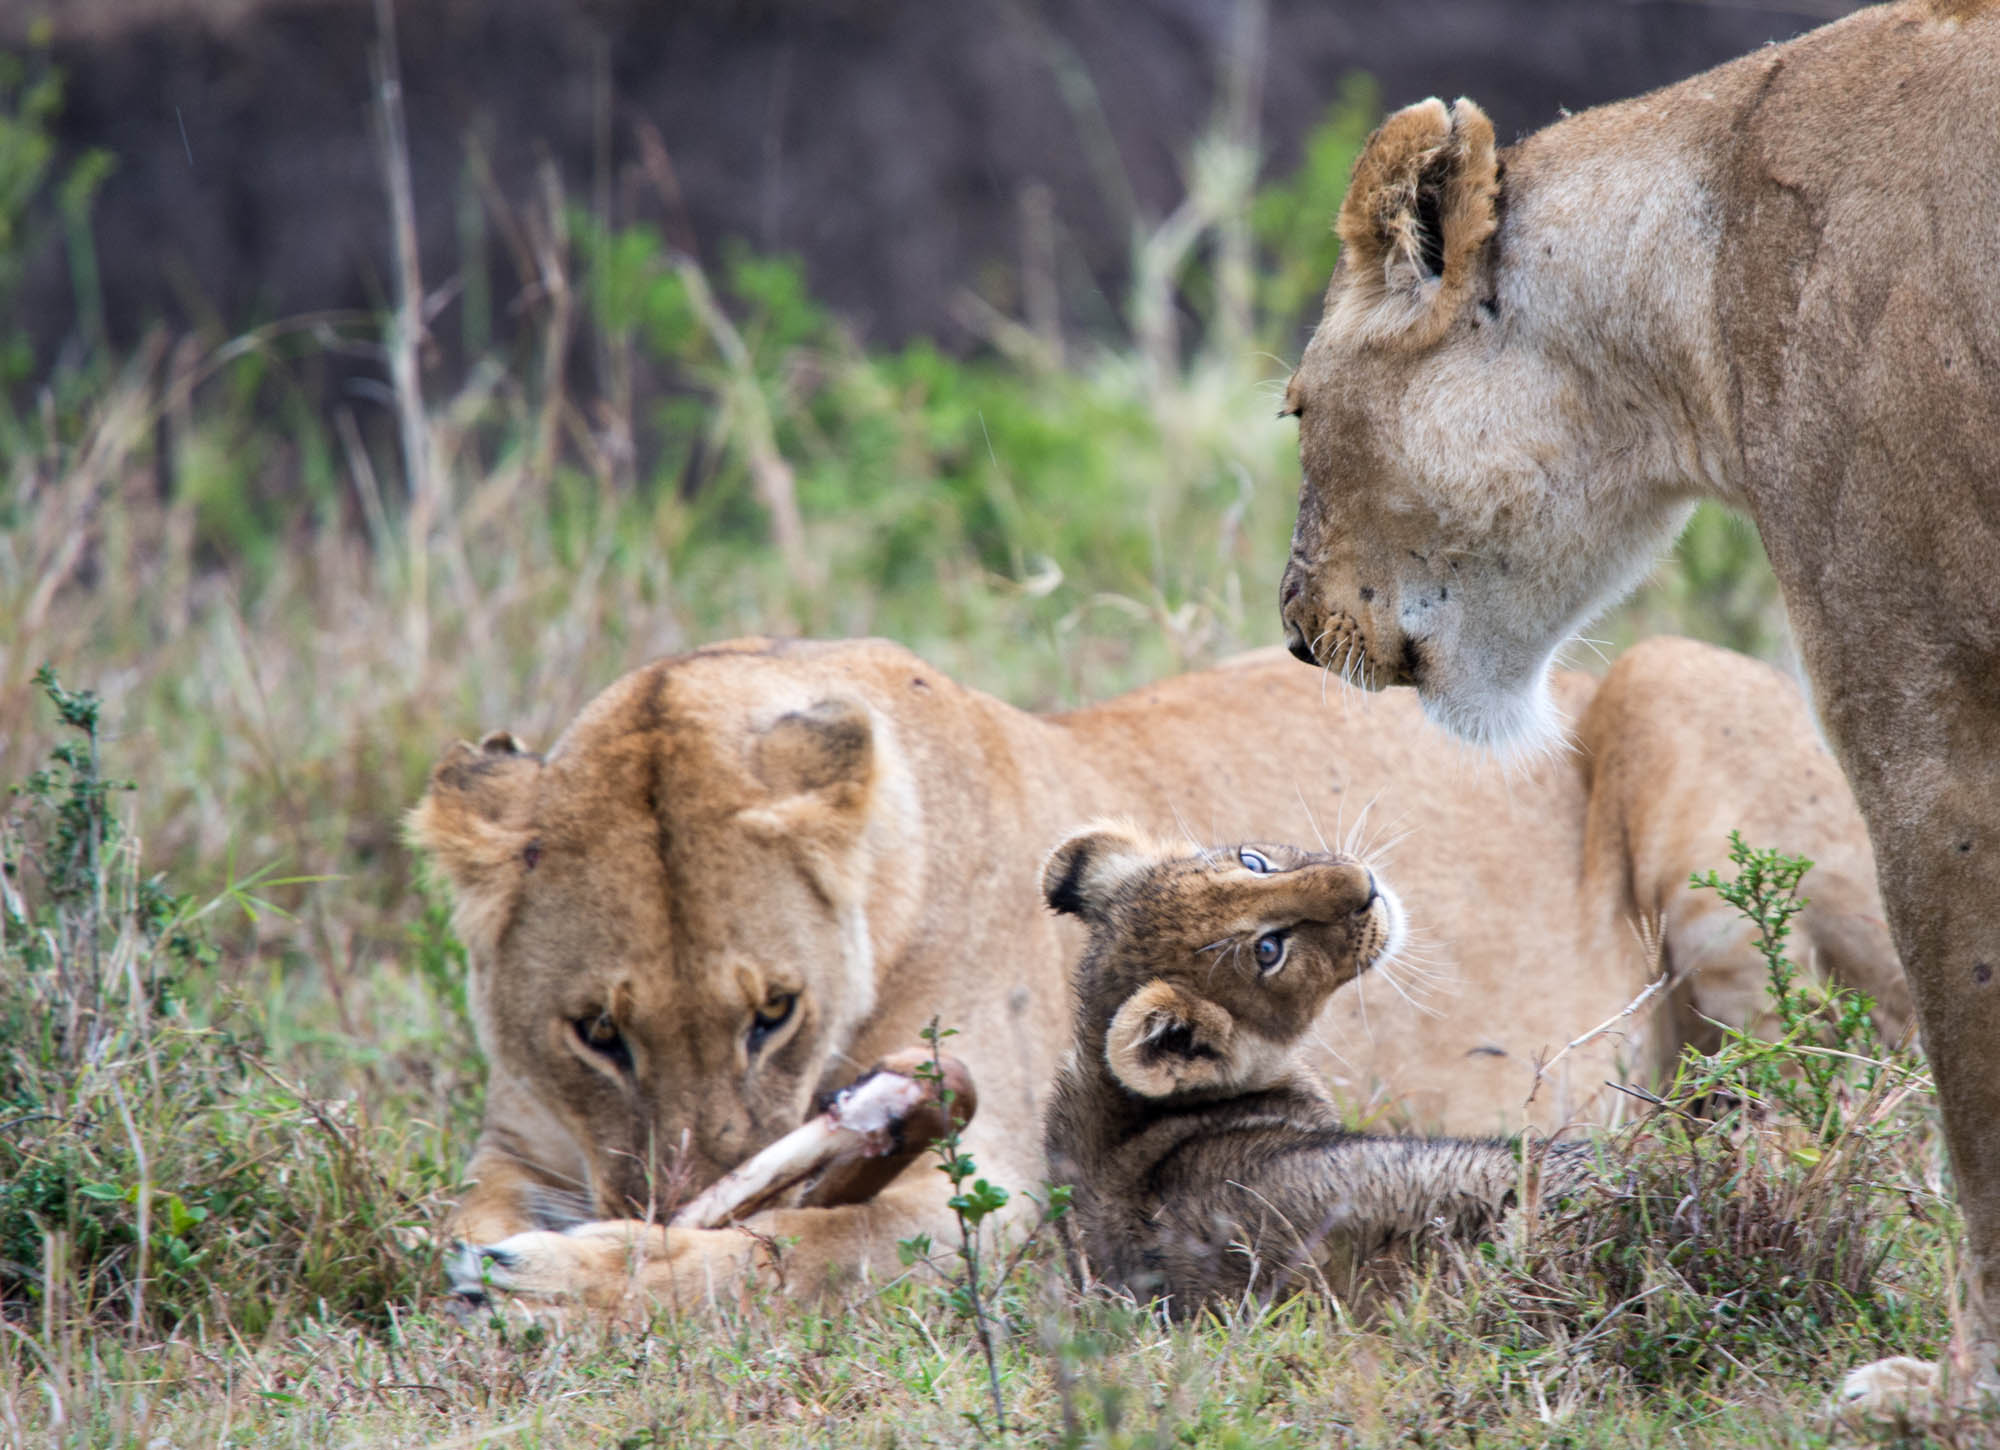
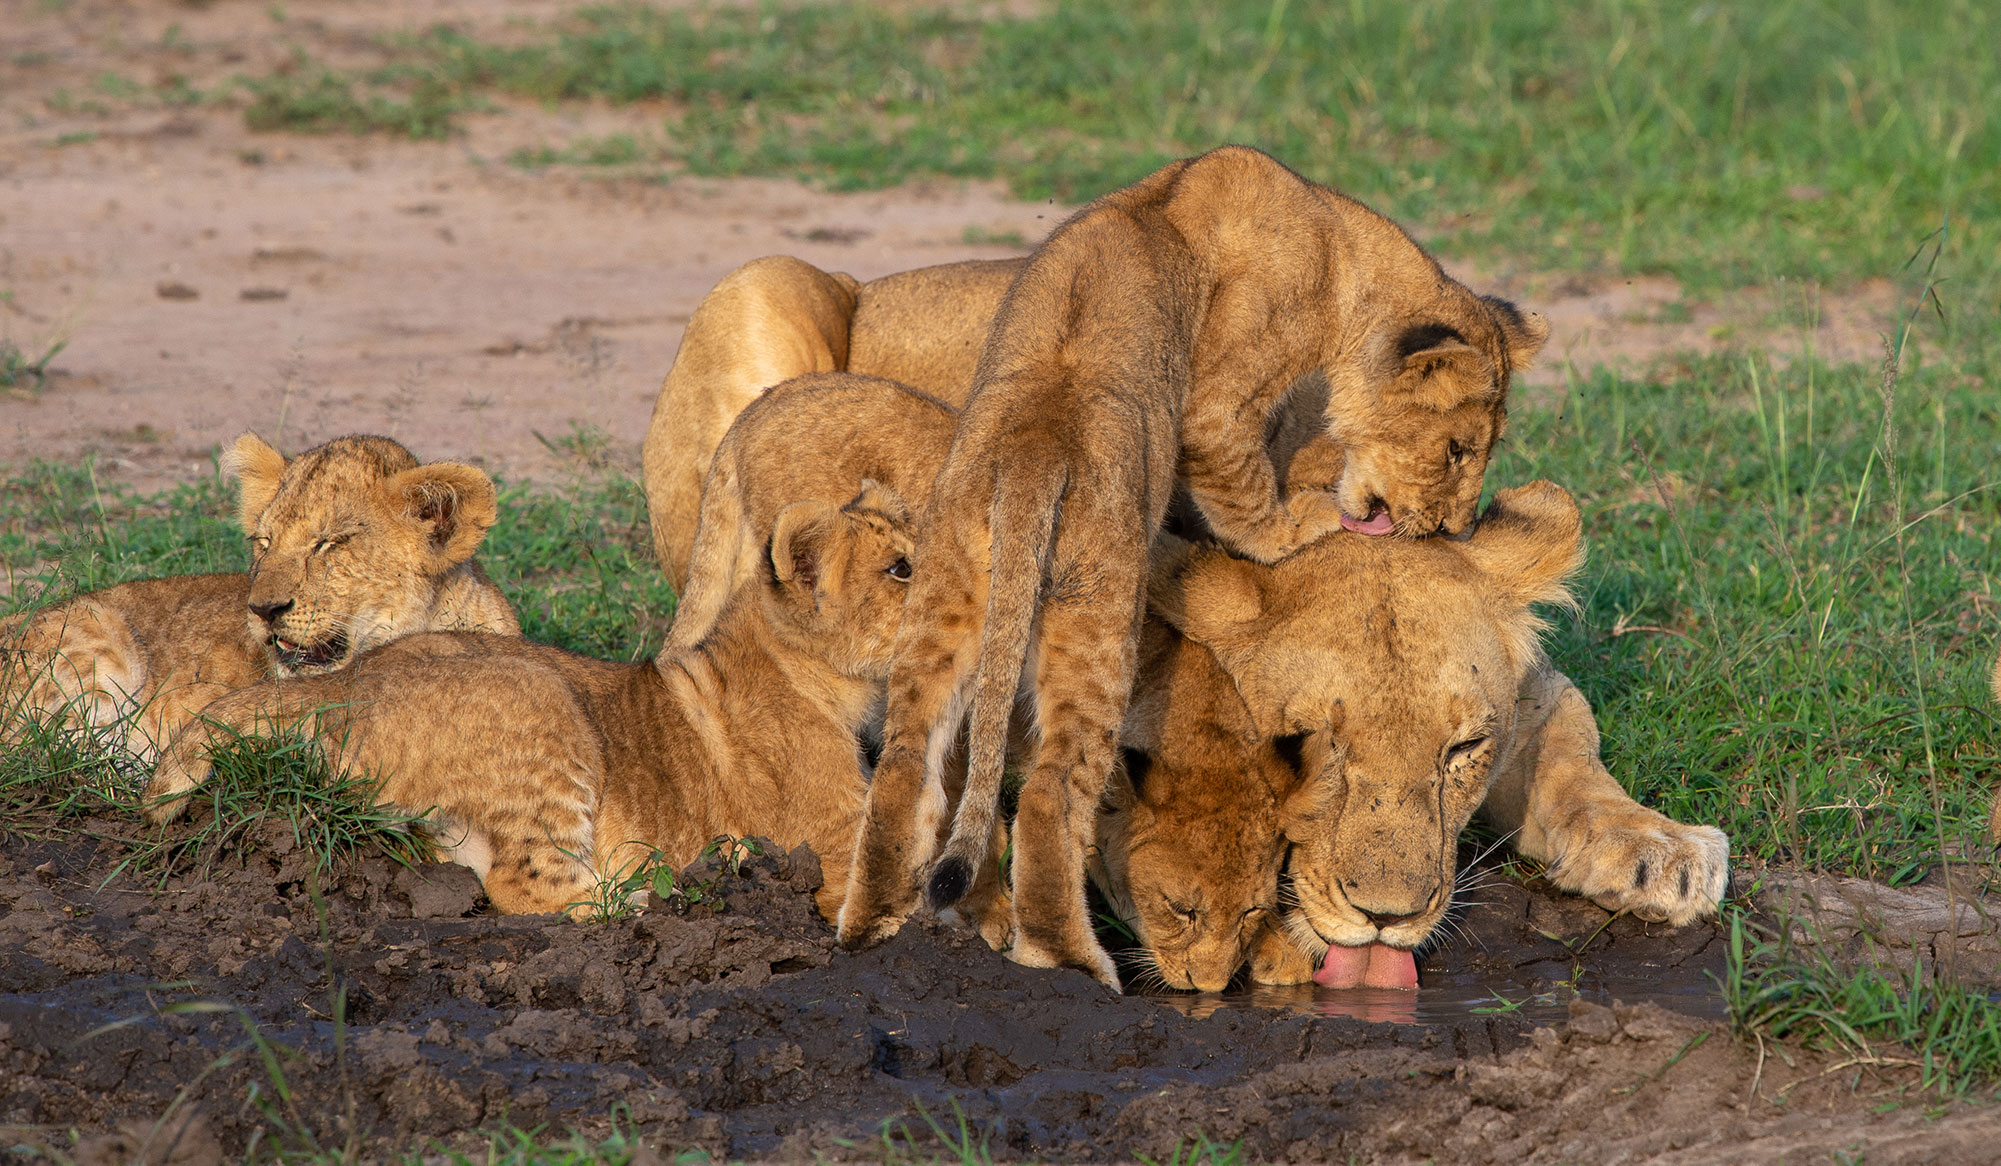
Over the course of two days at Shamwari I must have seen as many as 15 different species ranging from elephants (lots!) to Cape buffalo, lions, the aforementioned black and several groups of white rhinos, multiple giraffes, impala, kudu, Burchell’s Zebra, black wildebeest, springbok, waterbuck, gemsbok, warthog and hippo.
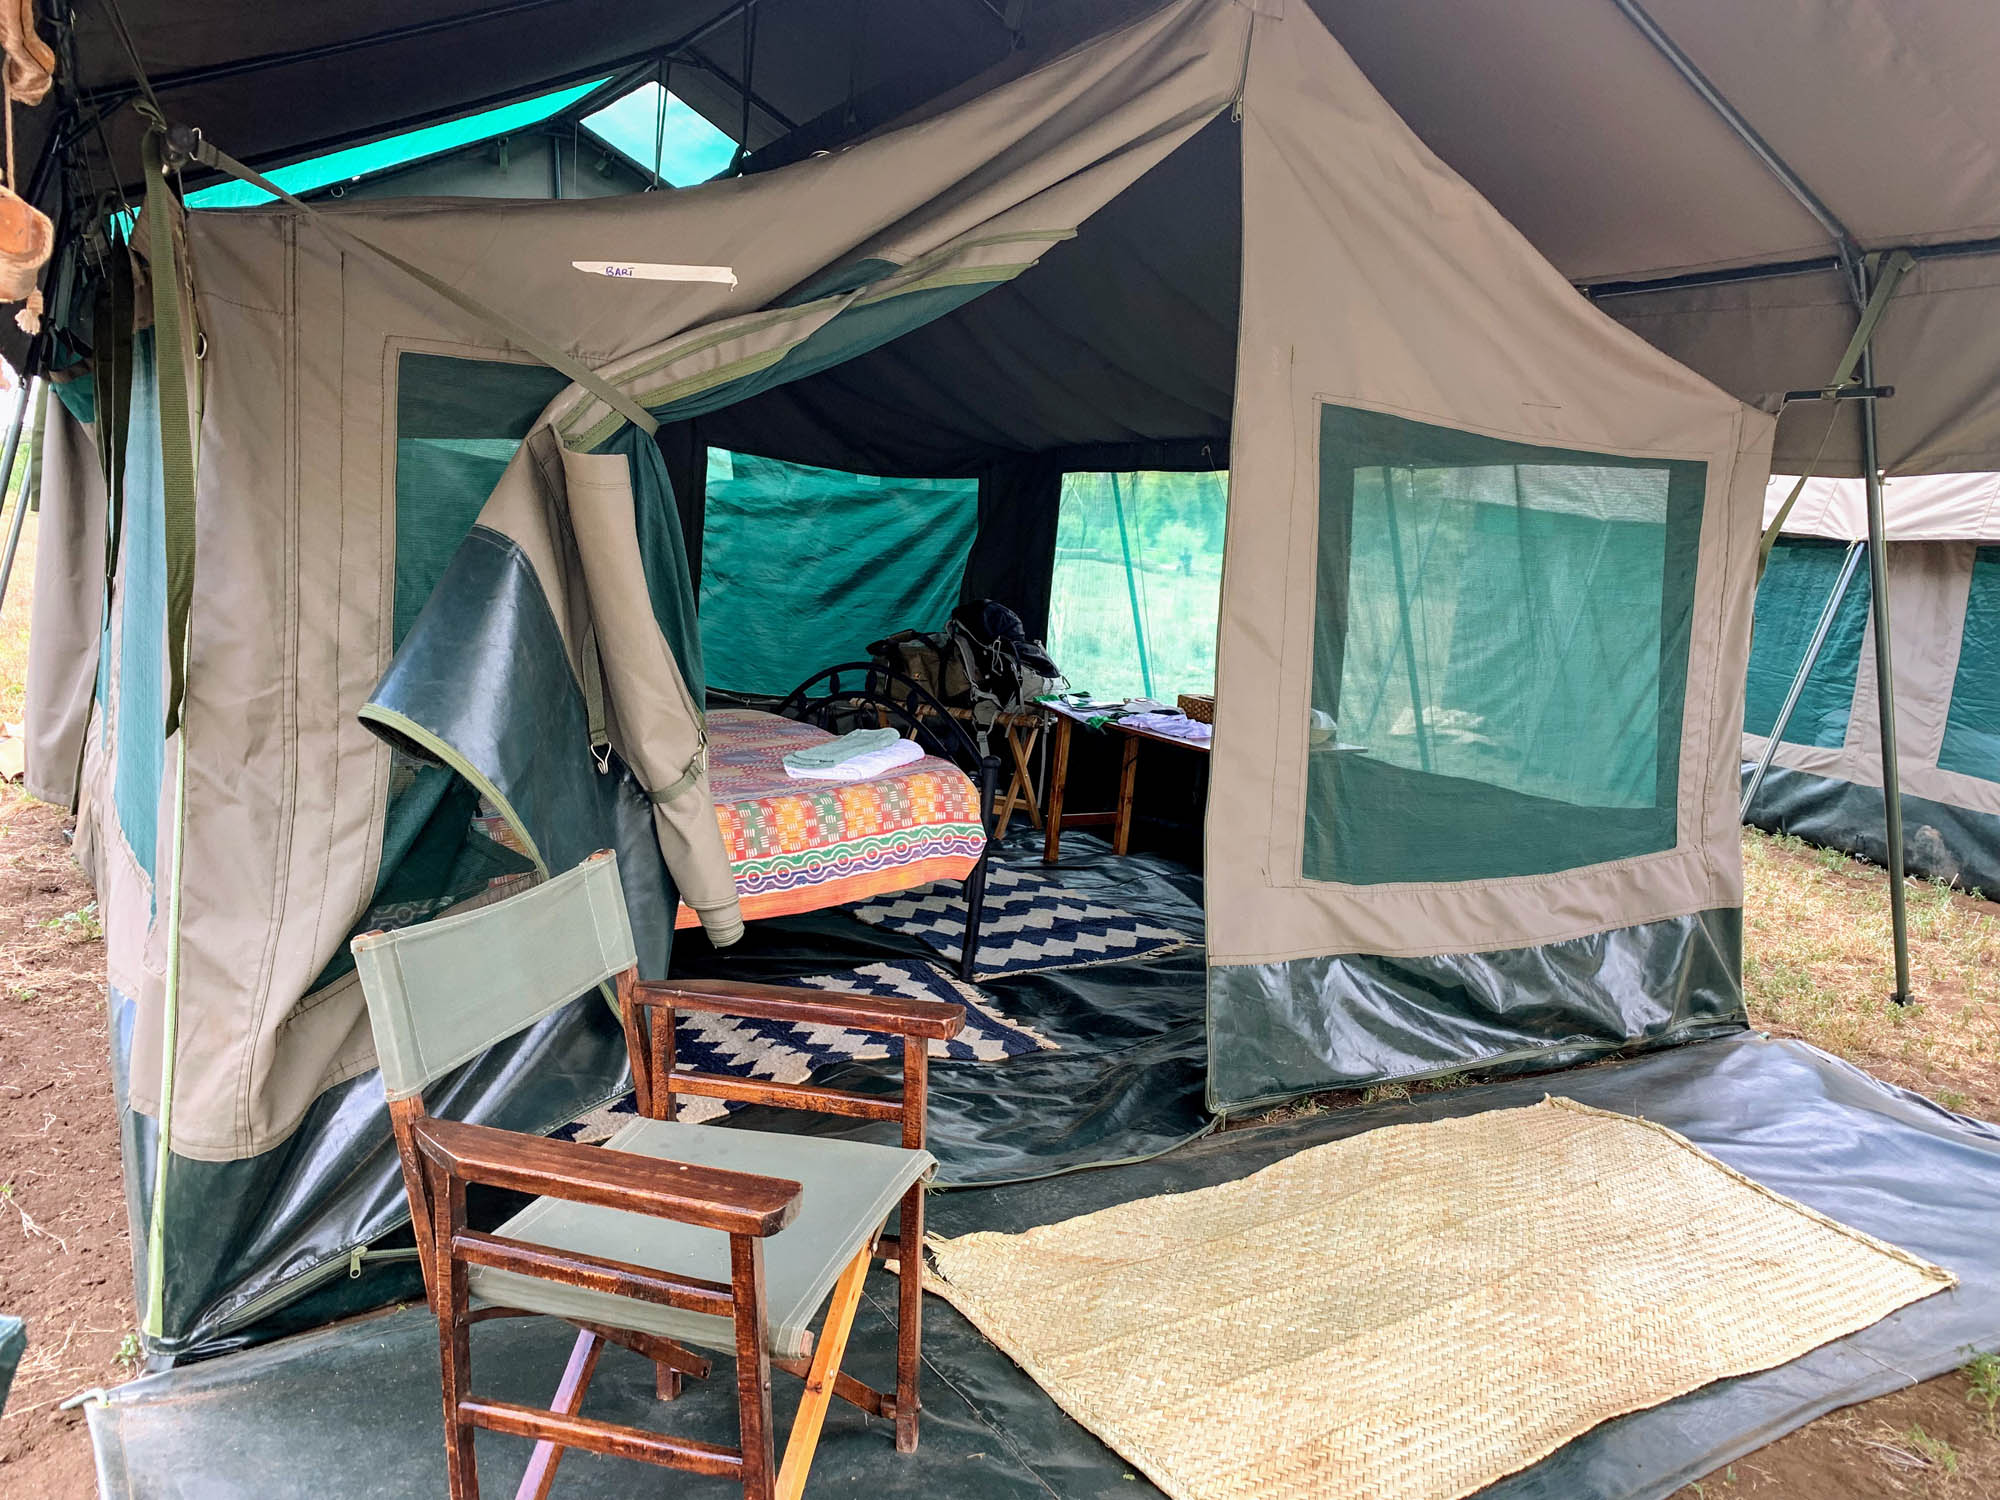
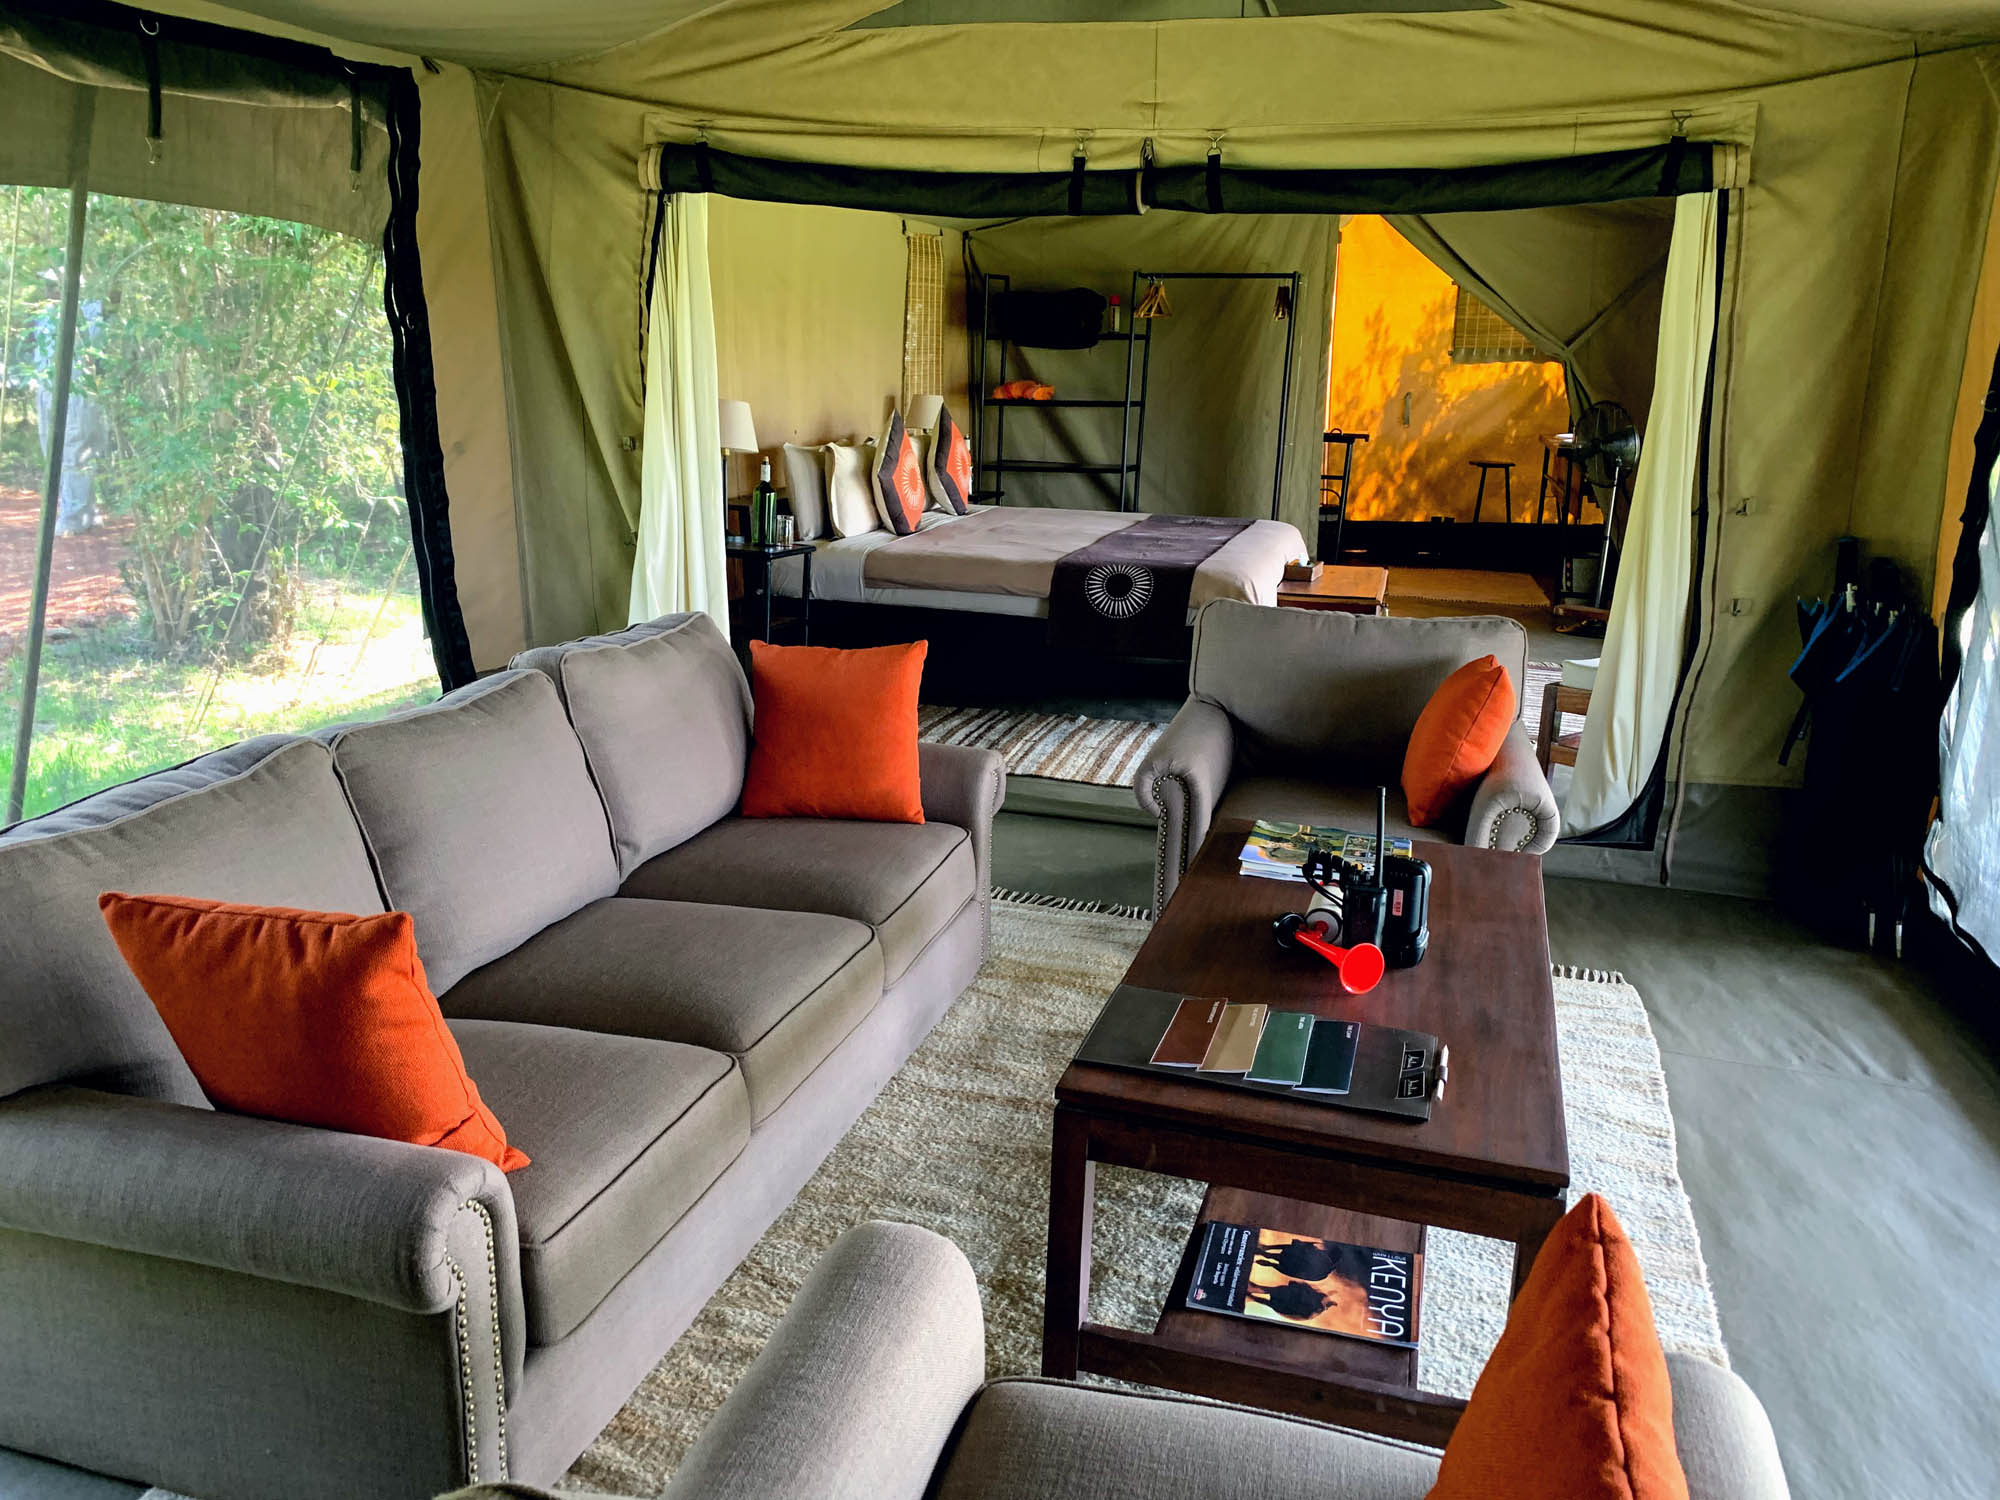
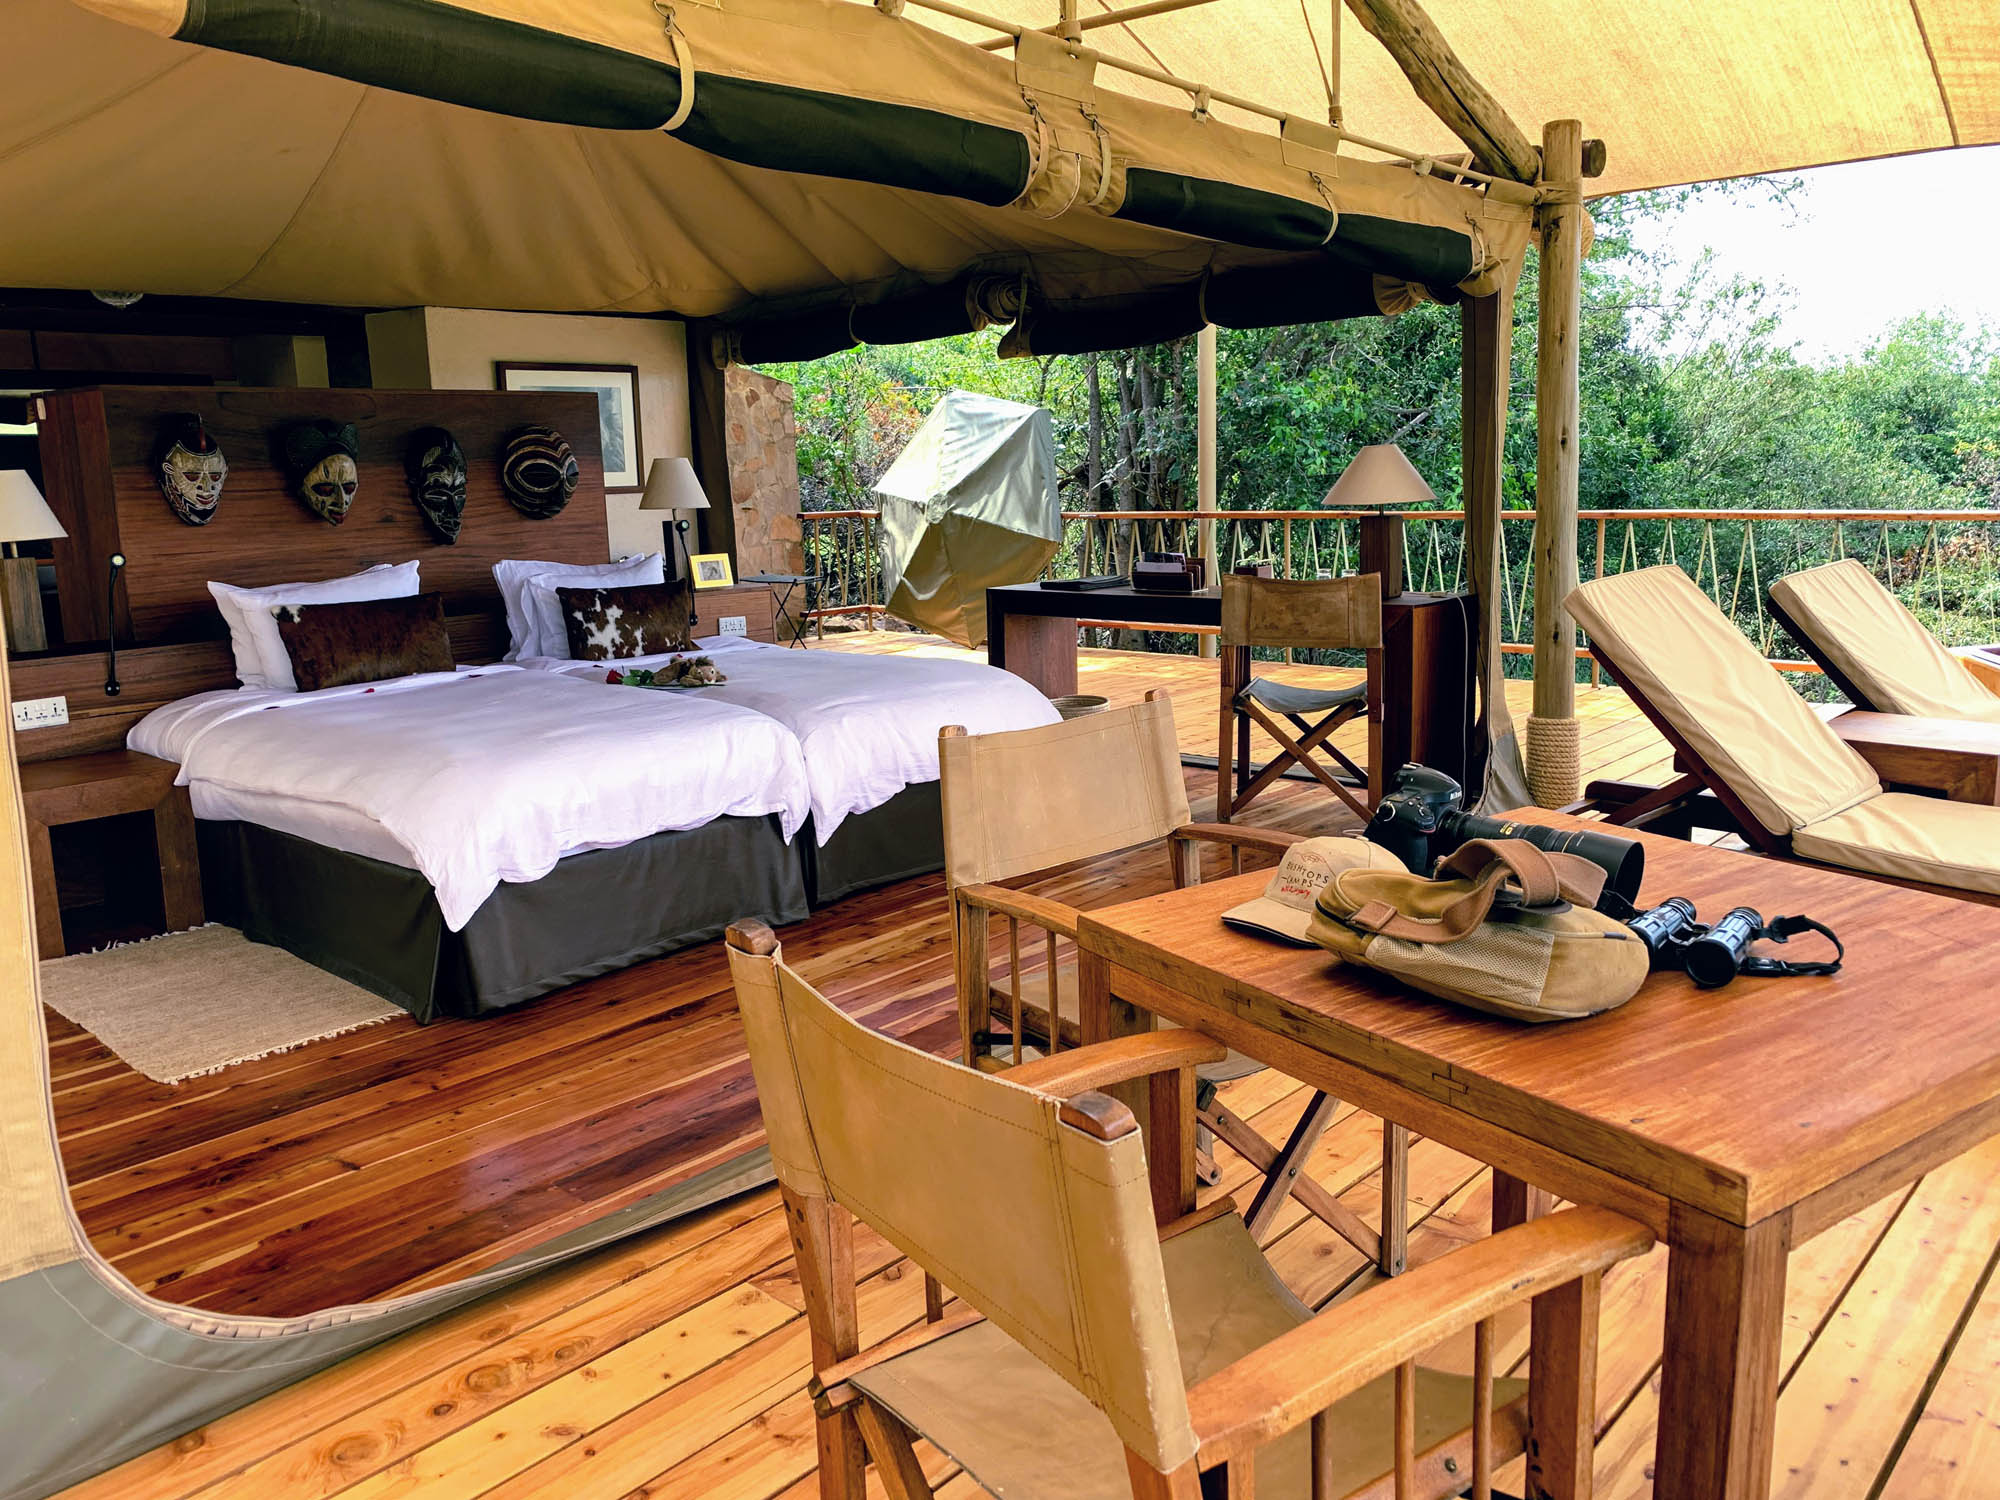
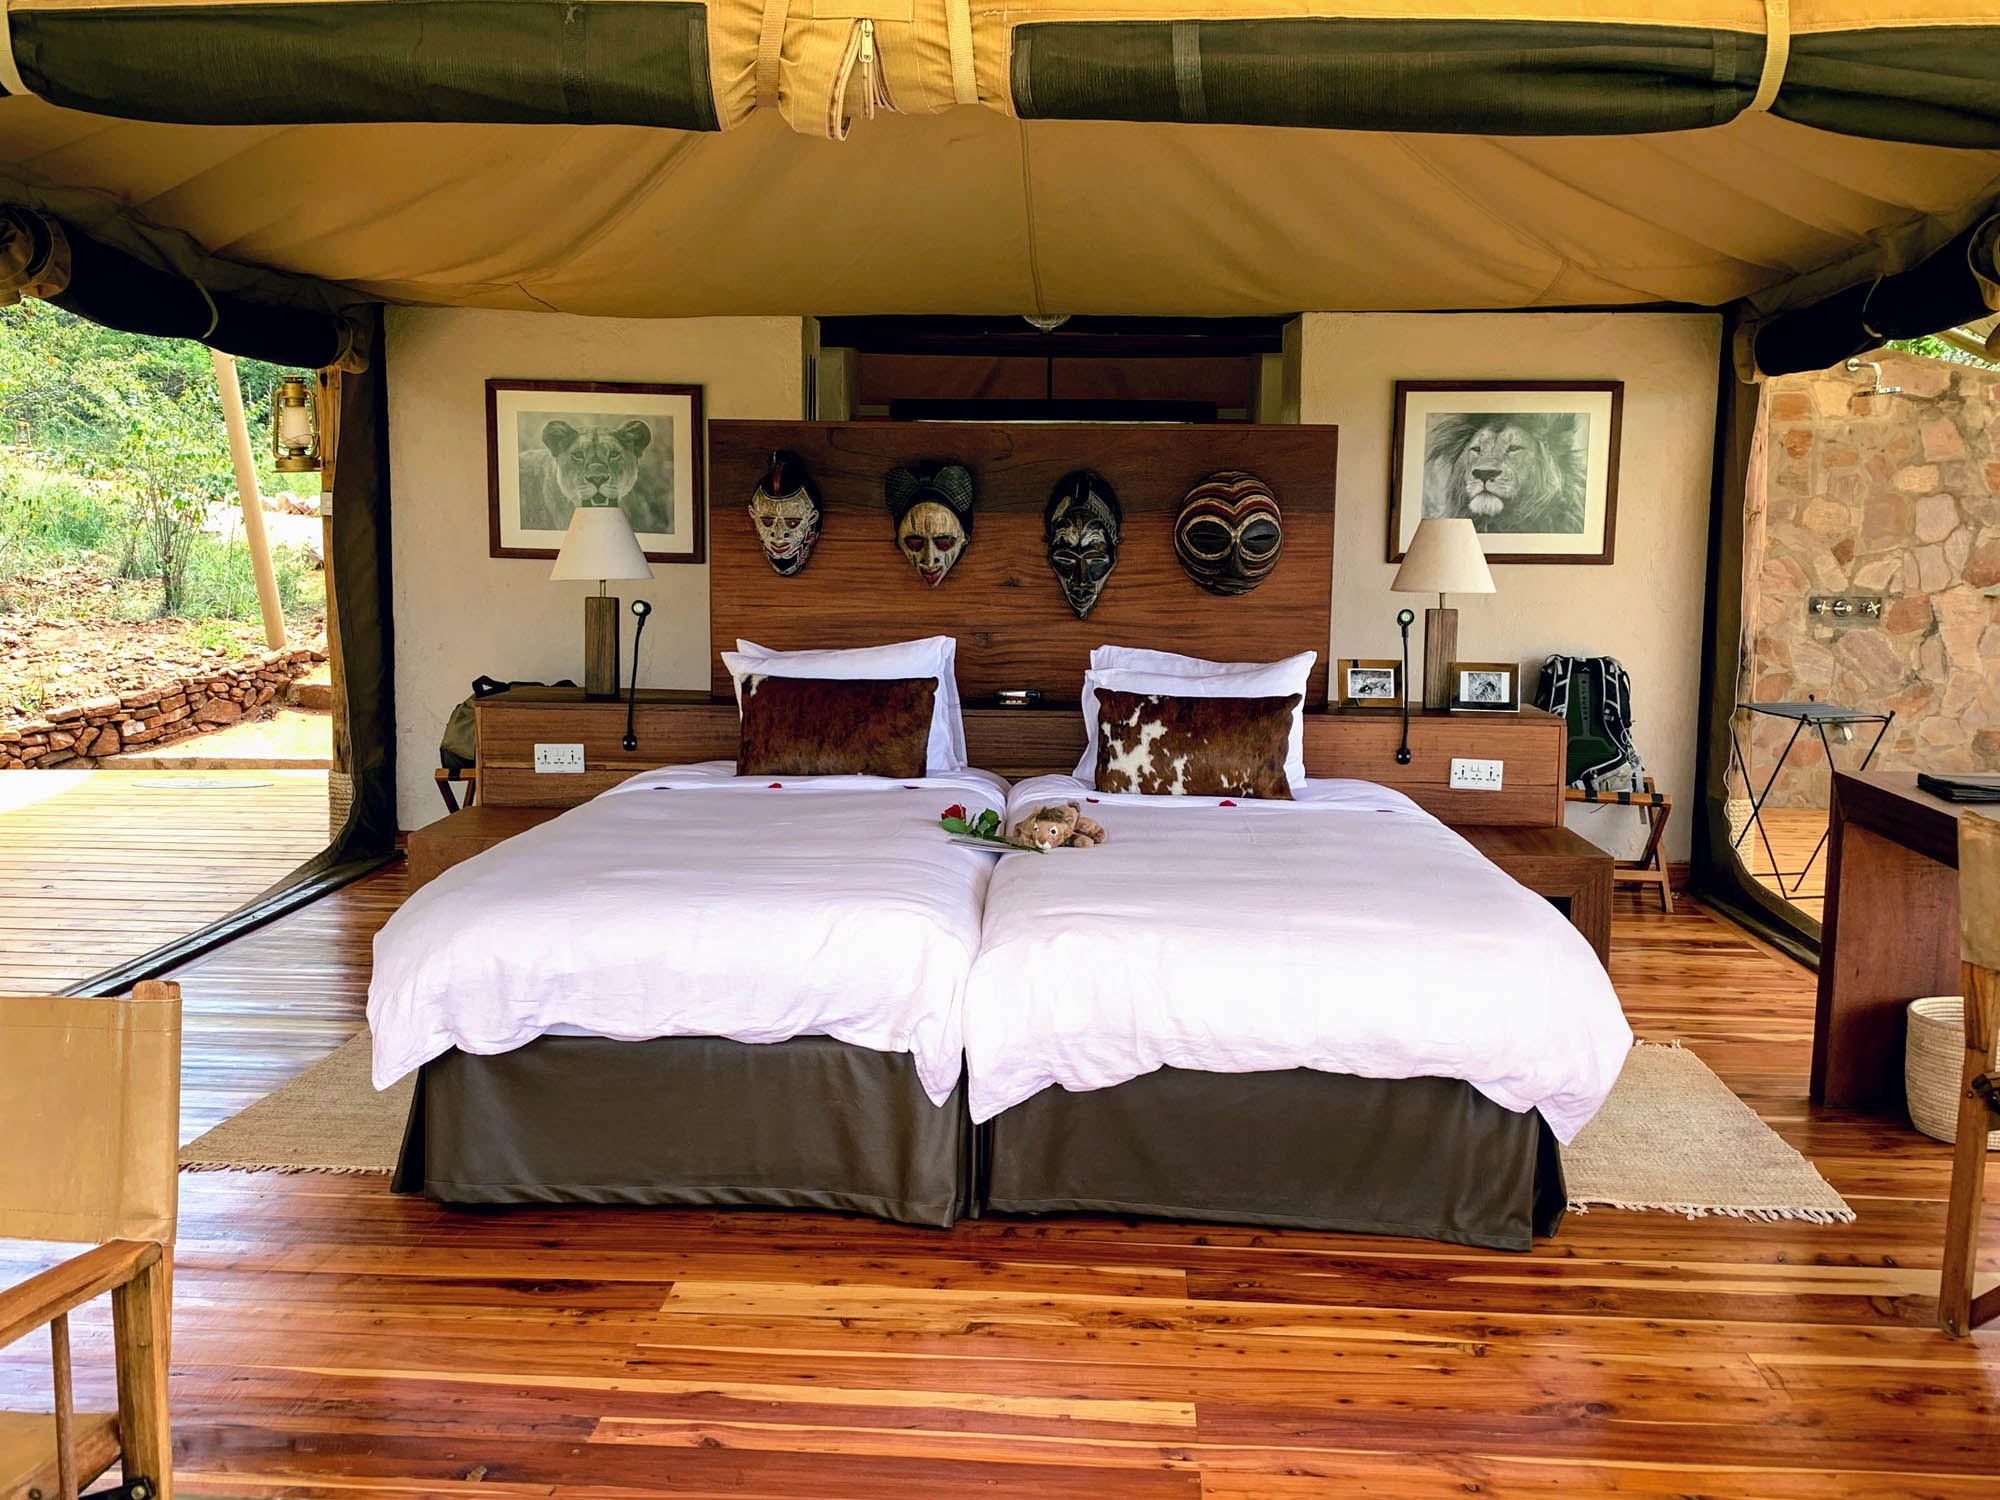
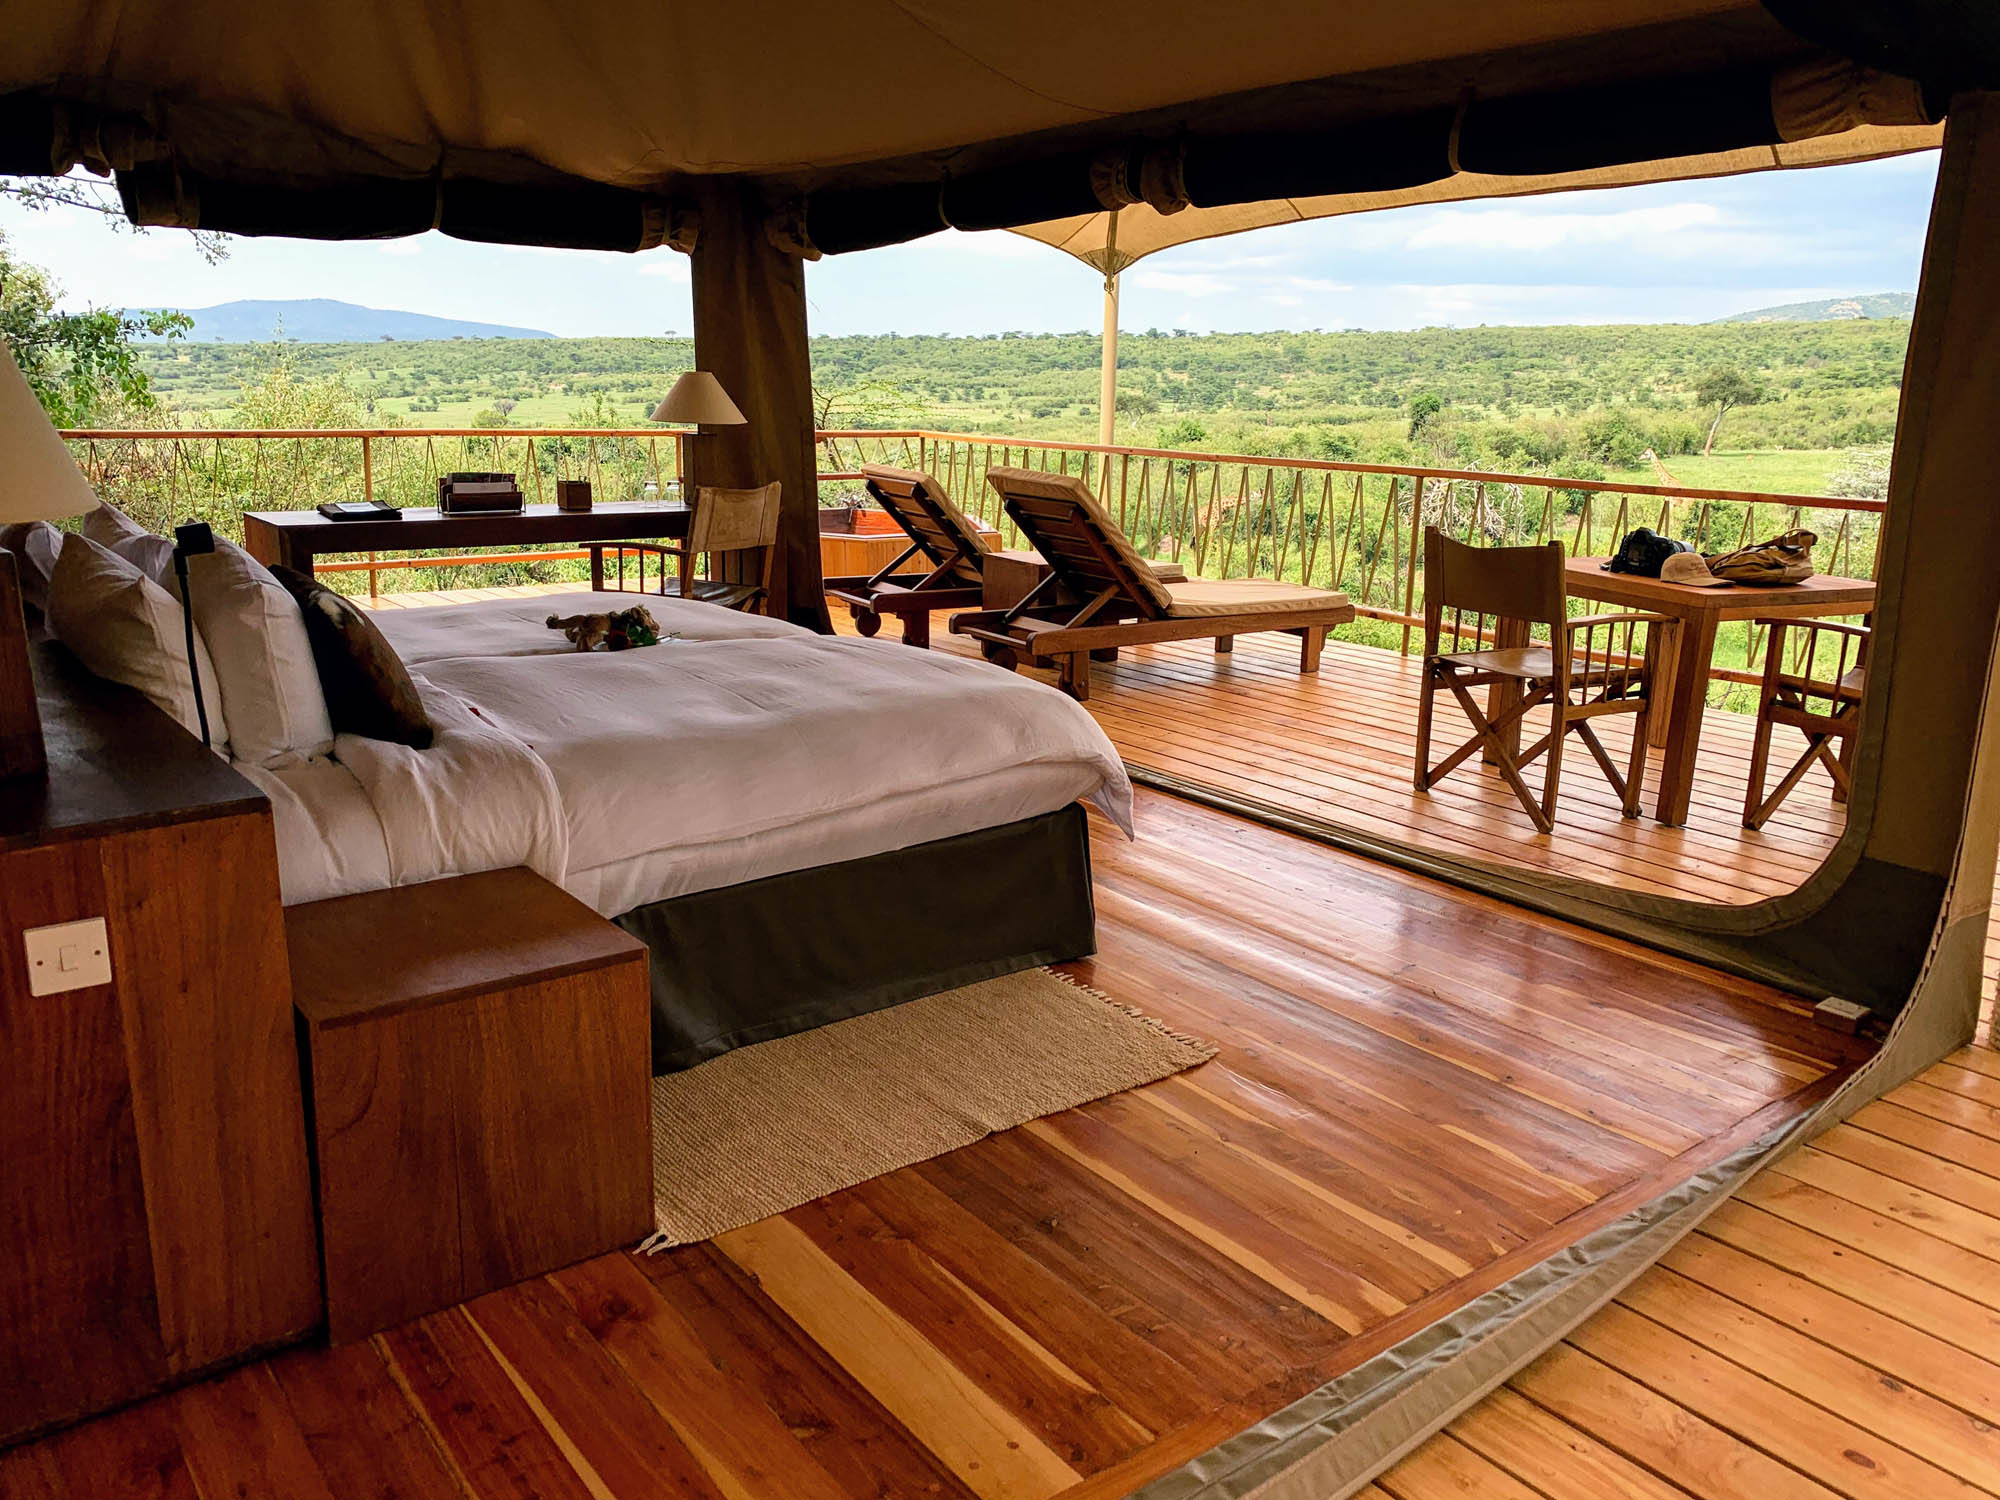
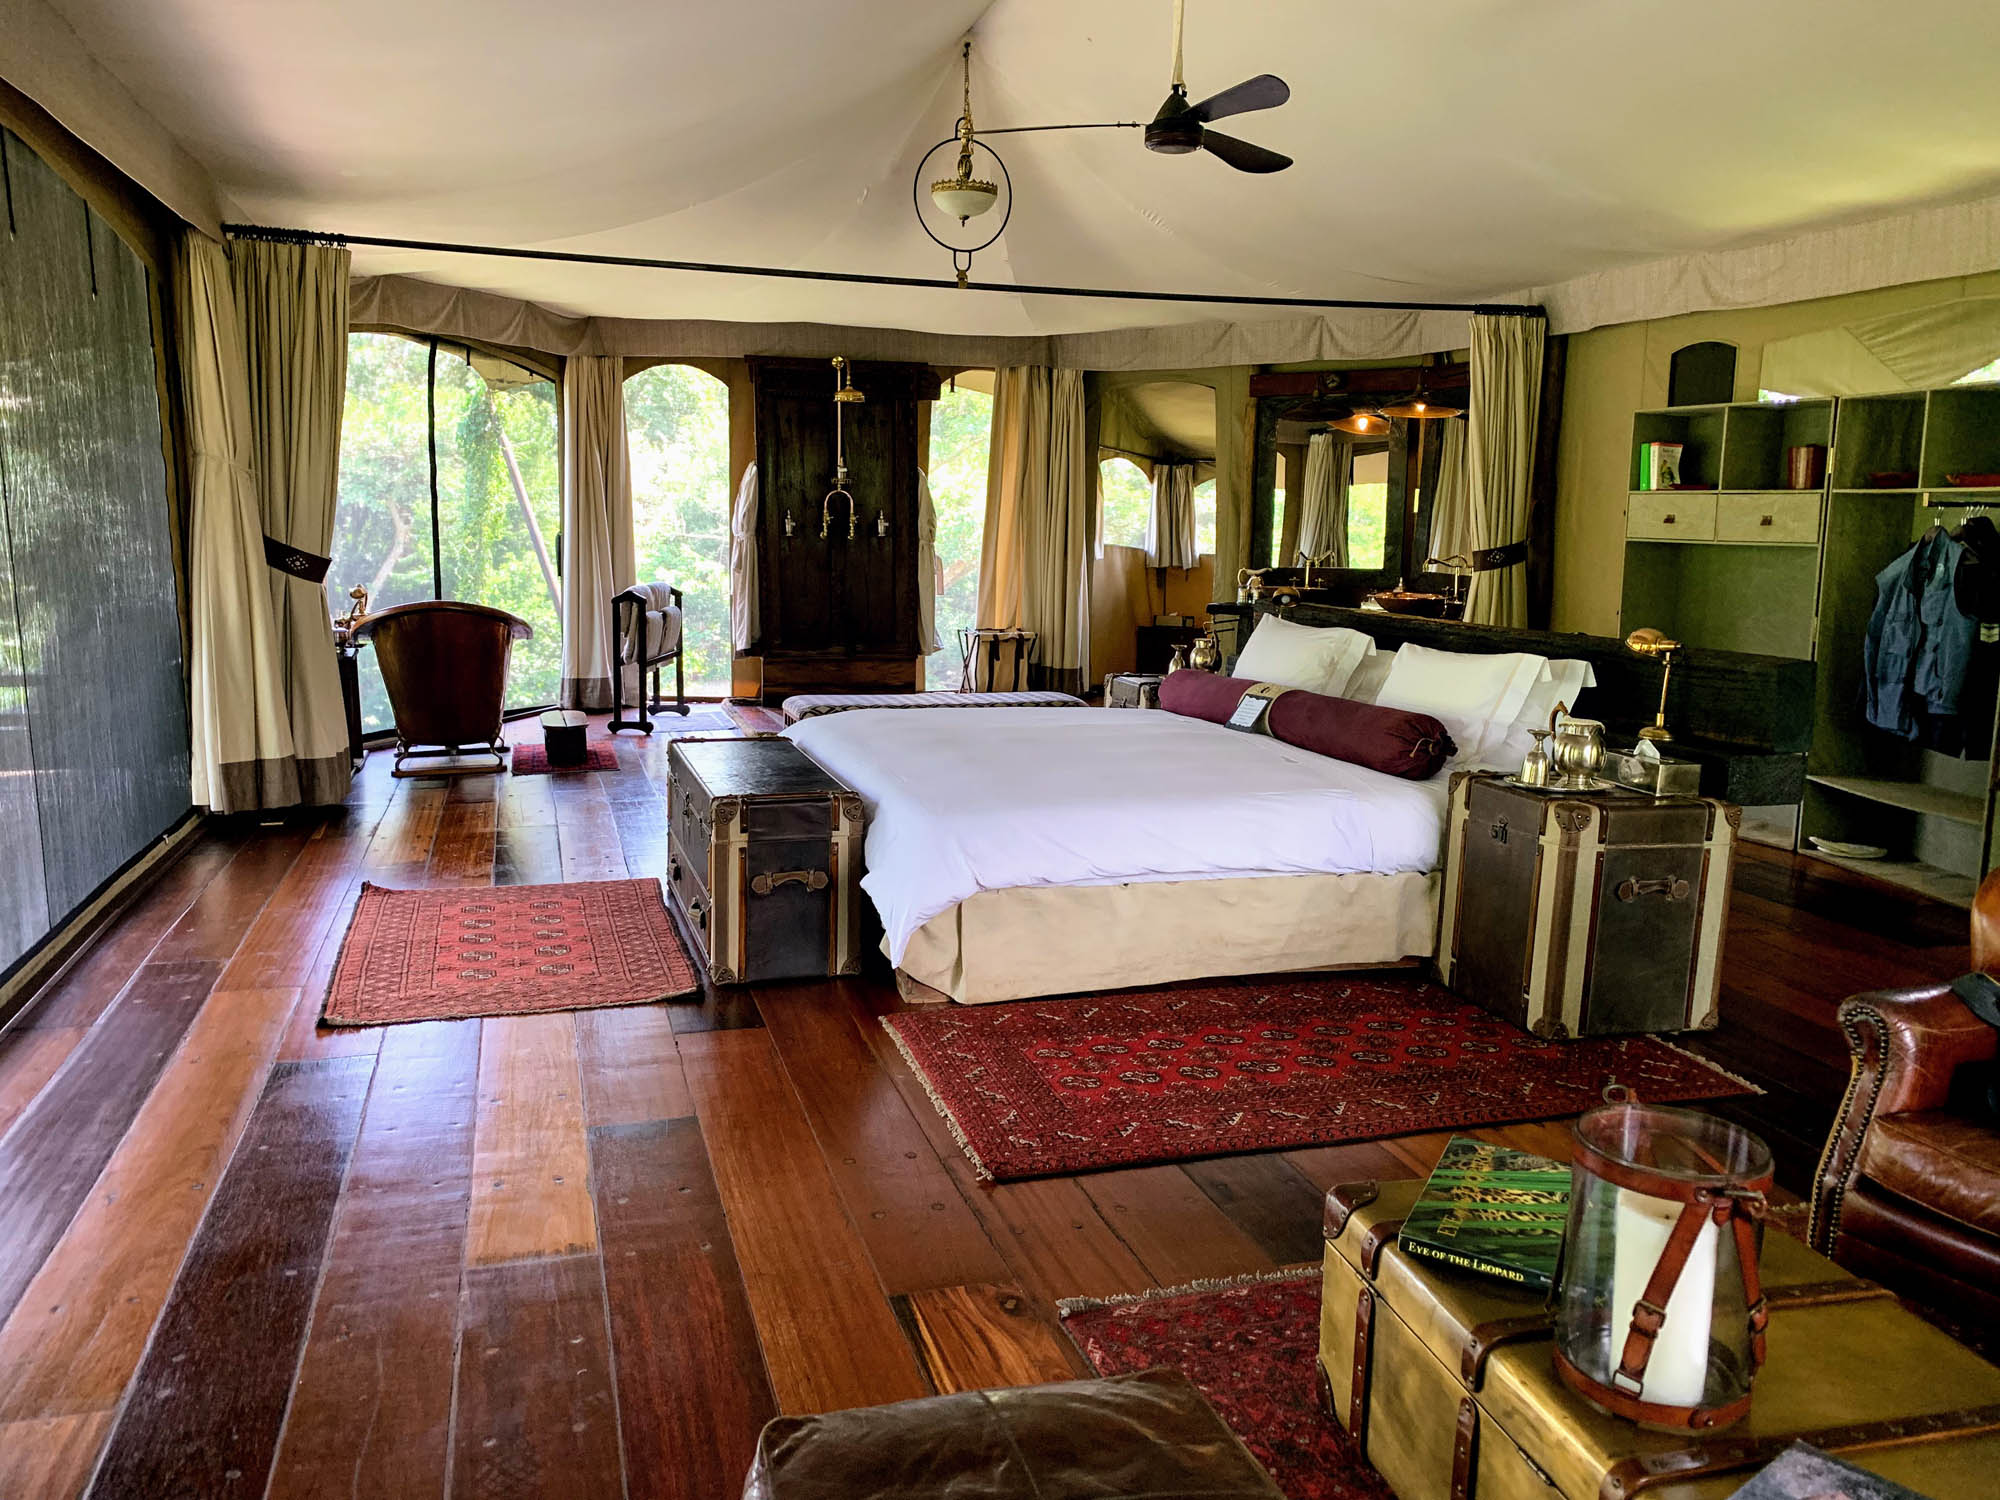
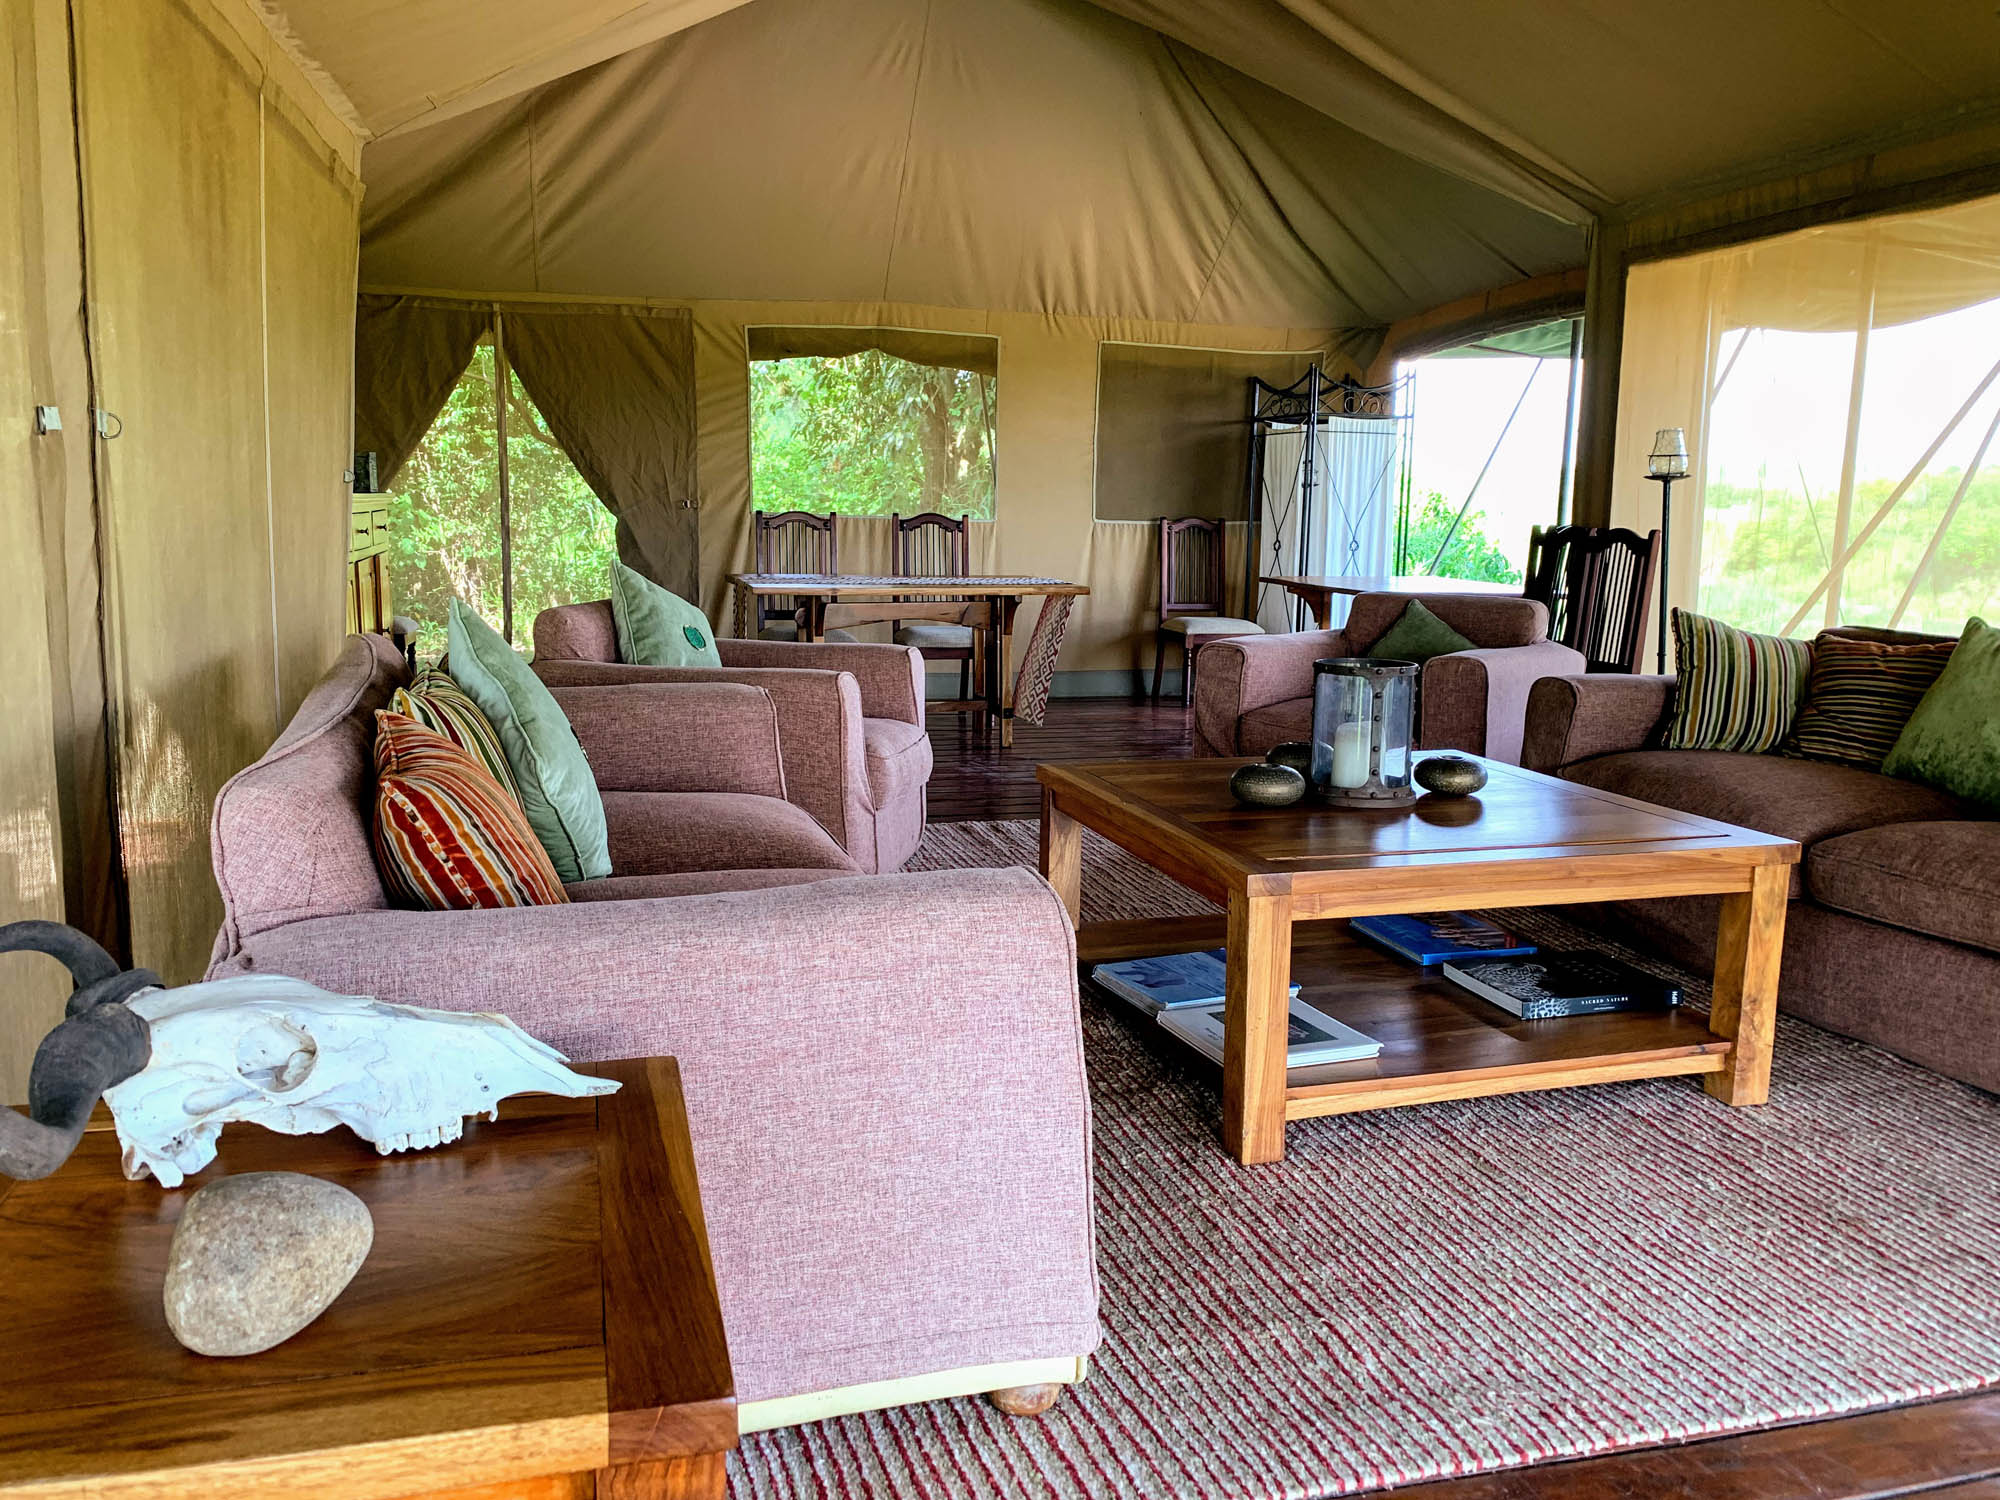
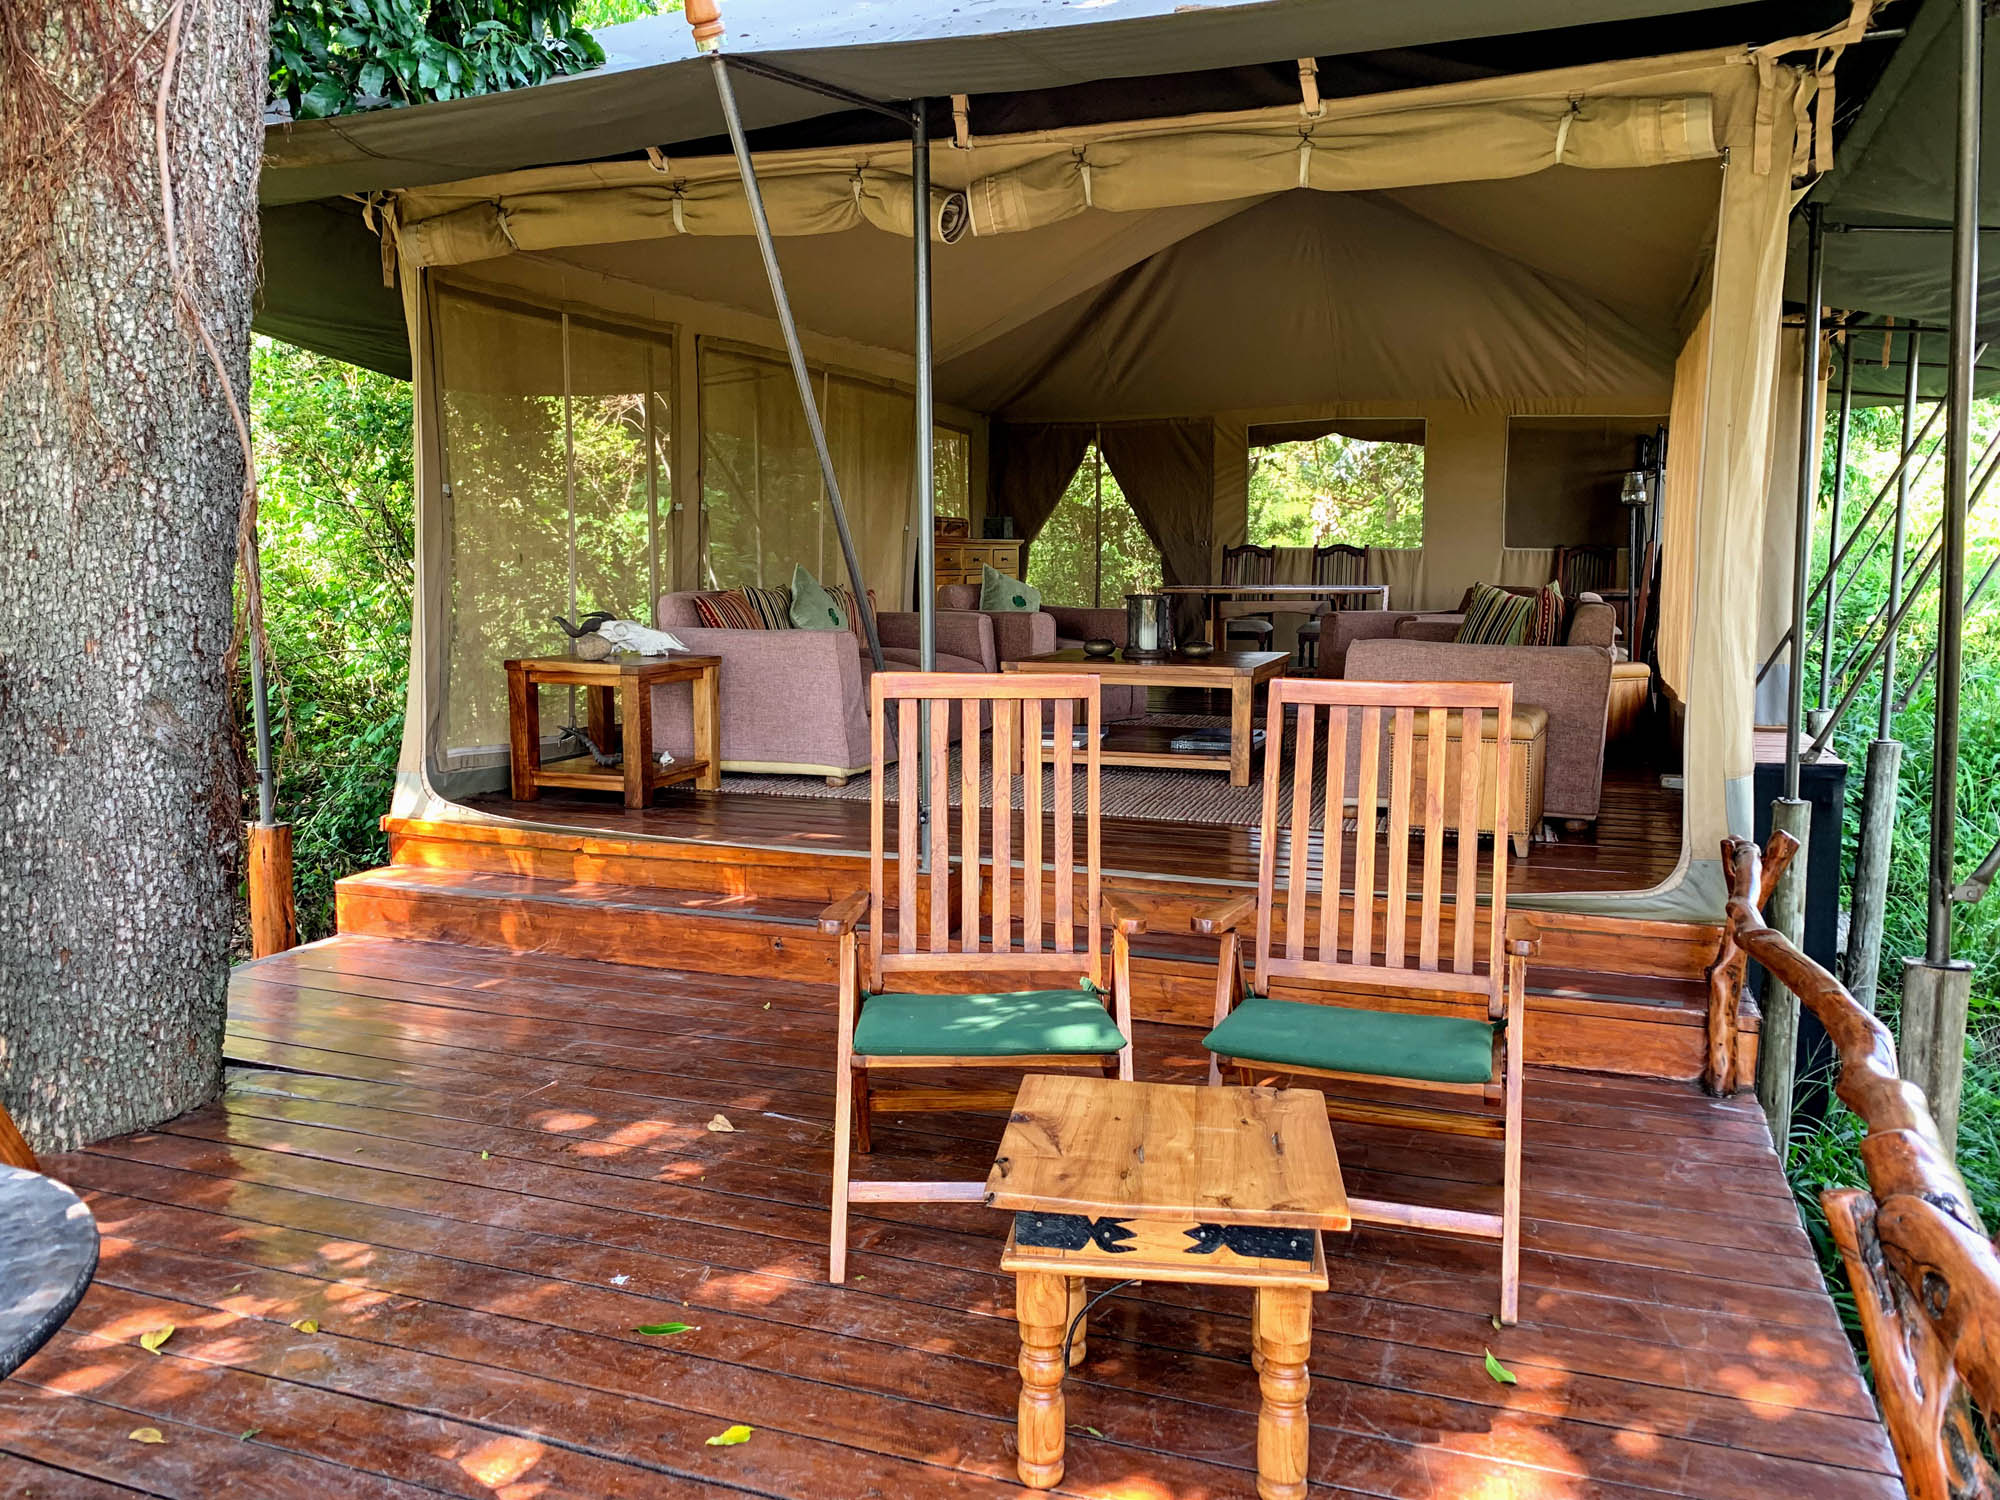
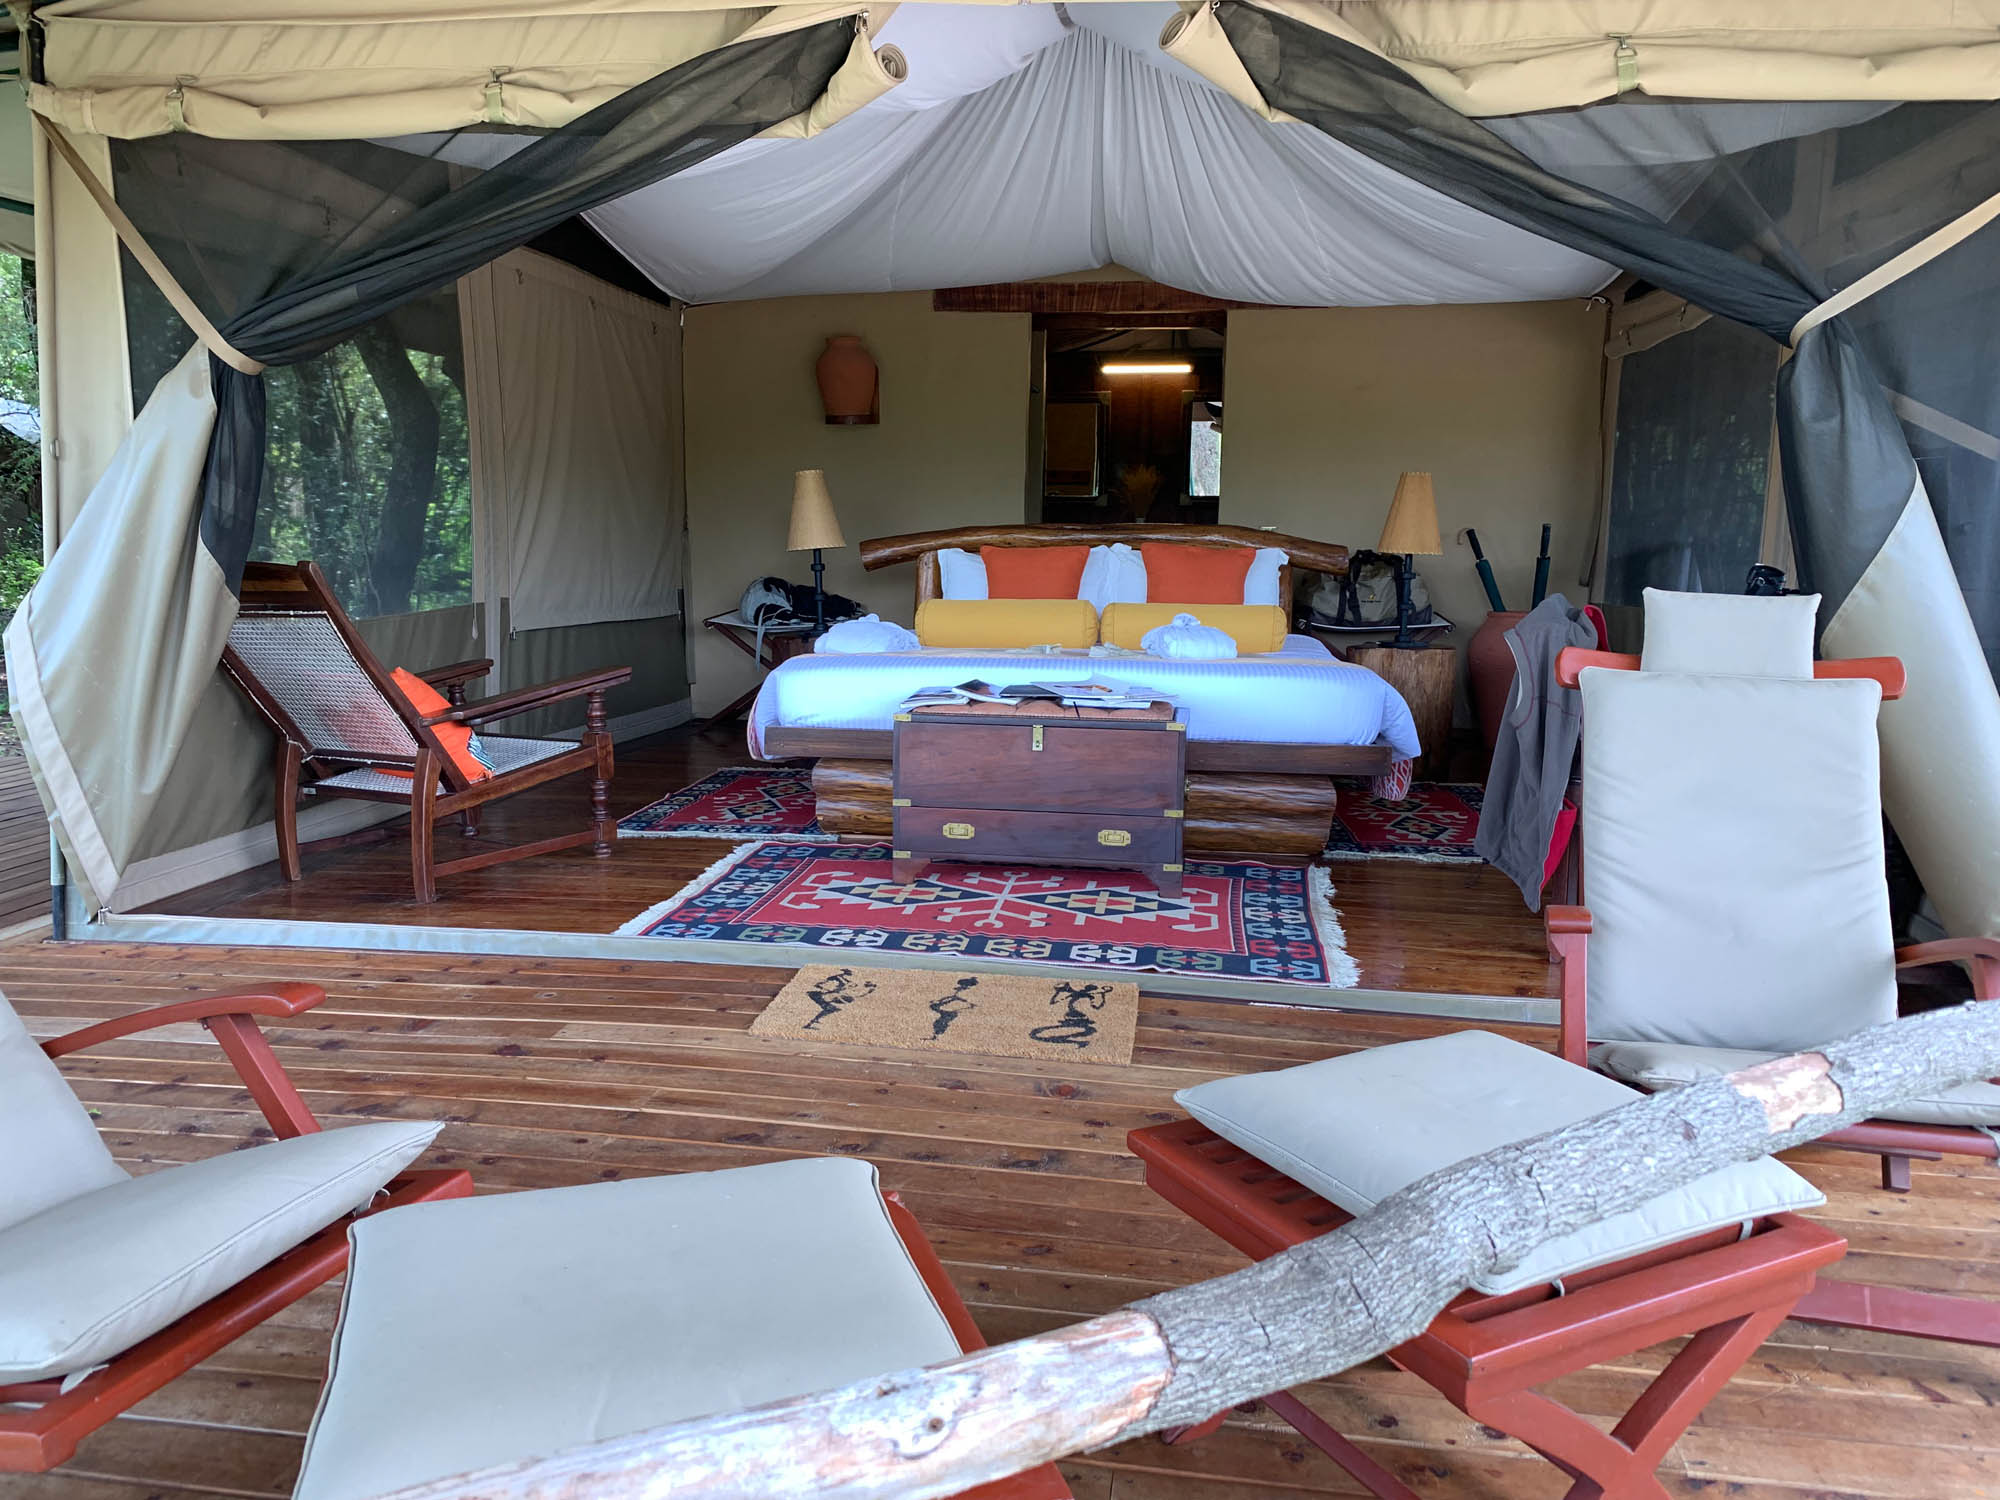
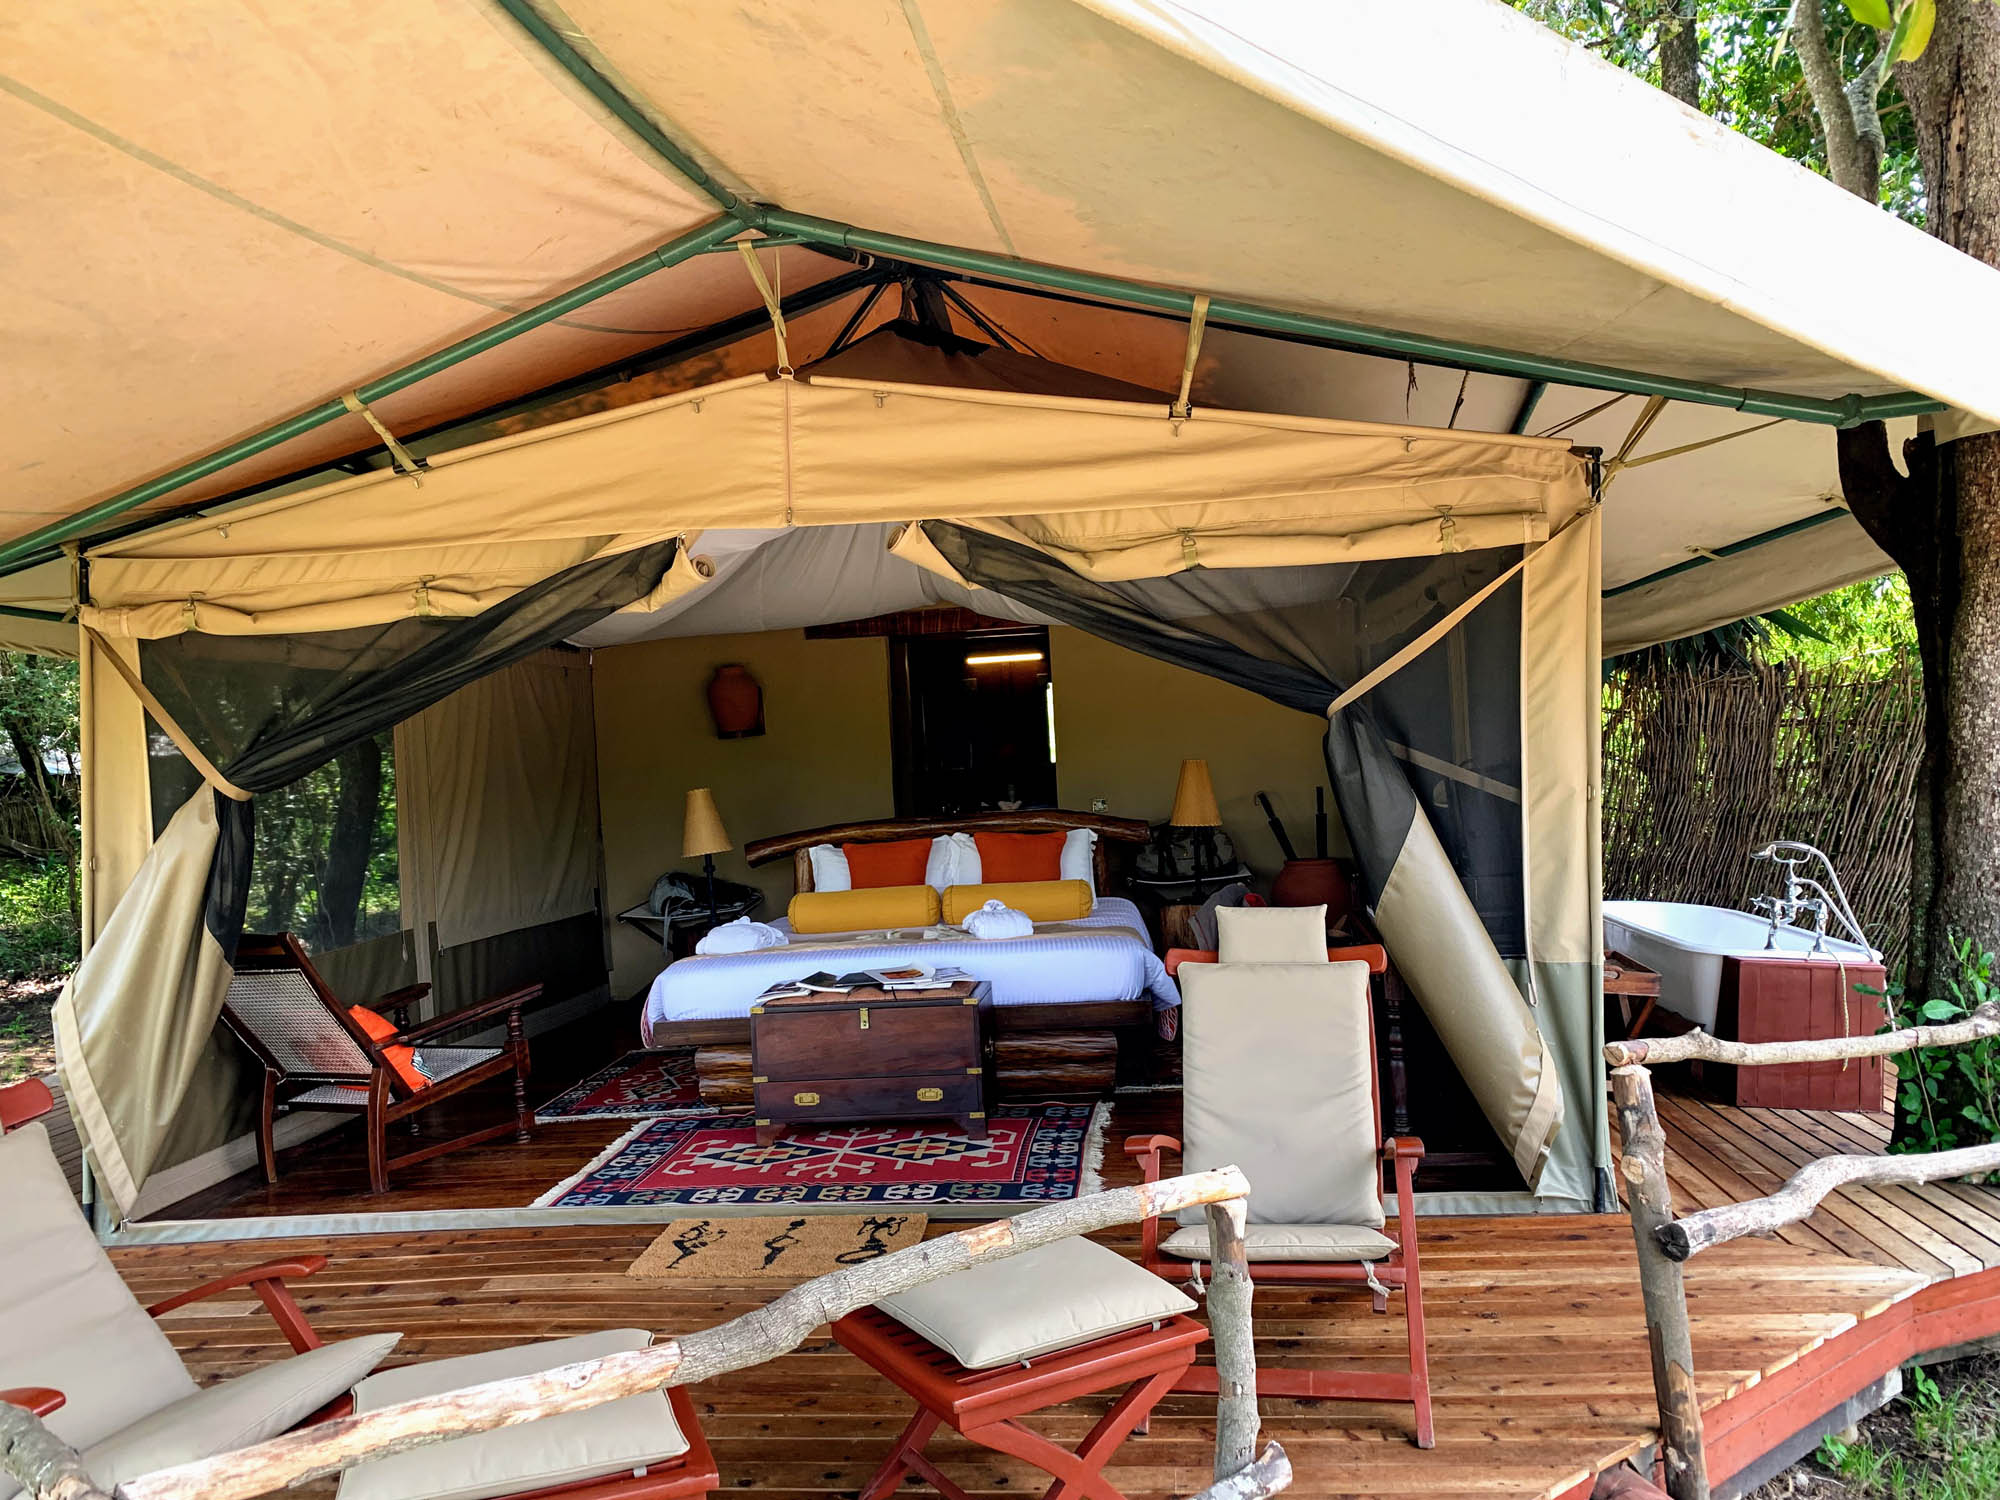
Morne and I also checked out a few other properties at Shamwari including the beautiful Long Lee Manor (where we had lunch) Sarili (where we saw lions from the deck), and Bayethe Tented Camp which I think would be ideal for many north American visitors, with well-equipped and spacious tented rooms.
In closing, a few words about fences. Shamwari and in fact all of the Eastern Cape reserves operate in a mixed-use setting, where fences are an unavoidable reality and necessity. Shamwari is huge and the presence of a fence was never an issue or hindrance on my particular visit. At worst it is a reminder that wildlife thrive in areas which are rich in resources such as water and palatable vegetation. Which means land that can usually be occupied by people as well. So when you do see a fence in the eastern Cape, think survival and co-habitation – without a few strategically placed fences it would be near impossible to safely contain and conserve wildlife species in this area.
Up next: a return trip to Namibia including our first visit to Hoanib Skeleton Coast Camp.


