EXCLUSIVELY WILDLIFE
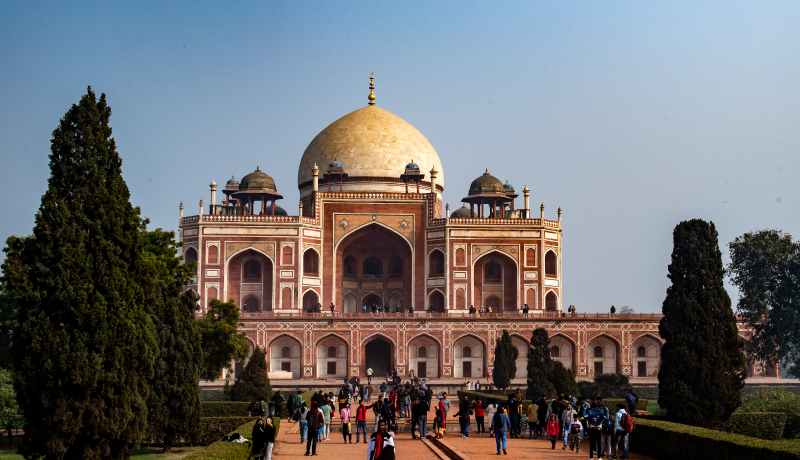
Visit four premier national parks in India.
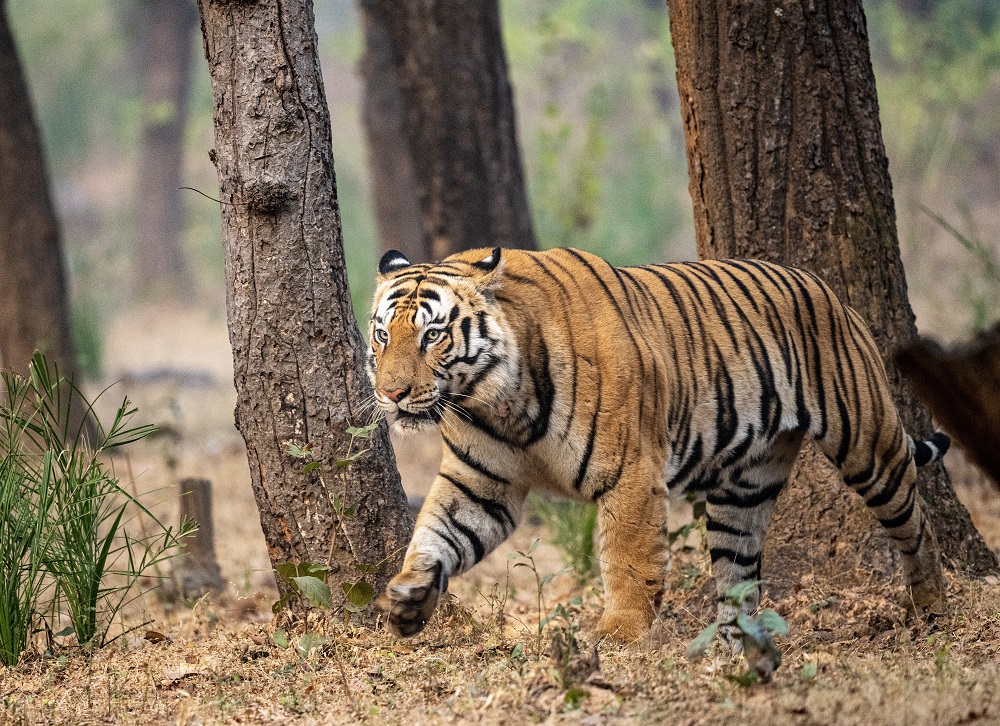
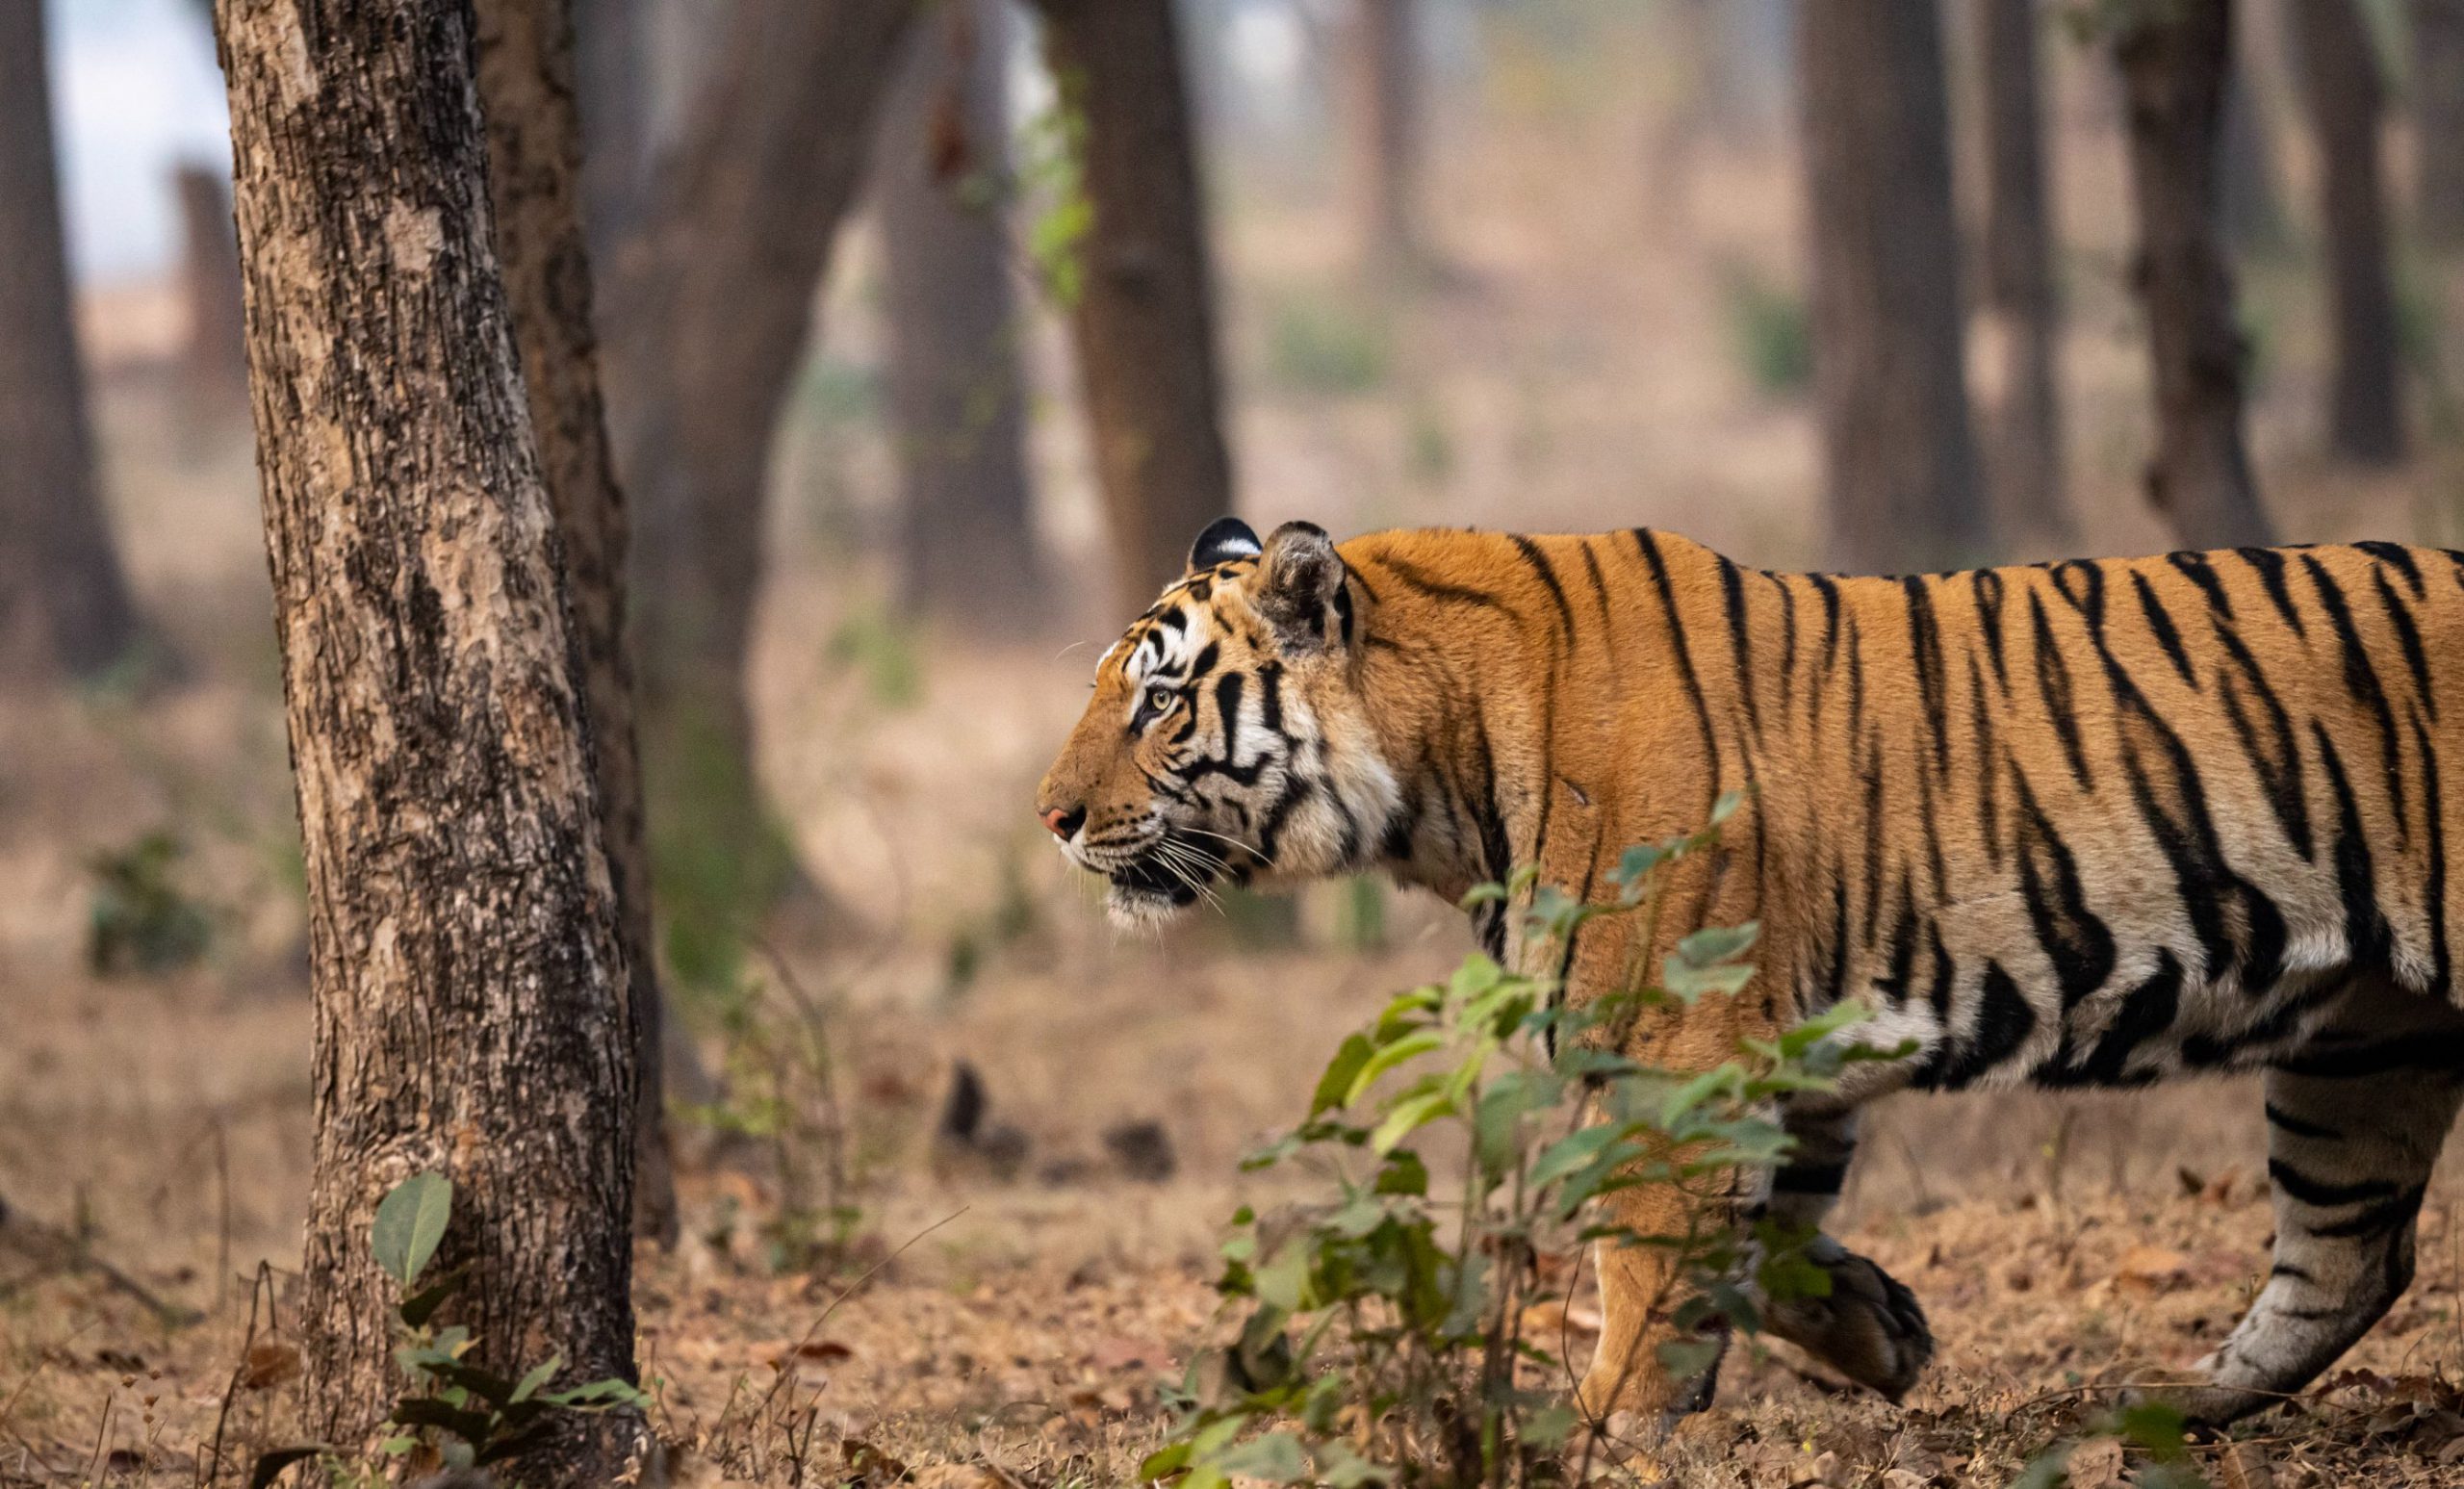
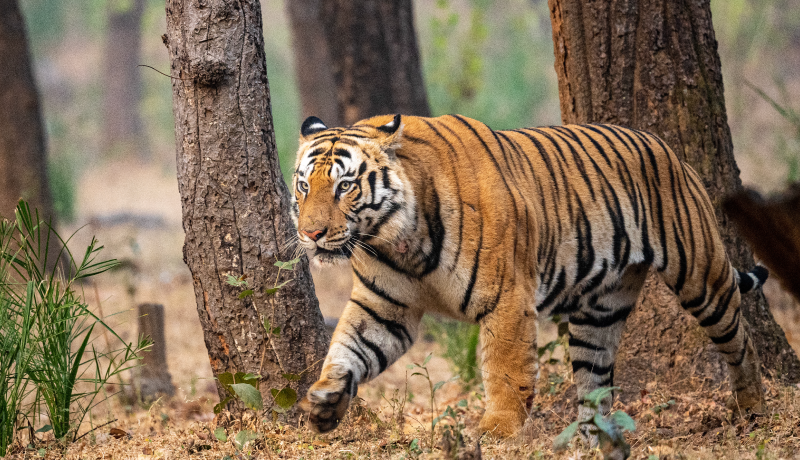
Keen on immersing yourself in the wildlife of India? This is the trip for you. Three nights each in four different national parks, namely Bandhavgarh, Kanha, Pench and Satpura. Come face to face with arguably the greatest of the big cats – the Bengal Tiger – and a long list of other notable mammals such as leopards, wolves, sloth bears, hyenas, wild dogs, jackals, wild boar, gaur (bison), nilgai, black buck, cheetal (spotted deer), sambar, barking deer and barasingha.