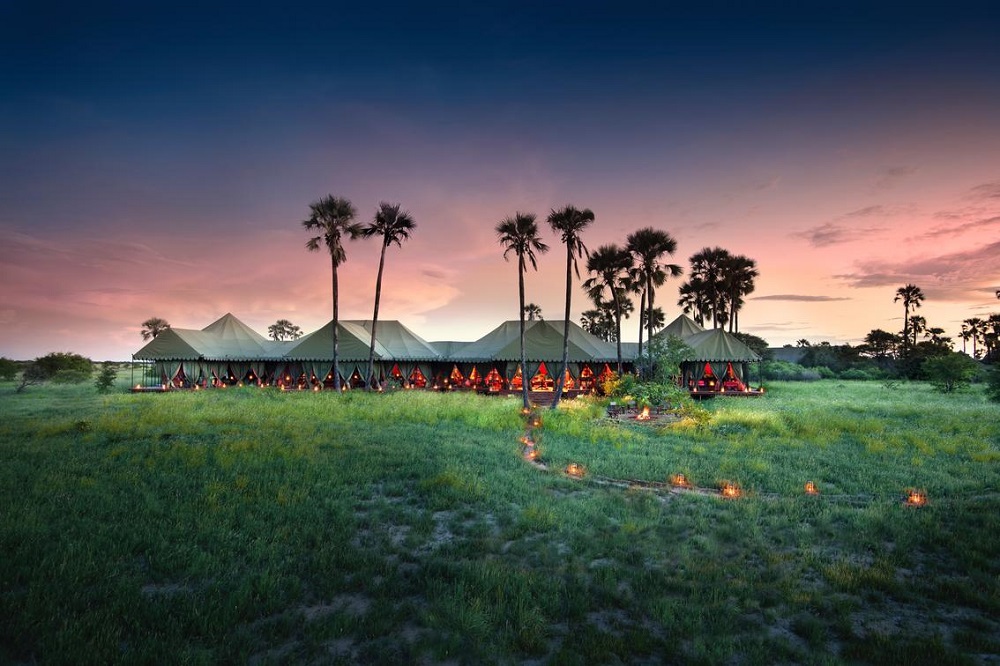
Wilderness’ recently opened Mababe-area tented camp – Mokete – has catapulted to the top of many safari aficionados’ must-visit lists.
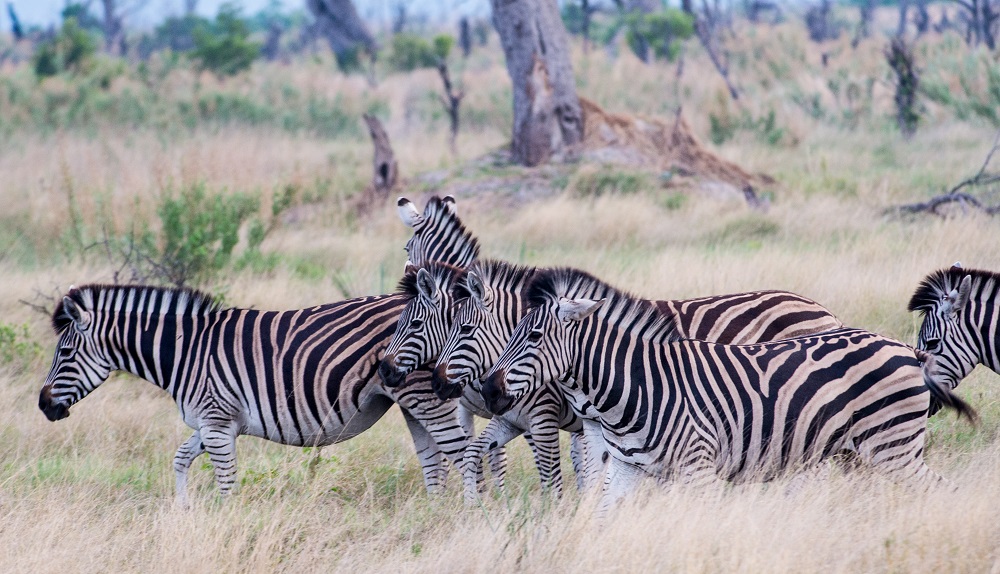
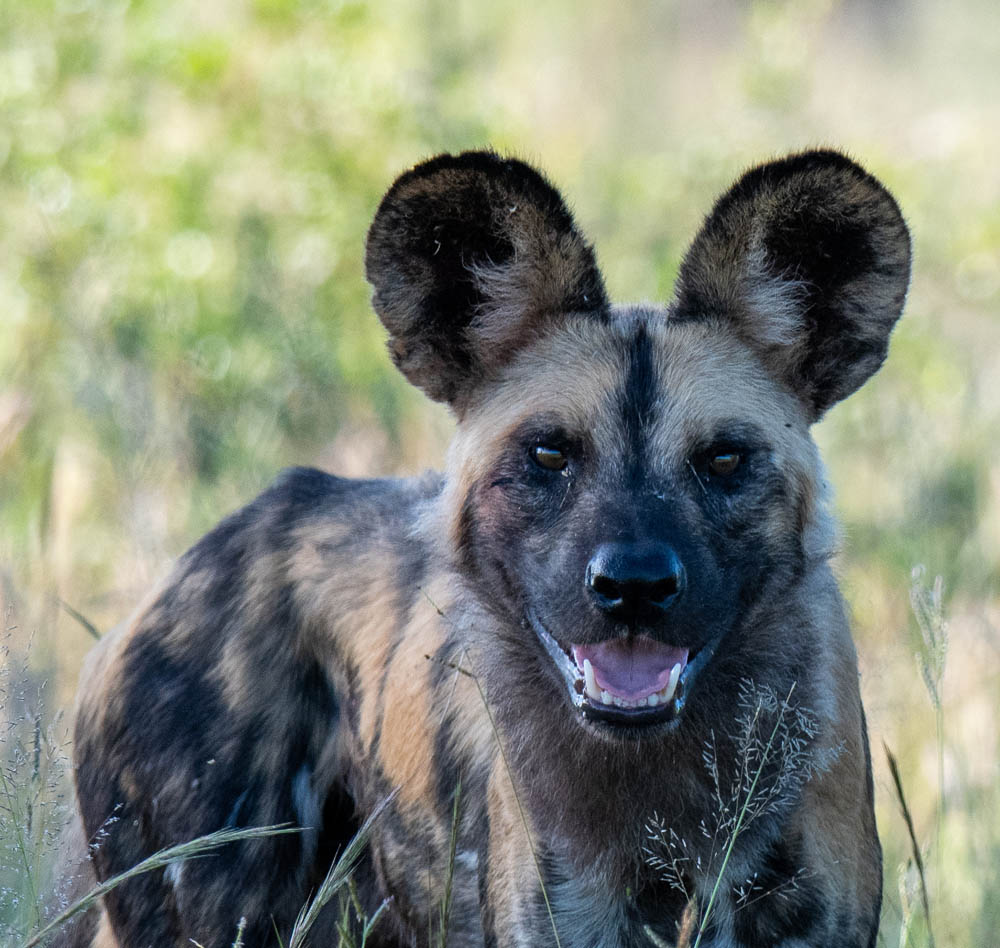
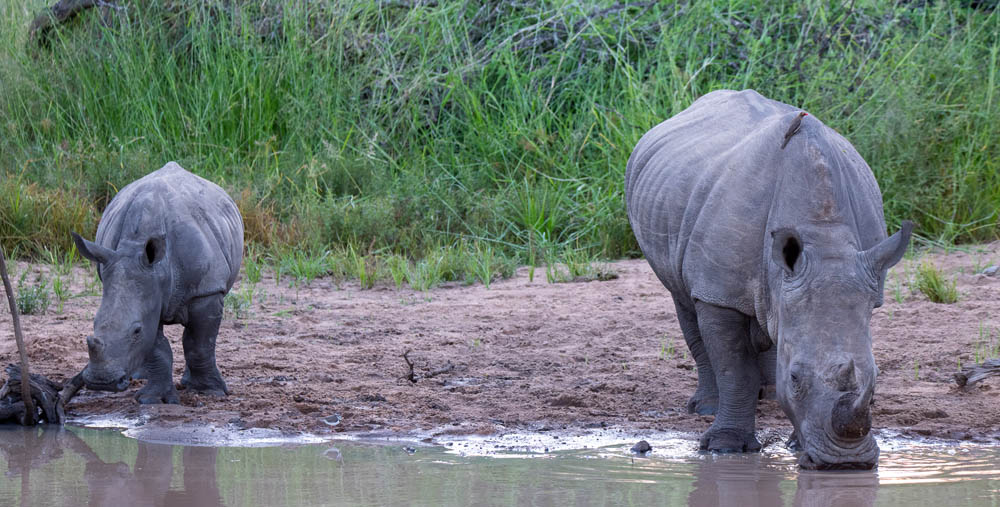
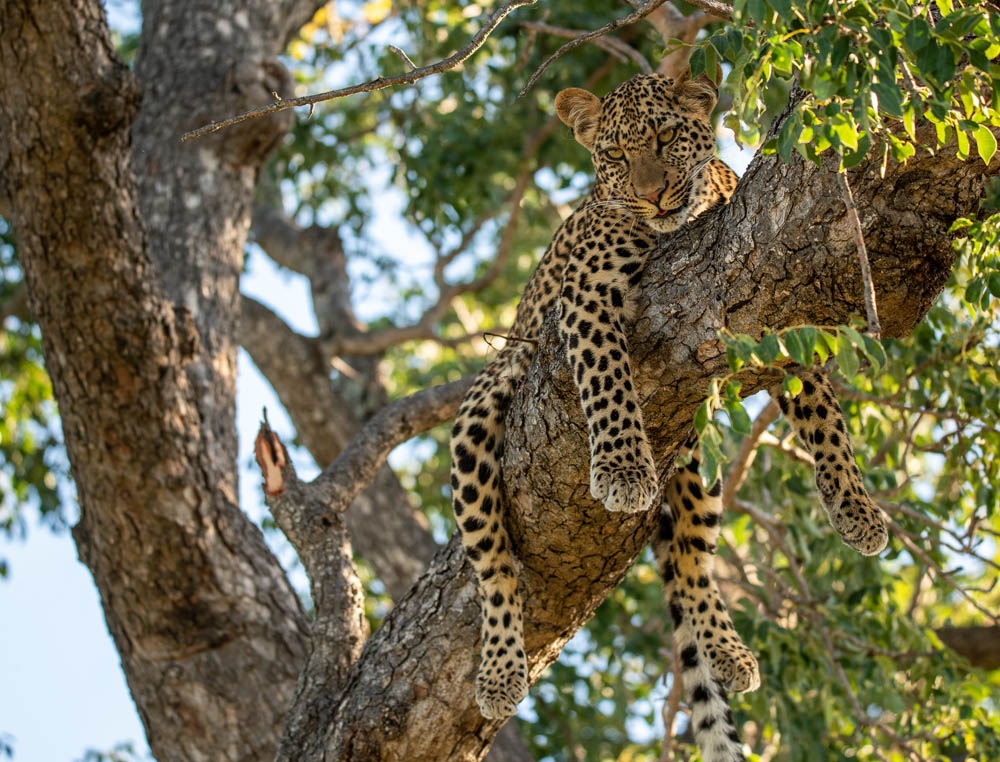
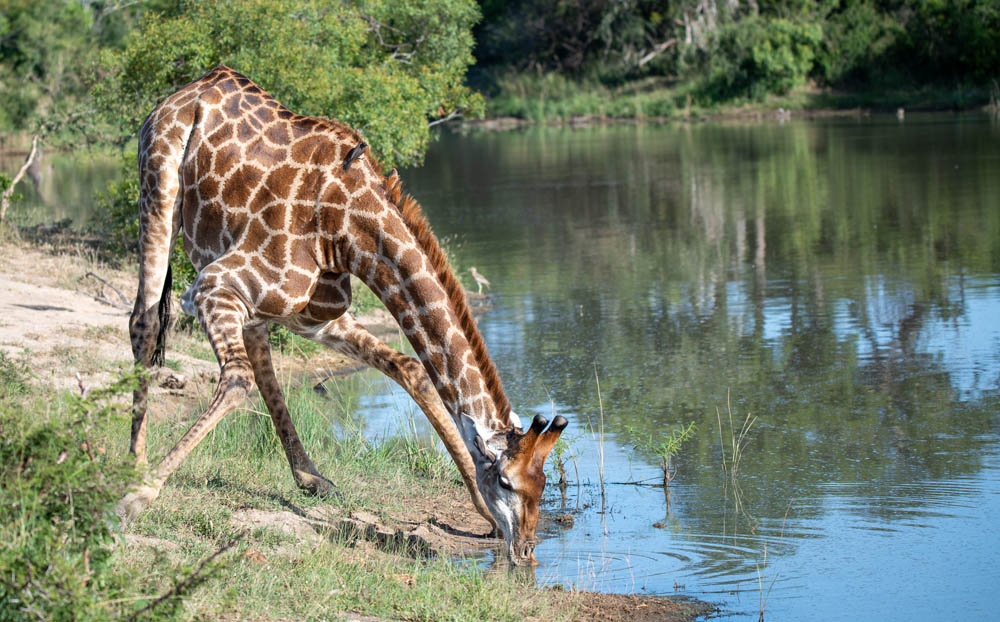
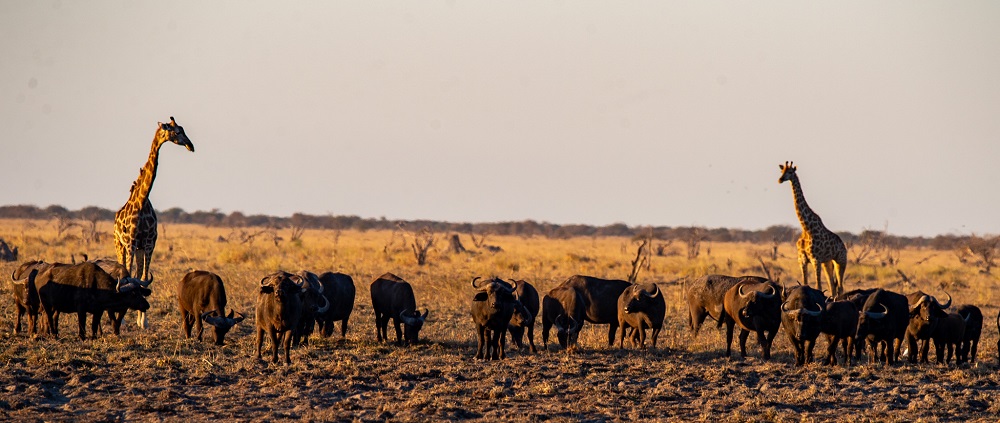
Game viewing at Wilderness Mokete is unmatched, renowned for the mega herds that make their way across this private wilderness with a constant supply of water, located on the eastern fringe of the Okavango Delta and the famed Moremi Game Reserve, to the south of Chobe National Park. With its three distinct habitats: grassland plains, mopane and acacia woodlands, and the marsh system fed by the Mababe River, Mokete is home to prides of lion, leopards, cheetahs, packs of wild dogs, bat-eared foxes, jackals, African wild cats and servals. All of which makes for an immersive, exclusive and thrilling safari. There are often huge herds of buffalo in the area, and there can also be huge herds of zebras. Also worth mentioning: two pretty special antelope, sable and roan. They have been seen around Mokete in the dozens if not hundreds. Unlike anywhere else.
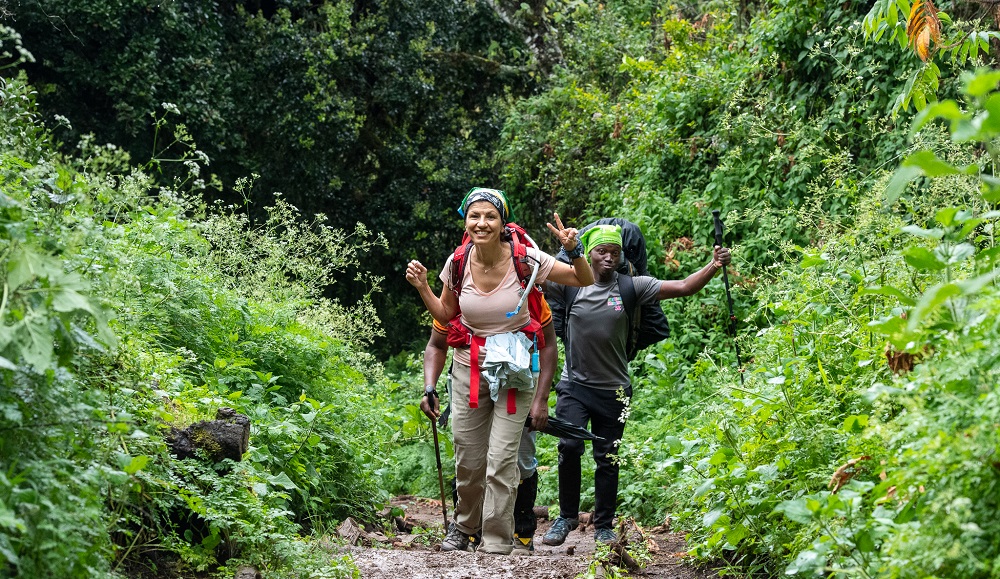
The camp offers unconventional safari adventures, where time is dictated by nature, not the clock. In this part of Botswana, it’s not uncommon to see lions on the hunt on the plains during the day, which makes for exceptional photographic opportunities. Guests can choose to stay on a game drive as long as they please, or stop for a lazy bush picnic – or stay out with the predators late at night if they wish. Guided walks can be arranged, or guests may be tempted to spend an afternoon in the sunken hide, eye-to-toe with the elephants.
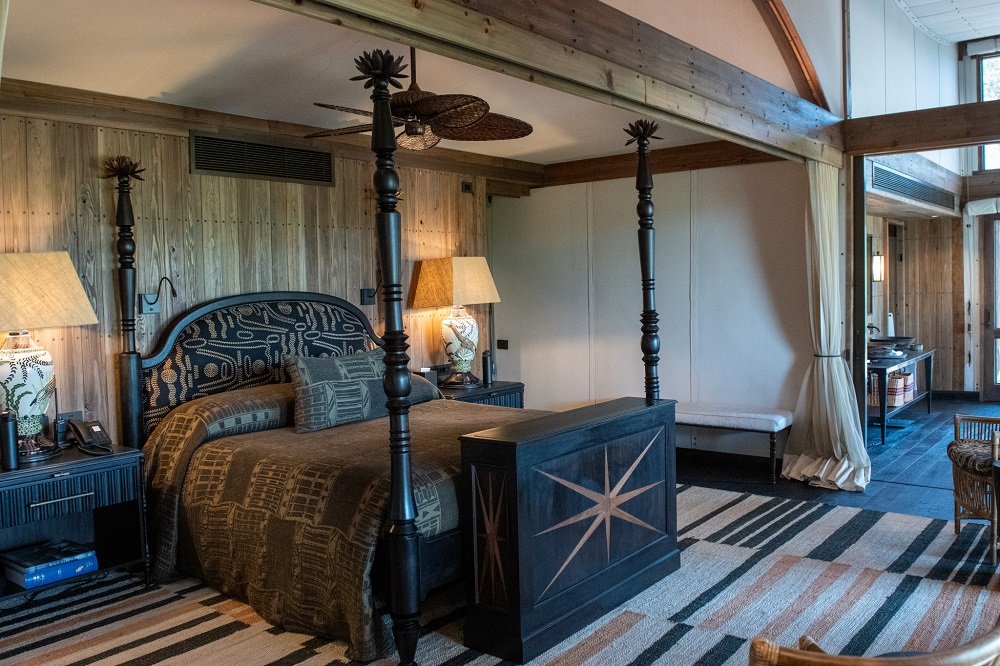
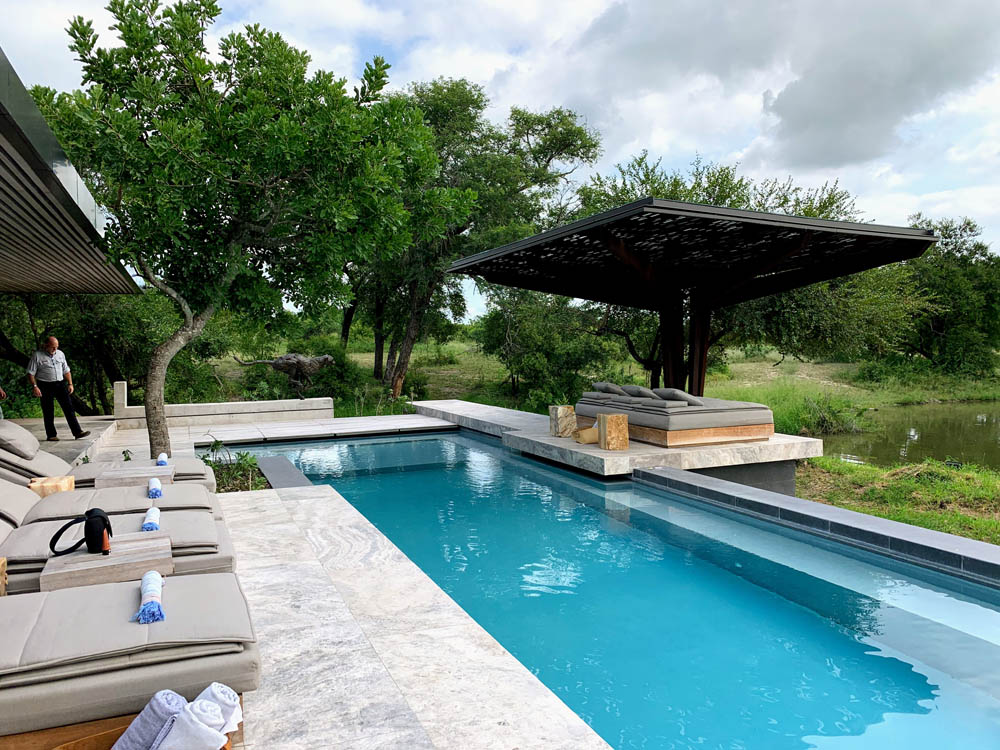
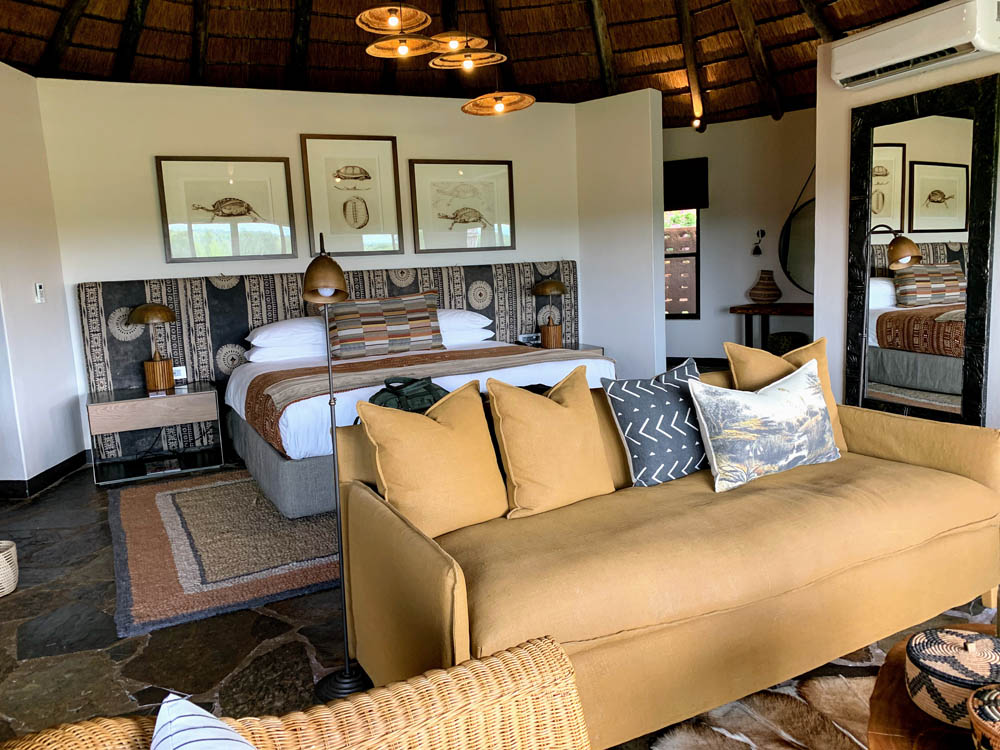
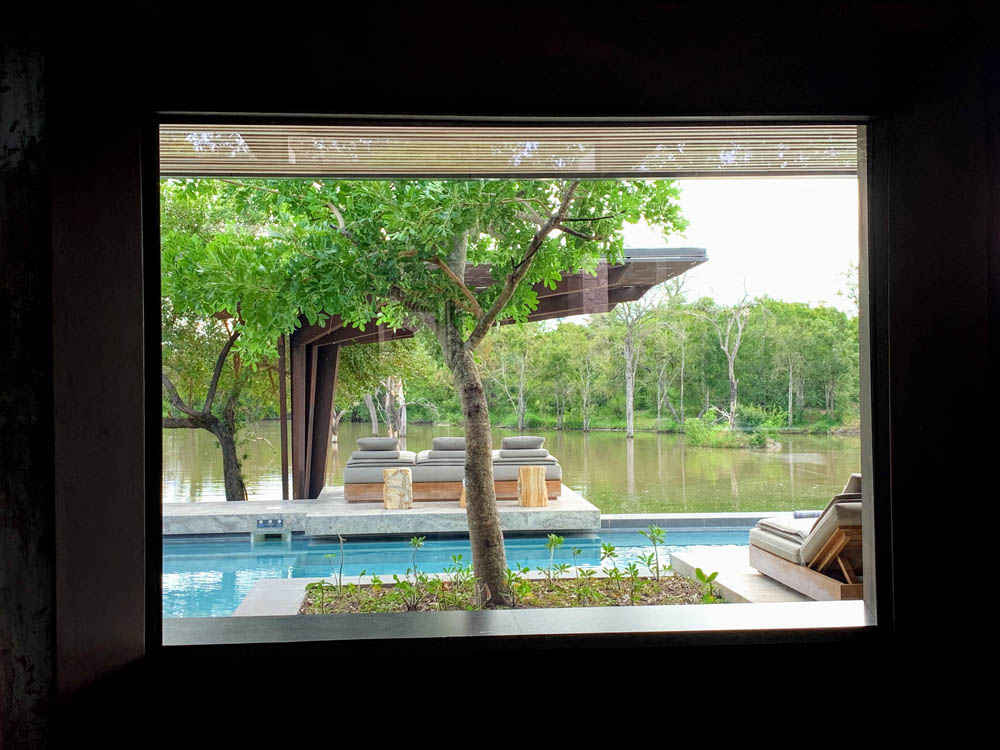
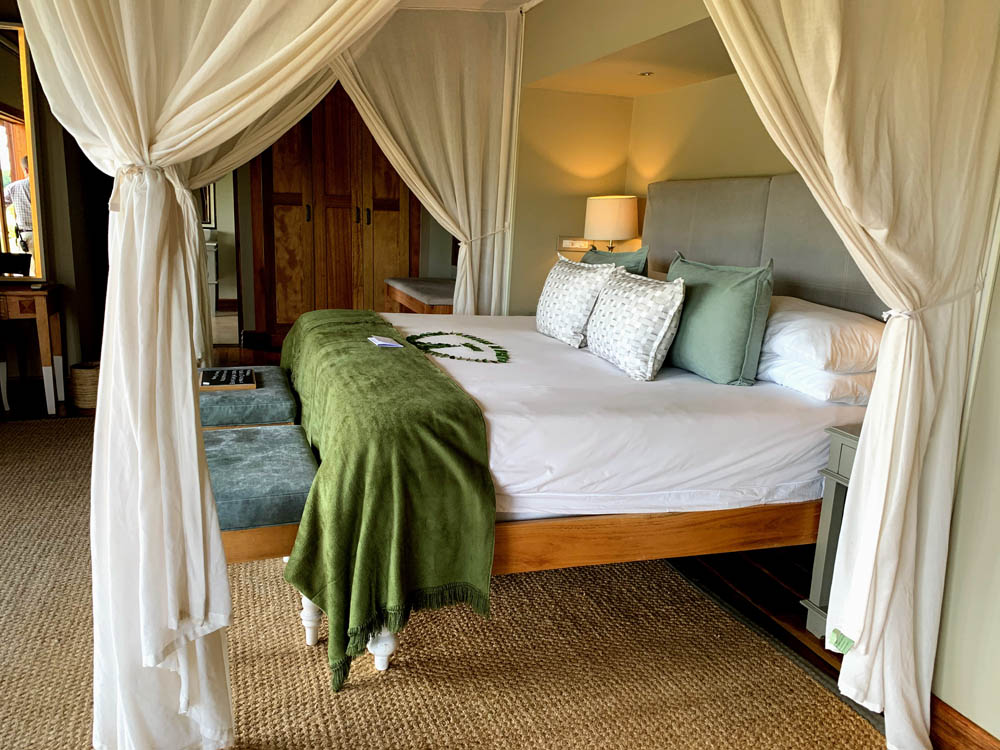
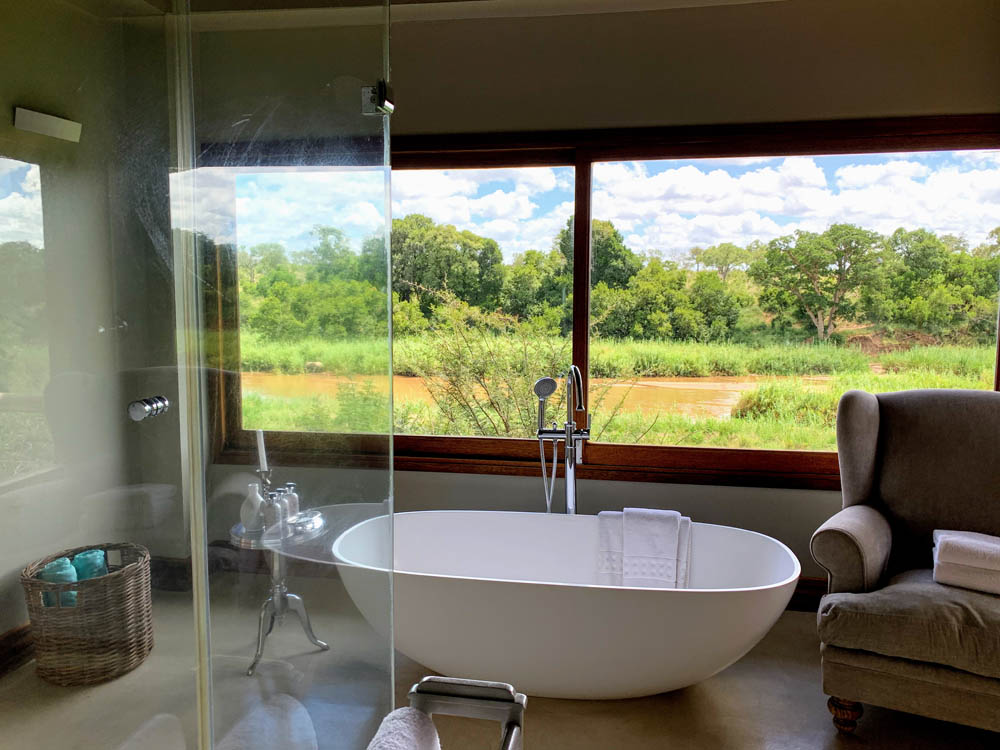
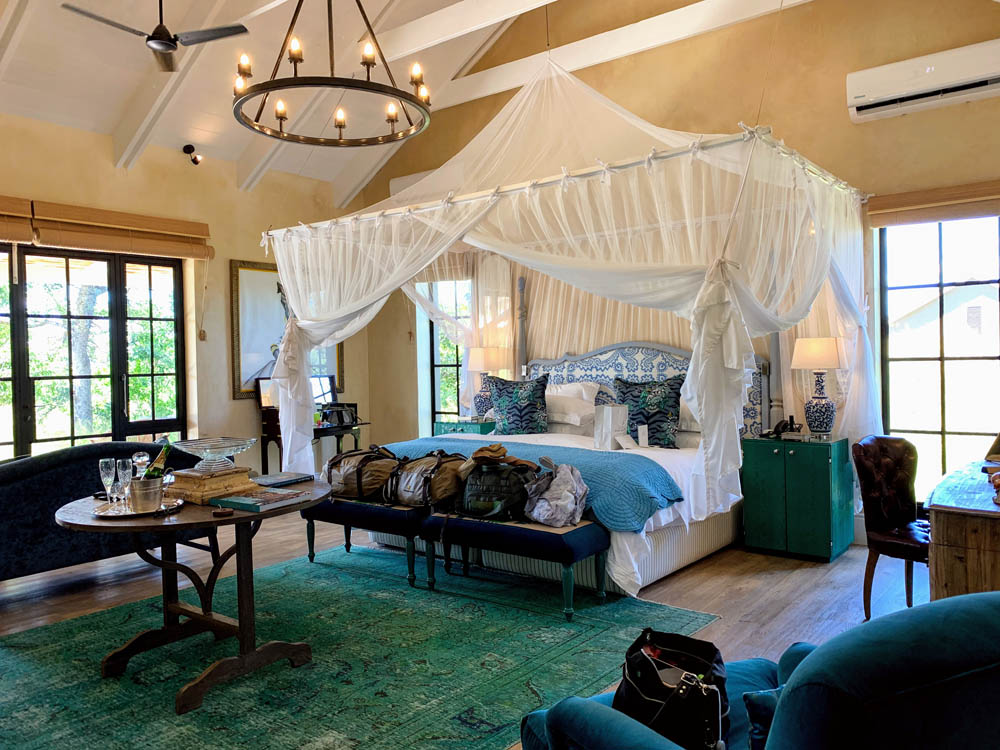
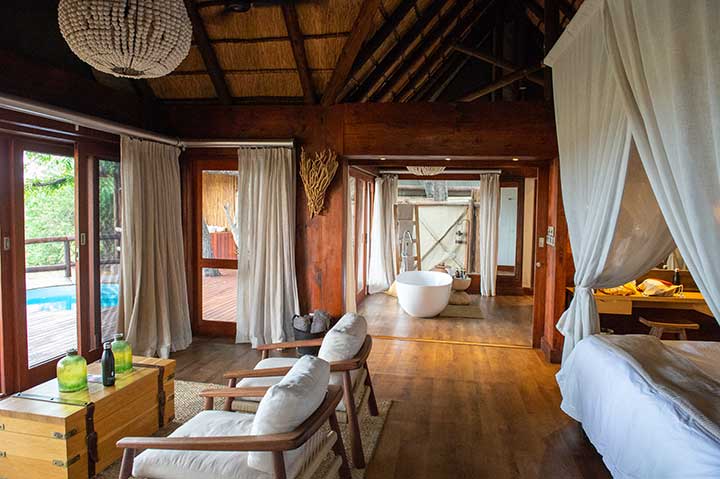
With only canvas between guests and nature, a stay at Mokete is an immersive feast for the senses. Due to the open layout and high density of wildlife, only guests 16 and older are permitted to stay. There is a swimming pool for warm afternoons and a star bed for cool evenings under the sky.
Fish Eagle Safaris’ Lyndon recently spent a couple of nights at Mokete. Here are some of his observations and his recommendations to make your stay at Mokete even more rewarding than it may otherwise be:
At Mokete there are a number of things that you will definitely want to do during your stay:
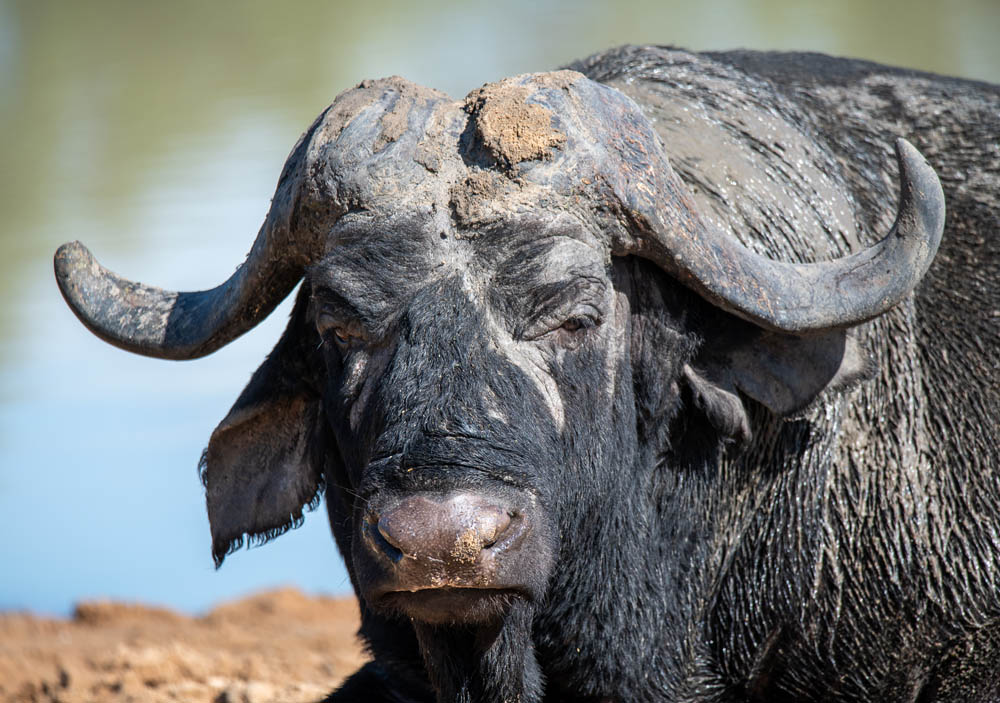
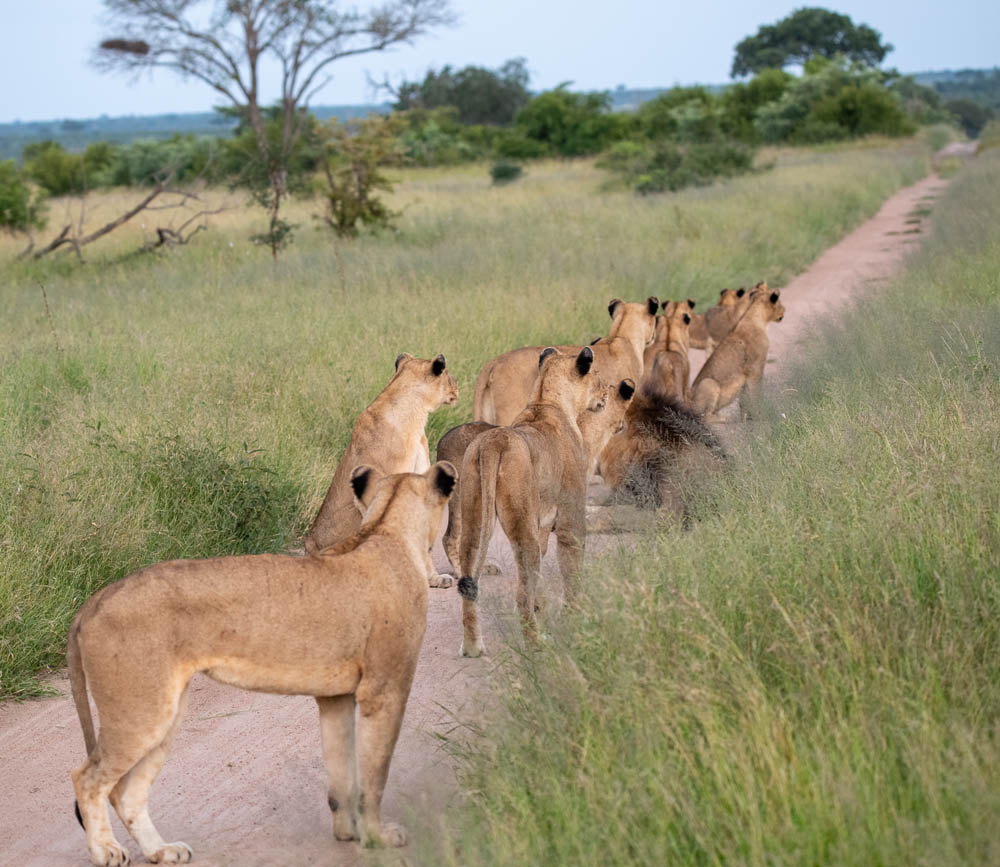
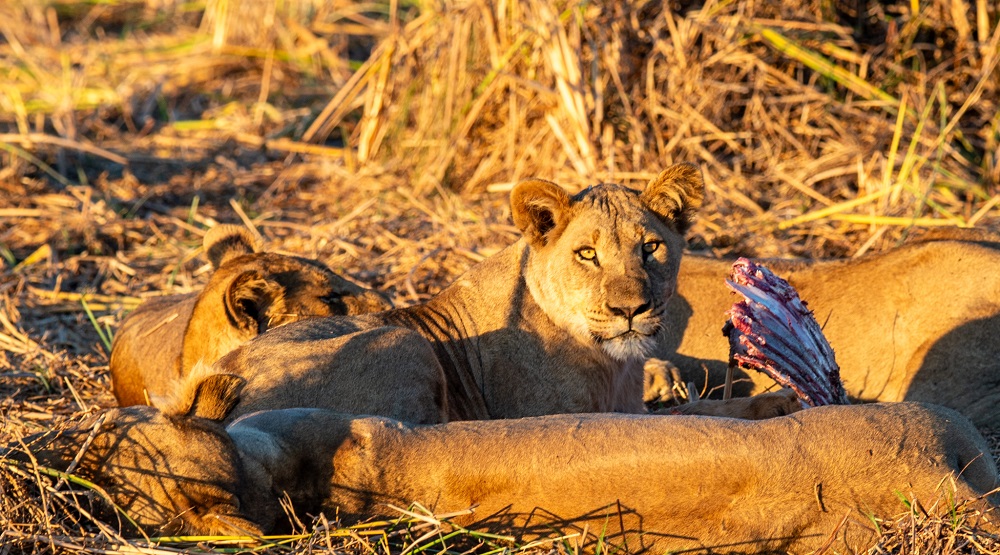
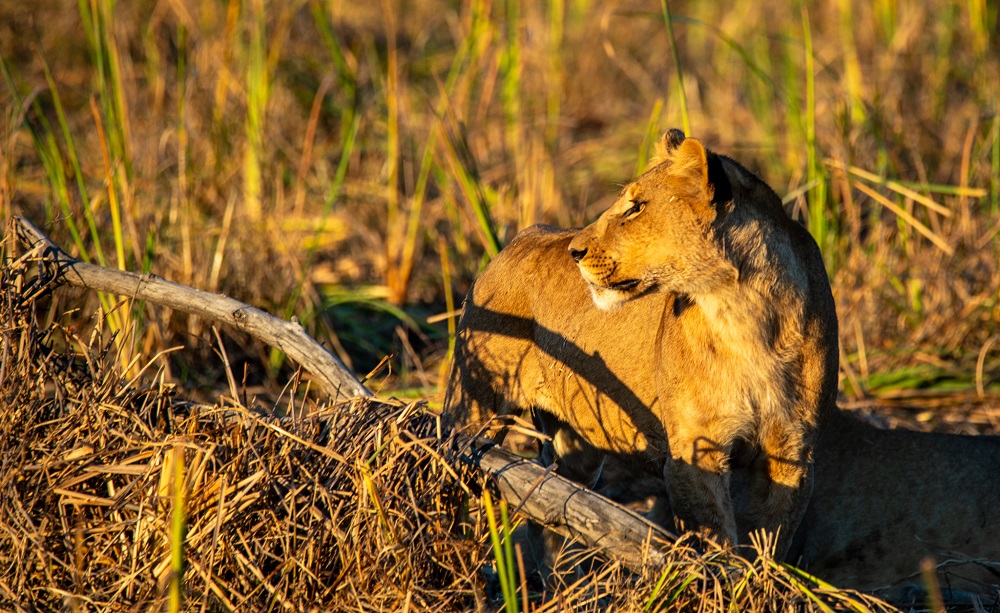
- Take some time to focus on the lion and buffalo interaction. The large lion prides have got a great setup and pretty much plant themselves between the buffalo herds and the water. Our guide told us they can easily feed a couple of times per day. We did not witness a hunt but every time I saw the lions they were eating something. We took a helicopter ride to the camp and en route we saw the recent aftermath of a hunt with about 12-13 lions feeding on the carcass of a buffalo.
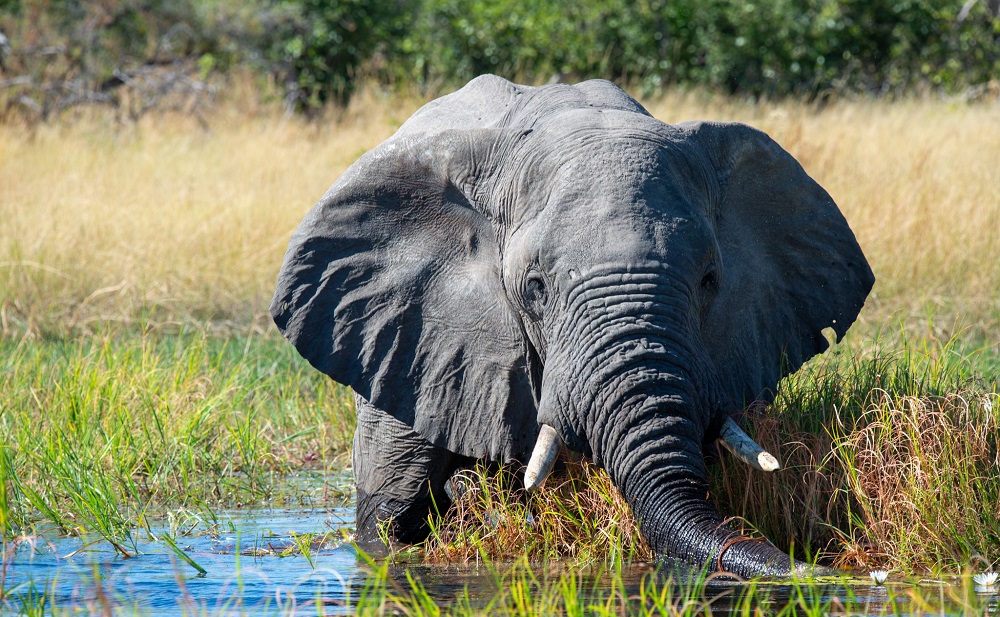
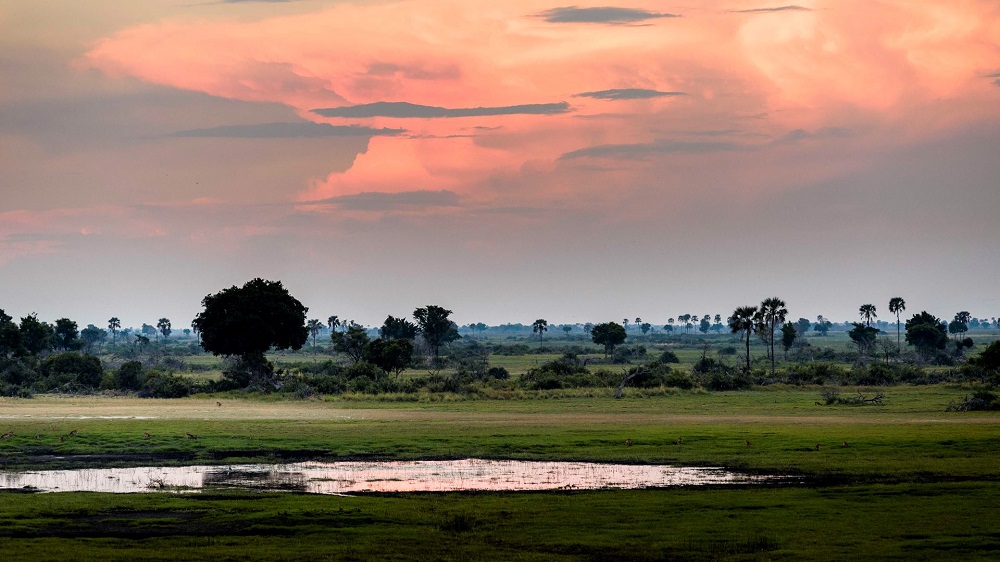
- Visit the elephant hide. There is an area that is known as ‘elephant paradise’ and it attracts huge numbers of elephants, especially in the evenings when they come for water. The camp has a hide overlooking the water and we got to spend an evening there. It was fantastic and the number and sheer tonnage of elephants cycling in to drink before heading back into the wooded area was astounding. We went back to the area on our final night (not back to the hide) and it took a long time to drive through due to the high density of elephants. It was quite something combined with the sunset.
- Go on an after dinner night drive. I was told this can be requested upon arrival and we can also let the camp know in advance, if this is something you’d like to do. At the time of my visit there was a resident wildlife photographer/film-maker in camp. During one of our dinners he recommended we do this as a group because of all the amazing things he had been spotting during the night. It turned out even better than any of us could have hoped.
Here’s what we know about night drives: they are very hit and miss. Nocturnal animals are difficult to find with a spotlight due to a narrow field of view and often the only thing you might see at a distance is the light’s reflection in the animal’s eyes. This leads to some premature excitement only to find out you are looking at and heading toward a herd of impala. Mokete is not immune to these annoyances but our night drive started with a bang right out of camp with a giant eagle owl flying and perching in a tree just next to the road. Not five minutes after this we had a splendid viewing of a porcupine. This would typically be a moderately successful night drive already but the real fun hadn’t yet begun.A few minutes later we caught a glimpse of the elusive aardvark. Actually, two. This was my first time seeing one so I experienced some elation as we sped over road and grass to get a better look. What a sighting! Shortly after this we saw a group of four bat eared foxes. Some time passed and we saw a third aardvark, this one alone and much less bothered by our presence than the previous two. We spent a good amount of time observing it as it jogged from one area to the next looking for a meal. They are so much more agile than I could have imagined, which makes sense having to survive in such an environment.
Up ahead of this there was a large herd of buffalo. Seeing these at night is different because they were having trouble getting a good look at us. This caused them to stop moving completely and stand absolutely still before one gave the call to move and they ran off. Fascinating! Overall I still don’t know if this is what we can expect of a typical night drive at Mokete or if we had incredible luck. The way that the wildlife photographer spoke about what he would see at night leads me to believe that game drives like this might not be as lucky as they felt after all…
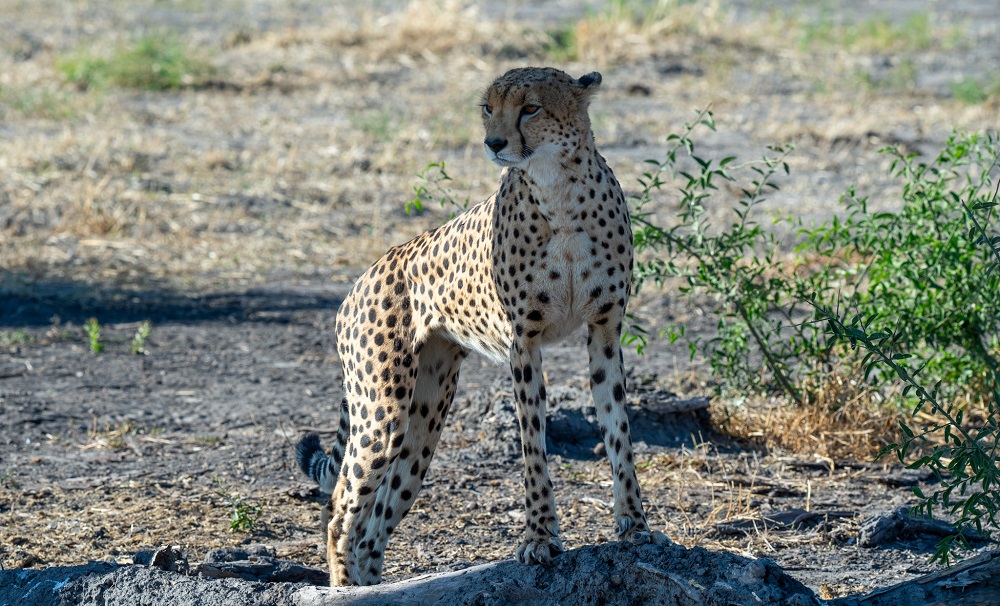
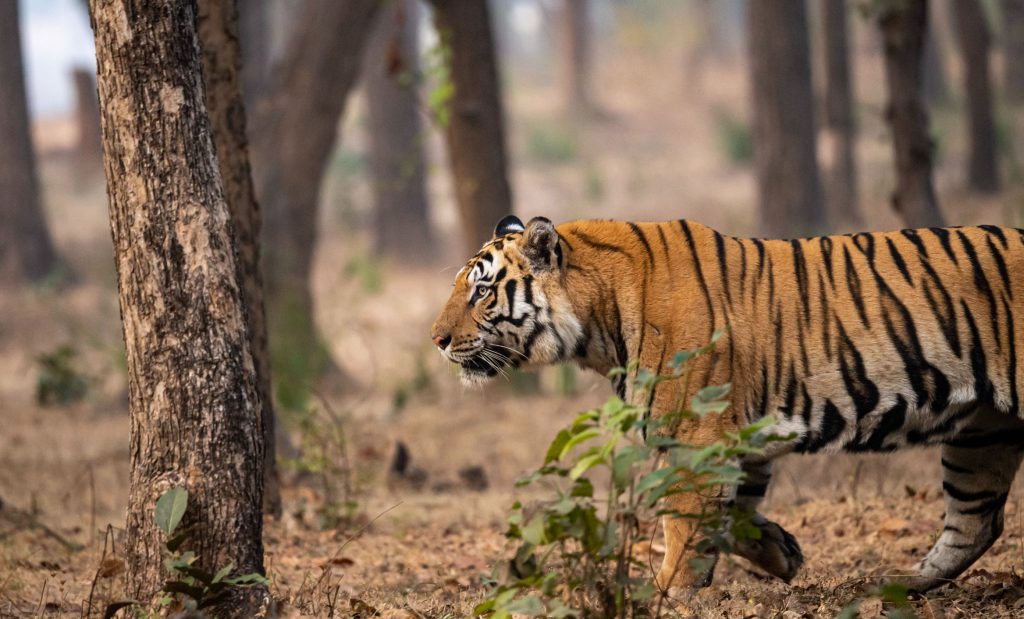
- Time permitting, visit the northern side of the park that borders the Chobe area. It takes a bit of time to get there but this is the area where we spotted two male cheetahs. The habitat is a bit different and there is enough of a distance from the main lion prides that cheetahs feel safe.
- Just general game drives exploring the different areas of the park. It is quite large so this would mainly be on the advice of the guides and what they have been noticing.I think a three or perhaps four night stay should be enough to accomplish most if not all of this.A couple extra notes. The sand there is fine and it can get very dusty. Later in the dry season (my visit was in early May) it will be even more prominent I suspect. I would highly recommend at minimum bringing a buff or something to cover your mouth and nose (and something to protect camera equipment). The areas by the water where the lions camped out were very bumpy. The guides did not rush through so it wasn’t bad but it was slow going.
Get in touch with us if you would like to visit Wilderness Mokete. We can be reached at 800-513-5222 in Houston, or email jason@fisheaglesafaris.com or lyndon@fisheaglesafaris.com
YOU MIGHT ALSO BE INTERESTED IN
10th September 2021
Chindeni and the Bushcamp Company, Zambia
By late July we found ourselves at Chindeni, a small Bushcamp Company property
3rd October 2022
Camp Okavango, Botswana
Camp Okavango is in the heart of the permanent part of the Delta. In this idyllic setting there are no vehicles, and it is just a short walk
14th October 2023
From My Safari Notebook: Wildlife Photography
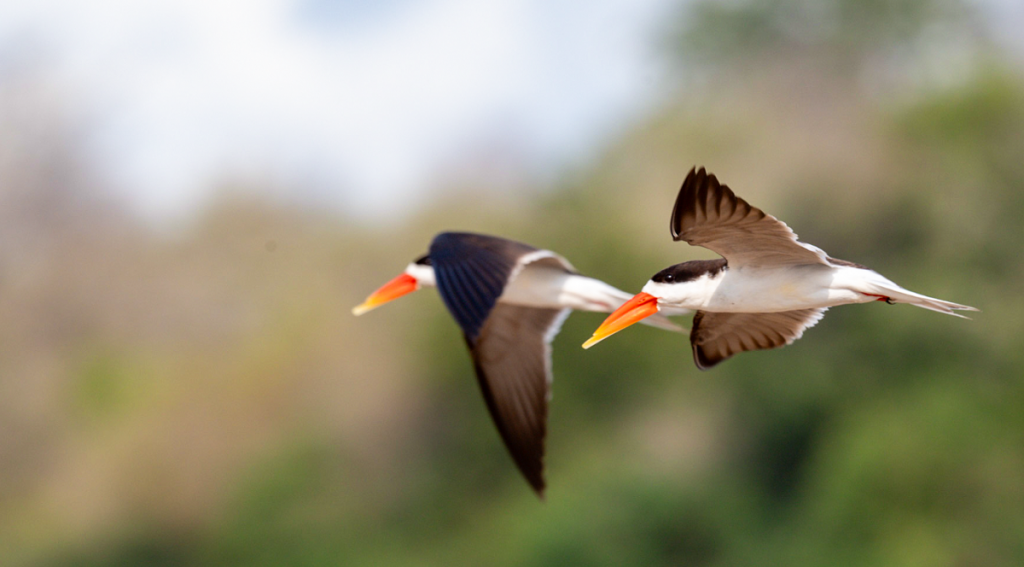
Birds in flight and wildlife photographers have an uneasy relationship. Things go wrong as often as they go right. Getting focus-lock on a moving subject

SUBSCRIBE TO OUR NEWSLETTER
READERS FAVOURITES
4th August 2022
On Safari At Belmond Eagle Island Lodge, Okavango Delta
What is the ‘secret sauce’ for an unforgettable few days on safari in Botswana? It starts with the animals, of course. The elephants, lions, giraffes, hippos
10th September 2021
Chindeni and the Bushcamp Company, Zambia
By late July we found ourselves at Chindeni, a small Bushcamp Company property