Photography on safari
Fish Eagle Safaris was an early adopter of digital photography. Company founder Bert somewhat fondly recalls using a first generation Sony Mavica on a trip to Madagascar in 1998. It was slow and primitive measured against the standards of current digital cameras, but it did the job. Having the capability of taking a photograph and being able to see it just seconds later (rather than waiting to have film developed and printed) seemed like the future at the time. The reaction of the Madagascar kids who crowded around Bert to look at themselves in the photos, just seconds after an exposure, was priceless.
Since then, the Fish Eagle Safaris team has gained considerable experience and a measure of expertise in the field of wildlife photography. Particularly since 2008 when we purchased our first big camera and telephoto lens combination. At the time, it was a Nikon D300 and a Nikon 200-400 f/4 Zoom lens. We still use many of the images taken with the 200-400 zoom lens. At nearly 7 pounds it is hefty but few other lenses beat it for versatility and all-round excellence. The 200-400mm f/4 is still a great choice for a Nikon shooter who wants a long zoom lens that can let you keep your camera’s shutter speed high and ISO low in a variety of lighting conditions.
Some years later, we upgraded to a Nikon D-4 camera – which we still use. With an optional battery grip, it is fast (8 to 9 exposures per second) and it is a monster in poor light. A couple of Bert’s photos of a Zimbabwe lion Xander – unethically hunted and killed just like his much more famous father Cecil – ended up on ABC World News Tonight as well as in several other publications, websites and broadcast media around the world, a few years ago.
SET A REALISTIC OBJECTIVE
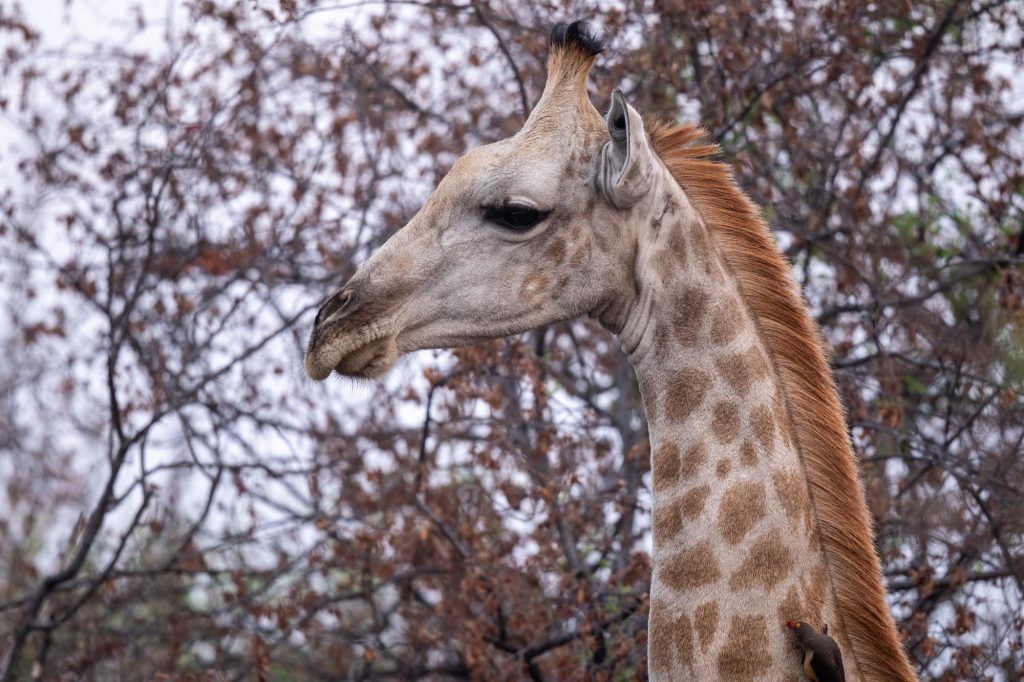
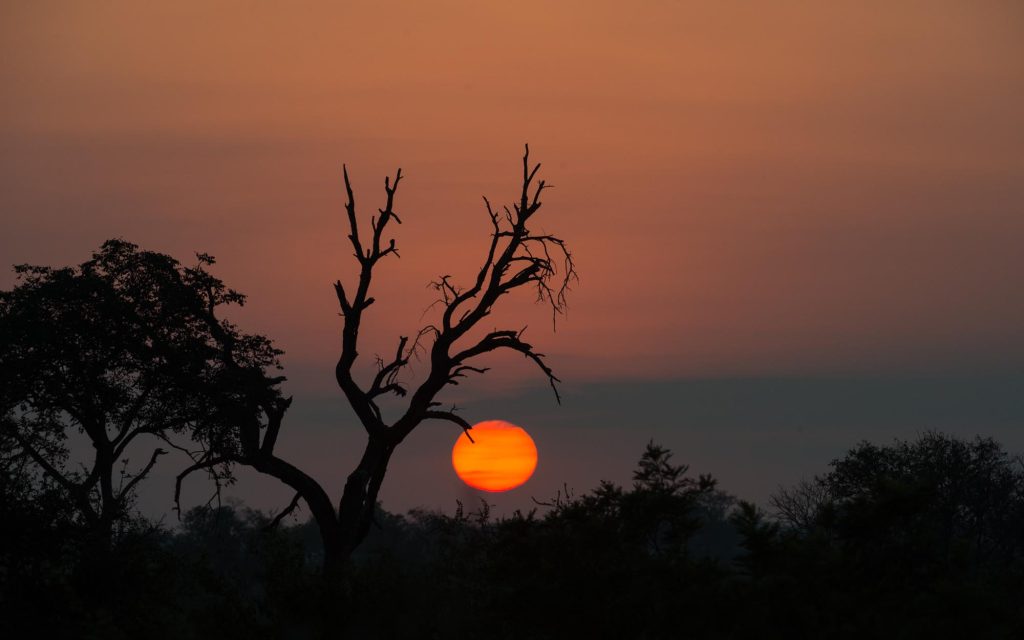
Before any trip, I like to think about the type of images I can expect to capture, depending on the places & activities on the itinerary. Predictably, the bulk of them will be shot from an open vehicle during a game drive. Sometimes, the object will be a long distance away, simply because it is wary or shy or regulations prohibit off-road driving. At other times the object will be huge like an elephant or giraffe, and very close to the vehicle. I would also plan on shooting some birds in flight on boating outings such as on the Kafue and Zambezi, or from a mokoro or a skiff in the Okavango Delta. Plus some close ups of mammals and birds from blinds. Other than pure wildlife photos, I would usually include a smattering of images of guide and visitor interaction on a walking safari or other activity, a few sunrises, sunsets, and some room and camp shots. Depending on the itinerary, there may be some candid photos on a cultural activity such as when walking with descendants of traditional hunter-gatherers in the Kalahari.
It is a useful exercise to jot down a few notes about the type and variety of images you are likely to capture, which helps inform the choice of equipment and eventually with the planning and execution of the day to day activities and outings. If you already have an idea of the kind of photos you’re after, it really makes life a lot easier for your professional guide. They will know what to concentrate on and they will get you into better positions with more opportunities to capture exactly the type of images which you had in mind. Which of course makes for a fun and enjoyable experience.
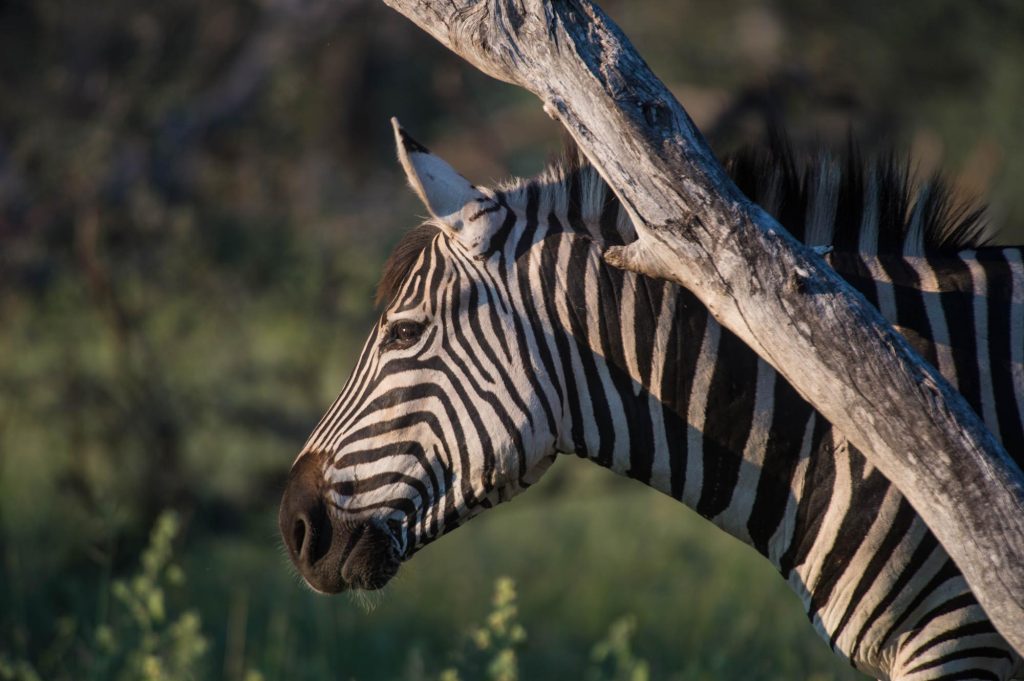
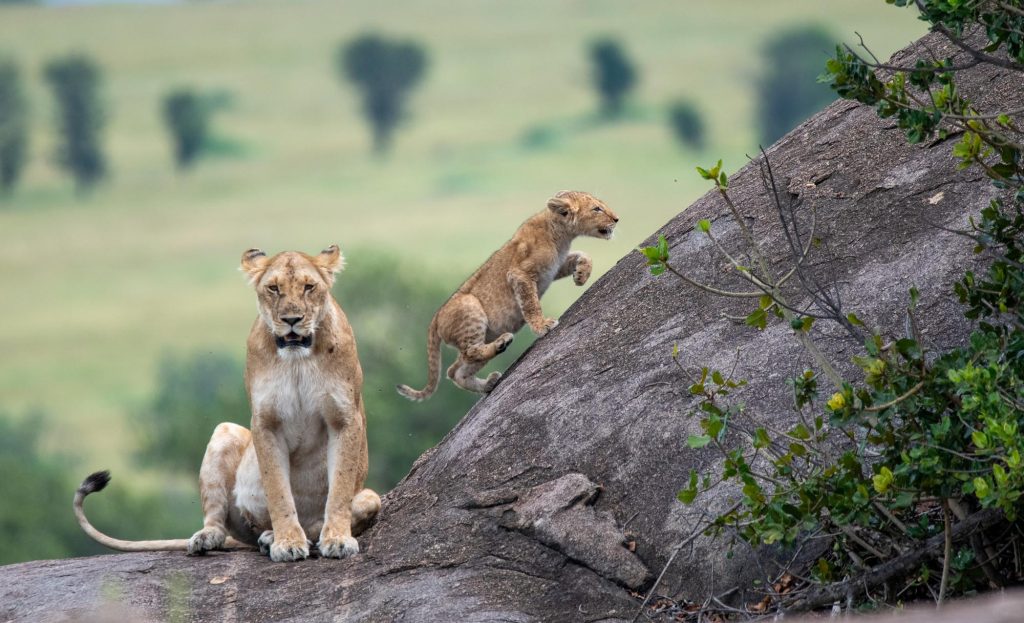
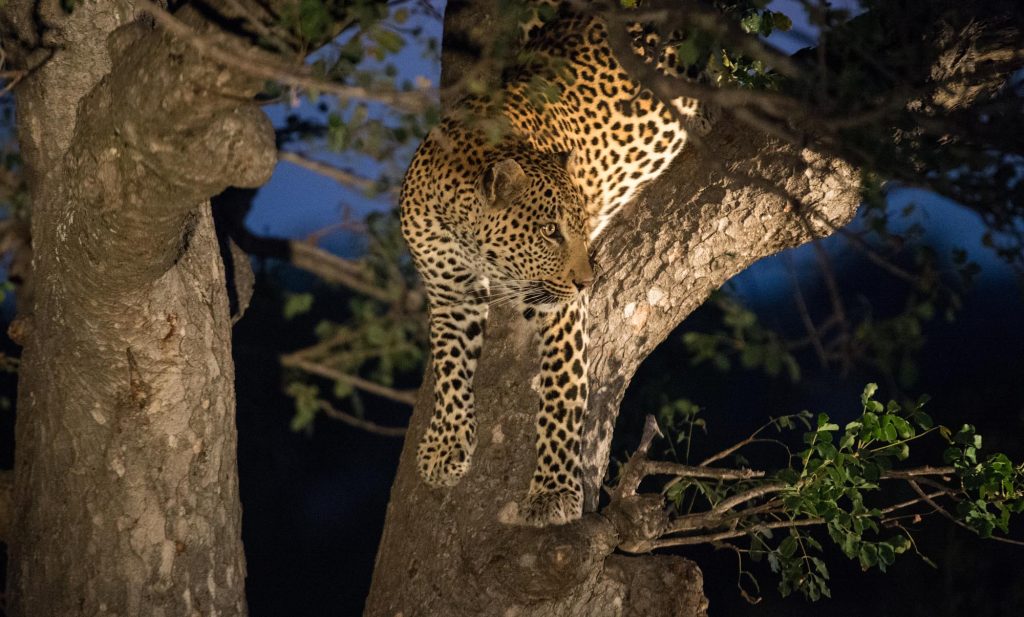
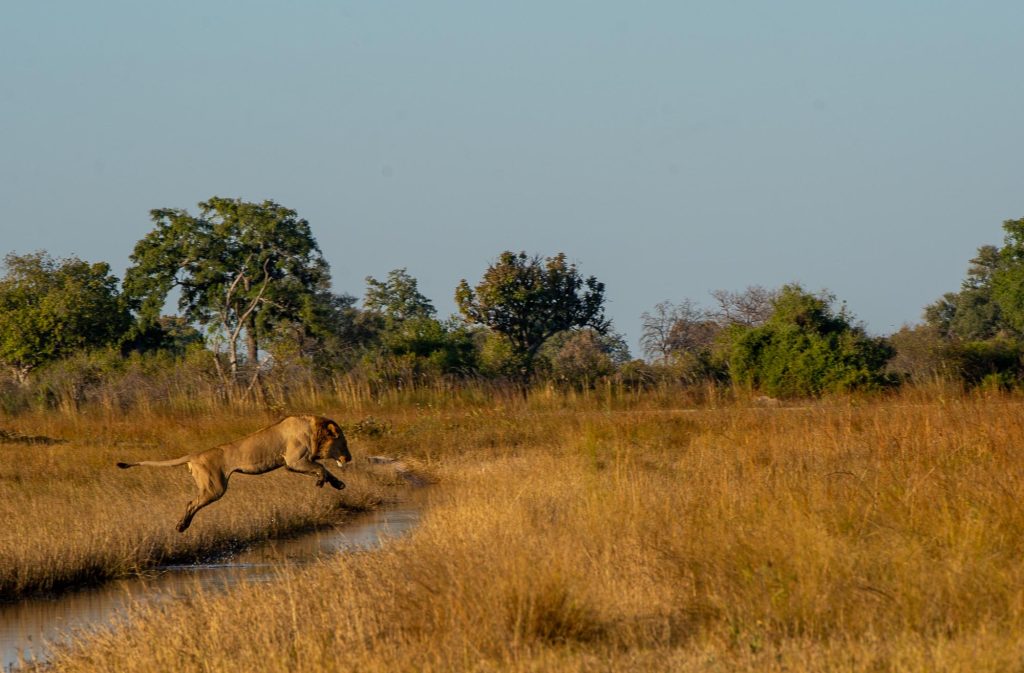
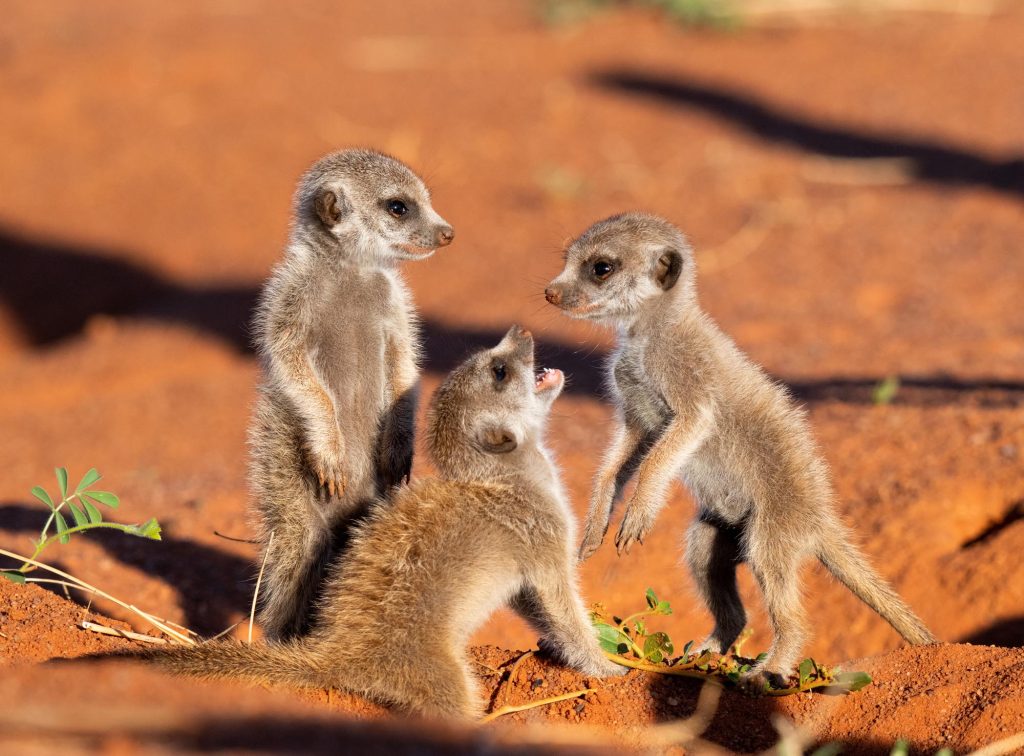
Like many other wildlife photographers our aim is to capture the essence of what makes wildlife viewing special. Often it is just a moment in time, such as when two Hartmann’s zebras pause in near perfect light in front of a succulent plant in Damaraland in Namibia – and both lift their heads, staring straight at the camera. A second earlier their heads were down – no photo there. A second later, they were gone. Successful wildlife photography is all about capturing those moments. Those special moments will present themselves in many different ways. Sometimes it is literally just a second or two such as an animal briefly pausing, a bird taking off from a perched position or a leopard descending from a tree. At other times it may be painted dogs hunting, lion cubs playing, elephants walking with Mt. Kilimanjaro in the background, young elephant bulls jousting in a pond, or habituated meerkats emerging from their den. The list is endless and limited only by one’s imagination.
Good wildlife photography is much more than a collection of point and shoot images of any animal or bird which gets into range. The captures should be engaging, or at least interesting and always as technically correct as possible. Only if the subject is something extraordinary like a pangolin or an aardvark will we even consider publishing a photo which may be slightly blurred or not 100% tack sharp.
Over the years we have refined and tightened our objectives. We don’t just take wildlife photos to record the presence of an animal or bird or other living organism. We try to create context and background, tell a story, create some drama, make it exciting and appealing.
CREATING THE RIGHT SCENARIO
How do we make our photographs special? First of all by creating the best possible scenario for our photography, by having the right equipment, by spending enough time in a location and by being patient.
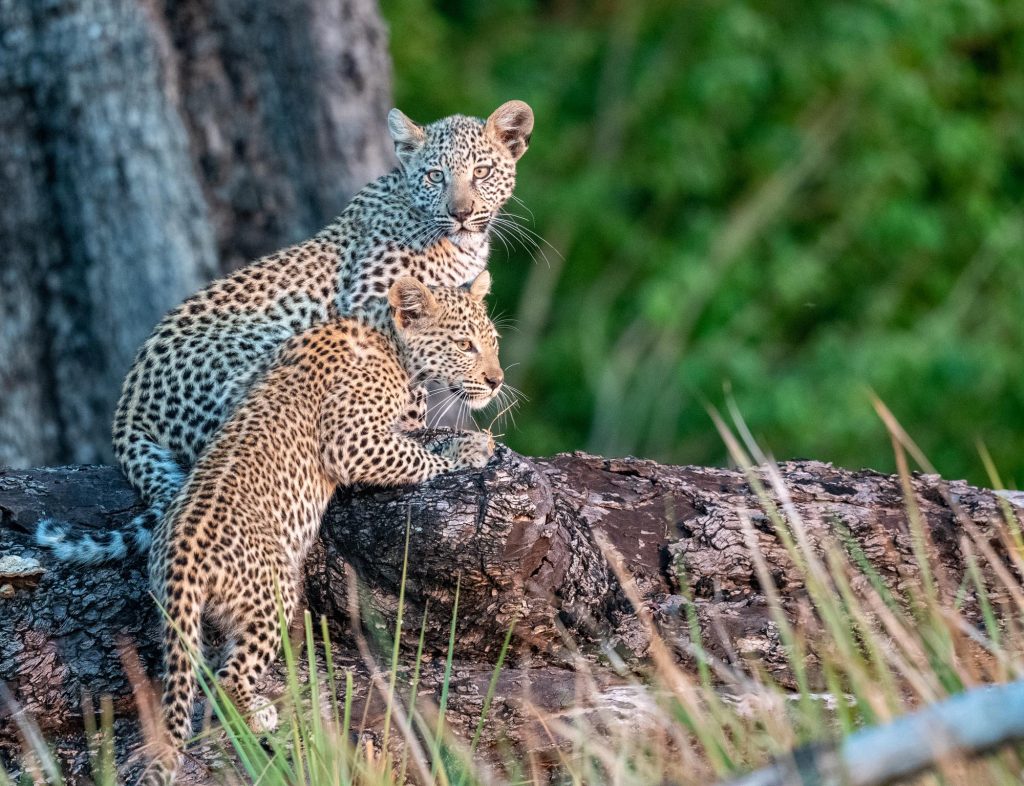
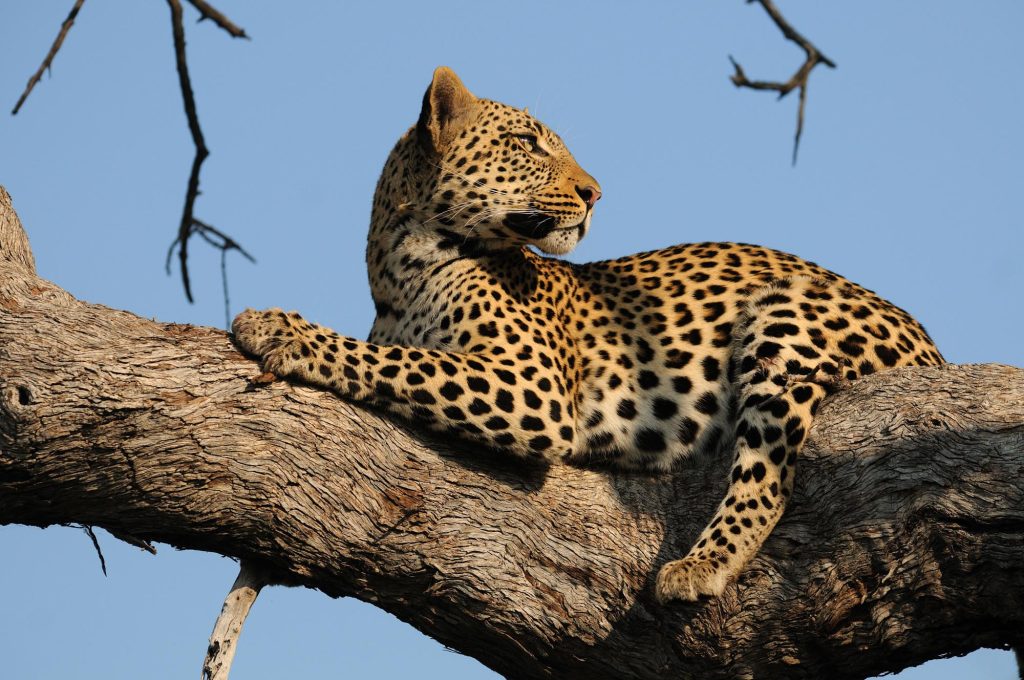
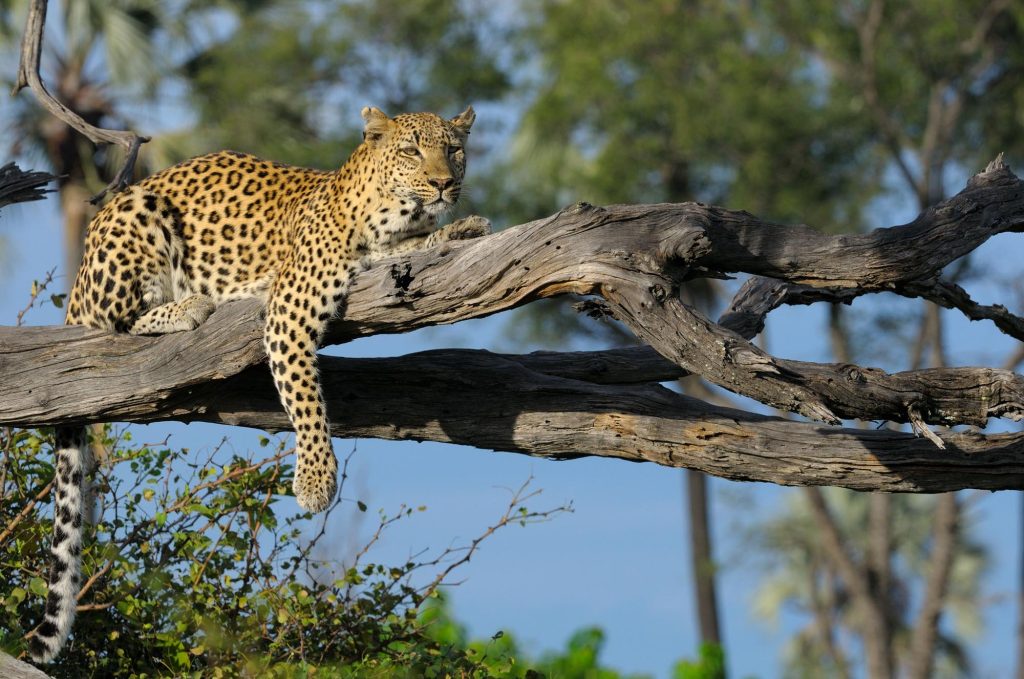
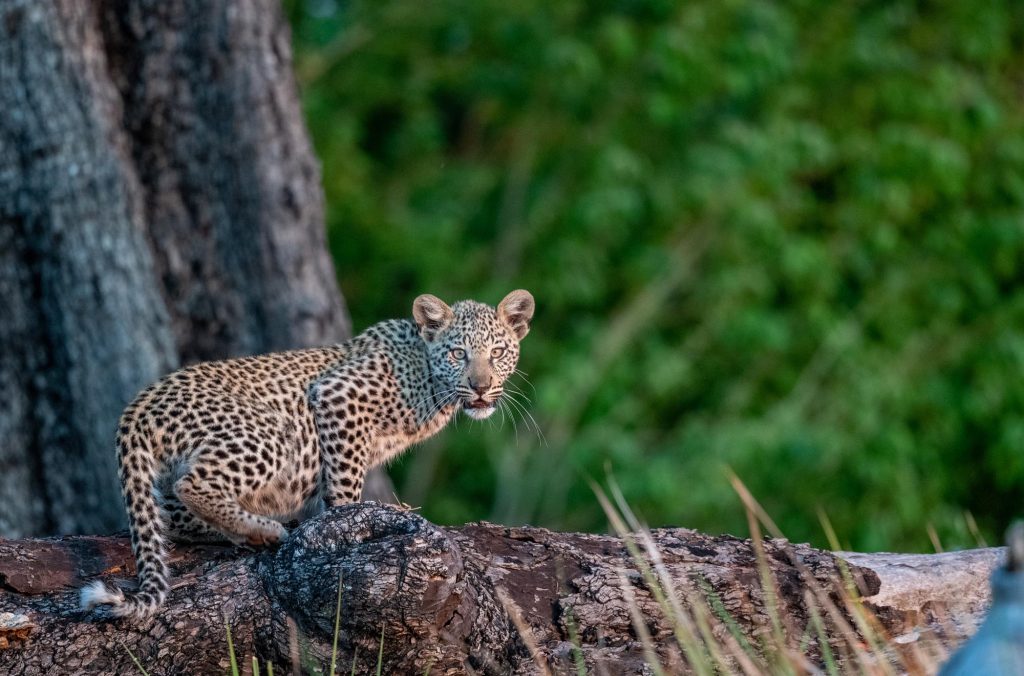
The right scenario could be many things. It starts with being in the right place at the right time. Looking for leopards? Then visit the areas and the camps where they are likely to be seen and be out in the bush right around first light and again in the late afternoon. There are always exceptions but mostly nocturnal animals like leopards and lions are best photographed early and late in the day. Observing sleeping lions is standard fare on practically any African safari and there is really no less interesting an object than that. The secret is to be out and ready to capture your first image well before the sun rises. Recently in Botswana, we again realized how critical it is to be out early in the warmer months. If you’re not ready to leave camp right around 5:30 a.m. in summer, you are almost definitely going to miss out on seeing some of the predator activity. In some areas – where it gets really cold at night – even the animals tend to hunker down in the early mornings until it gets a bit warmer. So this is not an all-encompassing ‘rule’. At Tswalu in the Cape Kalahari for example, some of the nocturnal creatures like the aardvark and pangolin adjust their usual night-time feeding activity by being out during the day, to avoid the worst cold.
You can stay out as long as you want but don’t expect to find active leopards or lions in the middle of a warm or hot day. They will be sleeping or resting up in shade deep inside a bush, or – in the case of leopards – maybe hidden within the tree canopy on a branch. There are always exceptions. We saw a leopard stalk and kill a blackbacked jackal in Etosha National Park, Namibia at 2 pm one day, not long ago.
For the purpose of this discussion we will avoid discussing night photography simply because we don’t really do it. We’ll try to get some captures of an aardvark, an owl or other nocturnal creature we happen to stumble upon on a night drive, but it’s purely incidental.
SHOOTING DURING THE GOLDEN HOURS
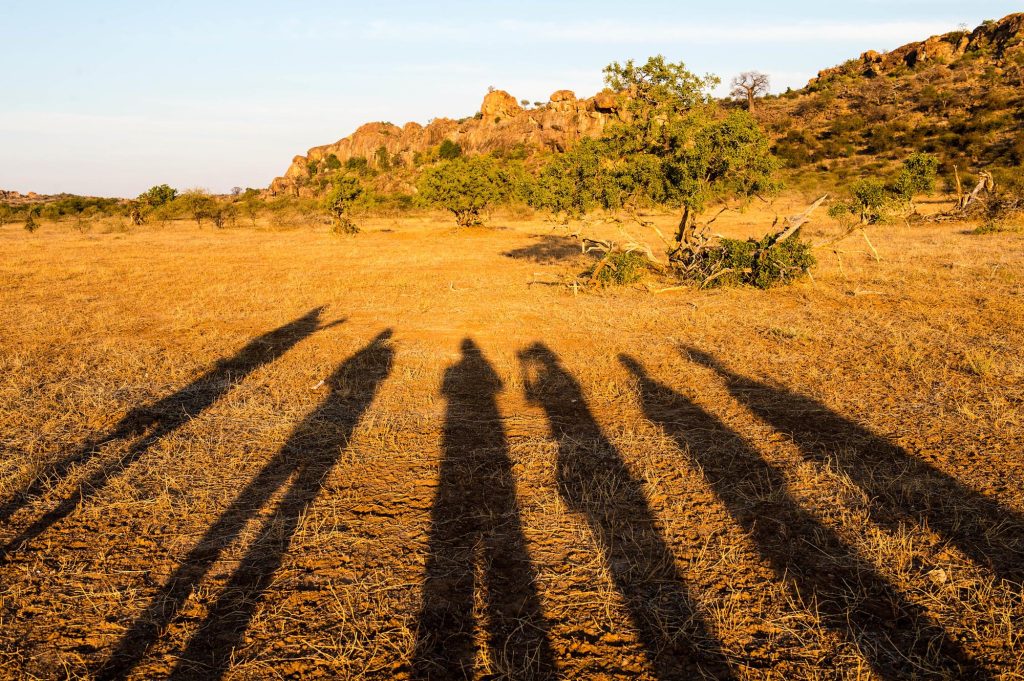
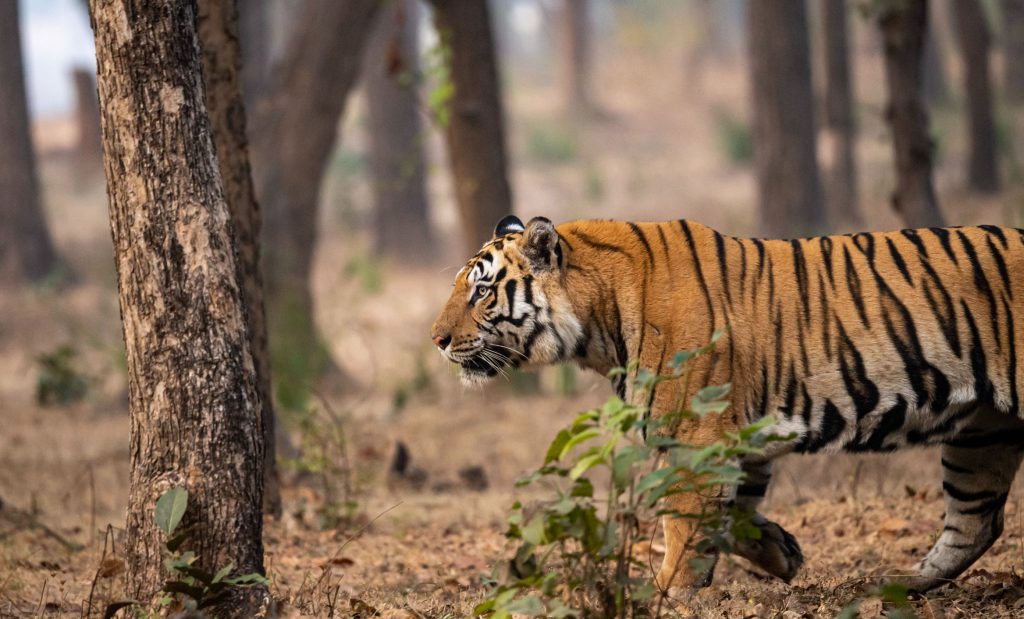
We try to maximize natural light to its best advantage in the couple of ‘golden hours’ just after sunrise and before sunset. This is when practically any subject comes alive – even the most ubiquitous of antelopes like impalas and the East African gazelles look good in the soft, forgiving light associated with the golden hours.
Which brings me to one of my few pet peeves about wildlife photography. I do not like to be driving around excessively during the morning and afternoon ‘good light’ window. My request to guides is always to find a suitable object soon and to stay with it for a considerable length of time, while the light is good. Find a nice group of zebras at 7 in the morning? Stay with them, wait for them to line up in an interesting way or for two of the young stallions to start play-fighting. Or some such scenario. Don’t snap off a couple of quick shots, only to start driving again almost immediately. During the good light period in the morning and afternoon you want your guide to be more patient than ever.
Digital photography – and specifically the image alterations and corrections which can be made in the processing phase – has somewhat reduced the ‘golden hour’ fixation of the film era. It is now relatively easy to ameliorate the harsh shadows caused by overly bright midday conditions, for example. Also, on overcast days you may be able to capture some great images well beyond the early morning and late afternoon hours. Which is great but does not detract from the importance of capturing as many images as you can, during the golden hours. The warm, golden light adds a certain elegance to exposures which is just about impossible to achieve at any other time of the day.
TAKE YOUR TIME
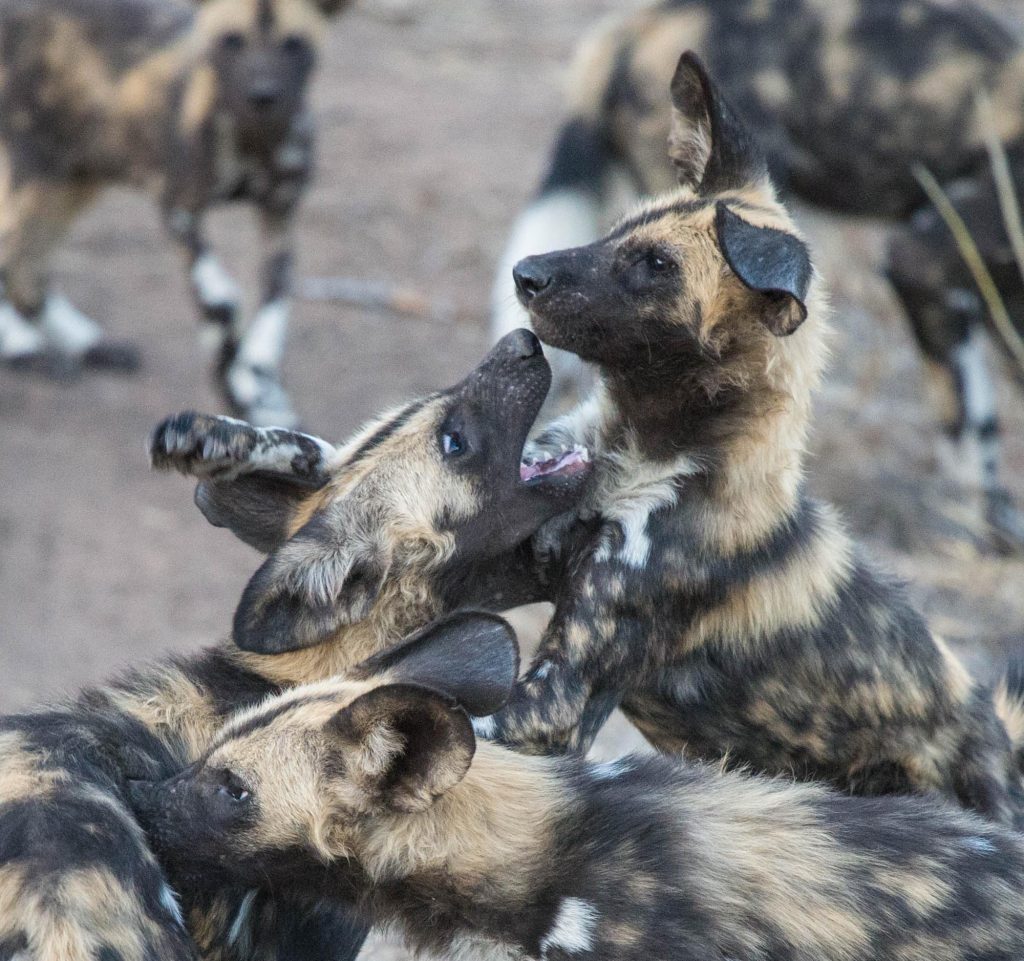
Patience and perseverance go hand in hand with wildlife and nature photography. Stick around long enough and interesting things are bound to happen. This is particularly true around water holes in the dry season but not exclusively so. Patience and perseverance can take many forms with wildlife photography. It can involve spending several hours with a coalition of cheetahs, waiting for them to initiate a chase and hopefully a kill. Or hanging out in the proximity of a pack of African painted dogs, likewise waiting for them to adopt a hunting mode or for the youngsters to start playing.
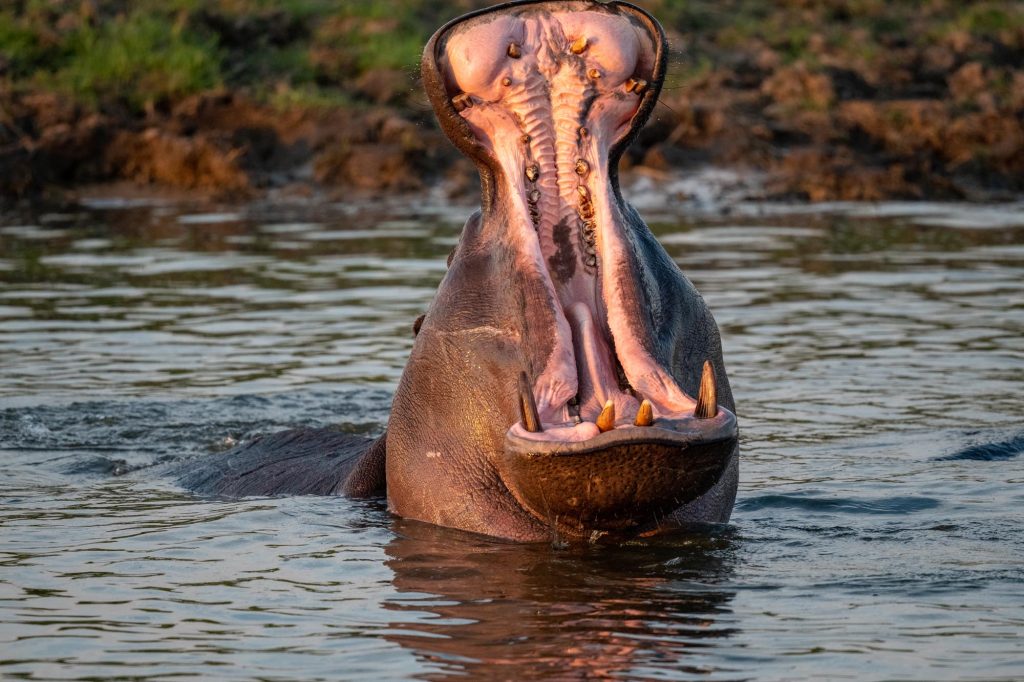
Parking yourself at a hippo pool for an extended period of time almost invariably will produce a decent ‘wide open mouth with impressive tusks’ shot. If you’re lucky, there will be a territorial spat between two competing males, when things can get really exciting. One or more of the animals may leave or enter the pool, or you can get lucky with capturing a tender mother and baby moment. When hippos get ready to leave the water for their grazing grounds – usually by nightfall – some of them will make a spin move when they do a 360-degree roll, momentarily exposing their pink bellies. I’ve seen it happen several times. Do I have a great photo of it yet? No. But I haven’t given up and will be spending more time at a hippo pool, just waiting for the moment…
Spending enough time in an area is crucial. You will see and experience more, the entire experience will be more enjoyable and your photography will benefit immeasurably. Animals move around in real time and you simply have to give yourself enough time to find them and to photograph them under optimal conditions. If there are cheetahs in an area you are not likely to see them in just a day, in one or two game drives. Over the course of three or four days you very well might. Time and a bit of luck creates opportunity for more than just a quick snapshot.
EQUIPMENT CHOICES
Whenever members of the Fish Eagle Safaris team get ready for a trip to Africa – or Madagascar – they will usually have most of these pieces of equipment in their bag:
- An iPhone for general landscapes, closeups of animals, low-light photography, rooms and lodge interiors and exteriors and for shooting videos (making use of an Osmo stabilizing device).
- A Sony A-6300 camera with a couple of lenses (a short 16-70mm zoom and a medium 55-210mm zoom). A compact mirrorless camera is handy when portability is an issue, such as on a Kilimanjaro trek or any longer hike, or on a boating or mokoro outing where a DSLR is just too heavy and there is a risk of getting wet.
- One or two full-frame cameras such as the Nikon D-4 and Nikon D-850. On his most recent outing to Botswana, Bert had both of these cameras in the vehicle, using a long telephoto lens on the one and a shorter 70-200 zoom lens on the other.
- Depending on the location, several lenses such as:
- A 50-mm f/1.4 for low-light and food photography,
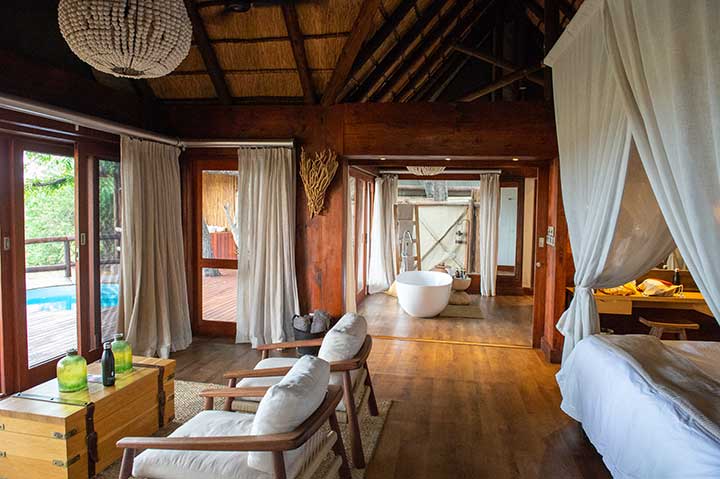
- A short zoom 28-70 f/2.8 as an all-purpose walking around lens, for room interiors and lodge shots, as well as people photography,
- A medium range 70-200 f/2.8 zoom lens for closer up and larger animals such as elephants and giraffes or for capturing more of the background and habitat with animals in the foreground,
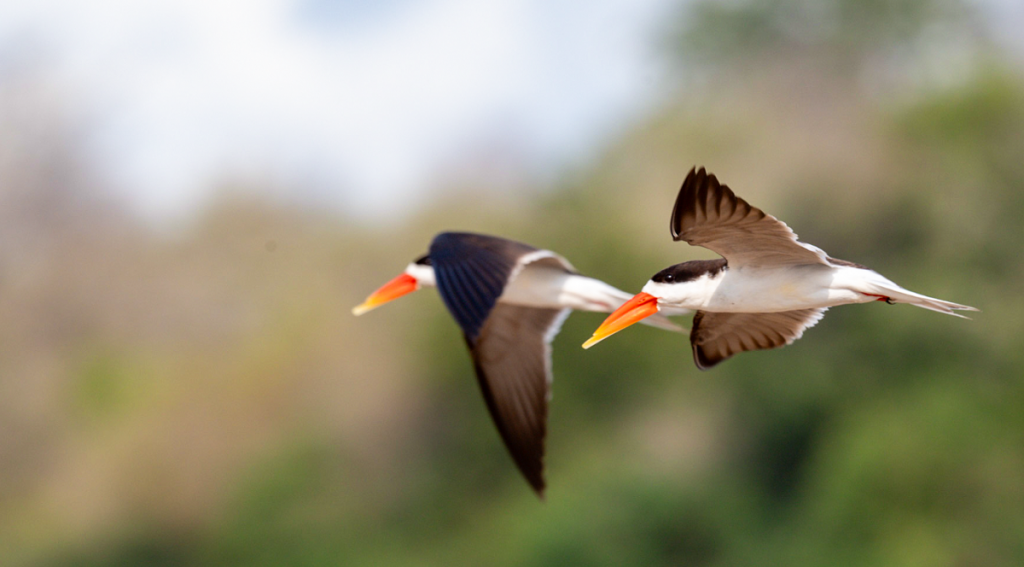
- A longer zoom lens such as the Nikon 200-400 f/4 or the Tamron 150-600/f5.6 for more remote objects, birds in flight, and the like.
Generally speaking, we think that a zoom lens in the 100-400 mm range or perhaps 150-600 mm covers a good spectrum. For eye-popping close-ups and for decent bird photography, it would be advisable to spring for a 500mm or even a 600mm prime lens. Nikon’s 500 f/5.6 Phase Fresnel lens is the smallest, lightest full-frame 500mm prime lens ever at just over 9 inches long and just over 3 lbs in weight.
We shoot in RAW only which is really the way to go. The RAW files are much bigger than JPEG files but memory cards and hard drives are not nearly as expensive as they used to be. Most importantly, a RAW file captures uncompressed data from your camera sensor and gives you much more information to work with in the post-processing phase, than a compressed JPEG.
We recommend taking an external hard drive such as a Western Digital Passport (available in 1 or 2 Terabyte sizes at reasonable cost) to download and store your images. Best practice is to do this on a daily basis, so that you will have your images protected in at least two places (the memory card and external hard drive).


